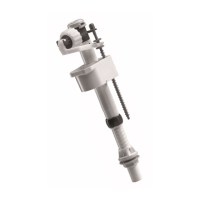
Bottom of tank
Cistern wall
Screw M6x78
Tapered joint
Hexagonal nut
Washer
Wing nut
Washer
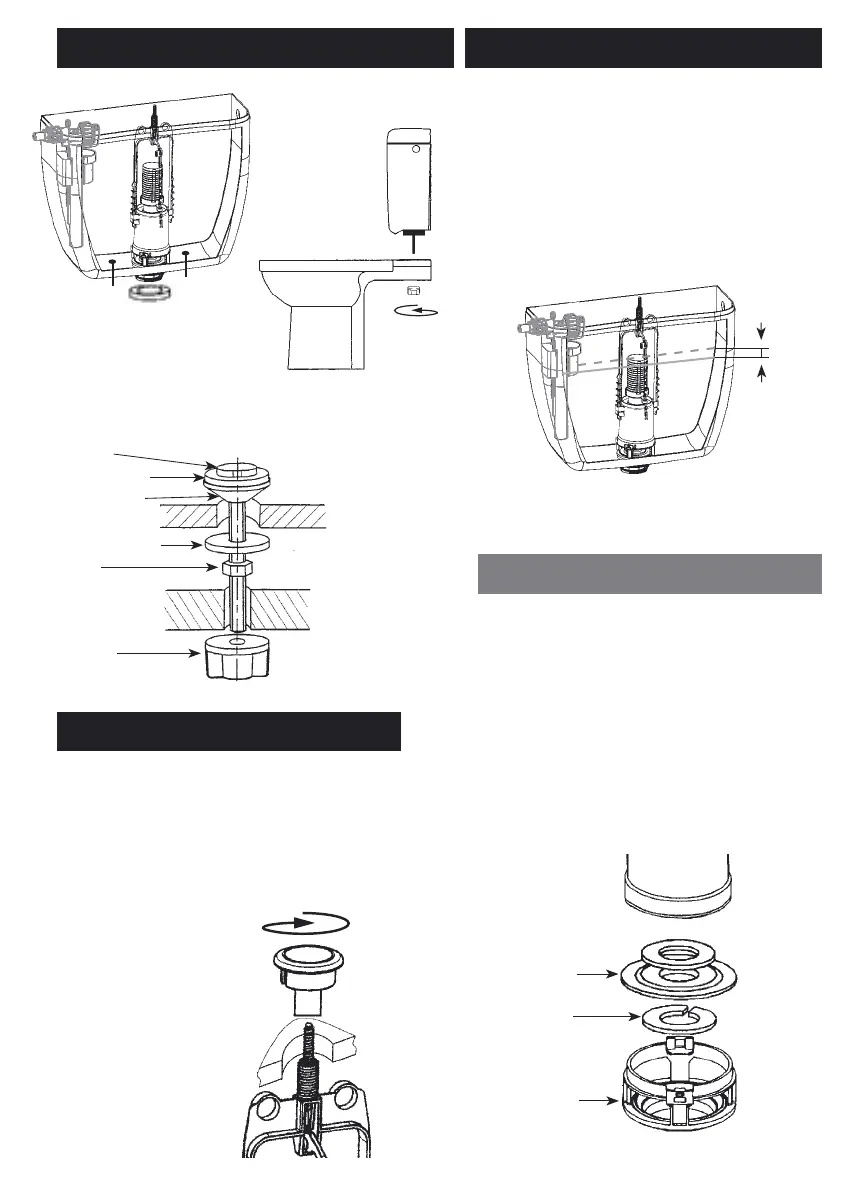
IV - ADJUSTMENT OF WATER LEVEL
III - ASSEMBLY OF CISTERN TANK
V - INSTALLING THE BUTTON
VI - MAINTENANCE
➊
Attach the screws to the
bottom of the cistern (see
stack of parts indicated
below
➋
Position the foam seal on
the nut (f)
➌
Position the cistern
on the toilet bowl and
attach it with the wing
nuts
Replacement of the seal
➊
Open the cistern and turn the mechanism a
quarter turn to separate it from the plug
➋
Remove the seal attaching clip
➌
Replace the seal
➍
Fit the clip then relocate the mechanism,
locking it on the plug
➎
Close the cistern making sure that the control
button is correctly assembled (see § V)
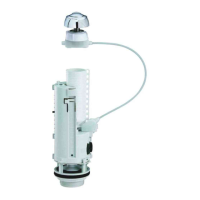
Seal
Clip
Plug
First connect your float valve to the water system, open
the stop valve and adjust the Full flush level using the
float valve (see on back).
NB: the maximum water level should be 20 mm below
the overflow (j).
➊
Fit the lid
➋
If the lid hole (D) is < 37 mm or > 42, remove the
rose (b)
➌
Position the button on the lid and screw down
(without pushing the central part) until it locks.
N.B. :
For mechanism Switch
(Ref. 22A)
Push once to flush.
Push again to interrupt.
Overflow
maximum
water level
20 mm
 Loading...