26
Application How to set the application
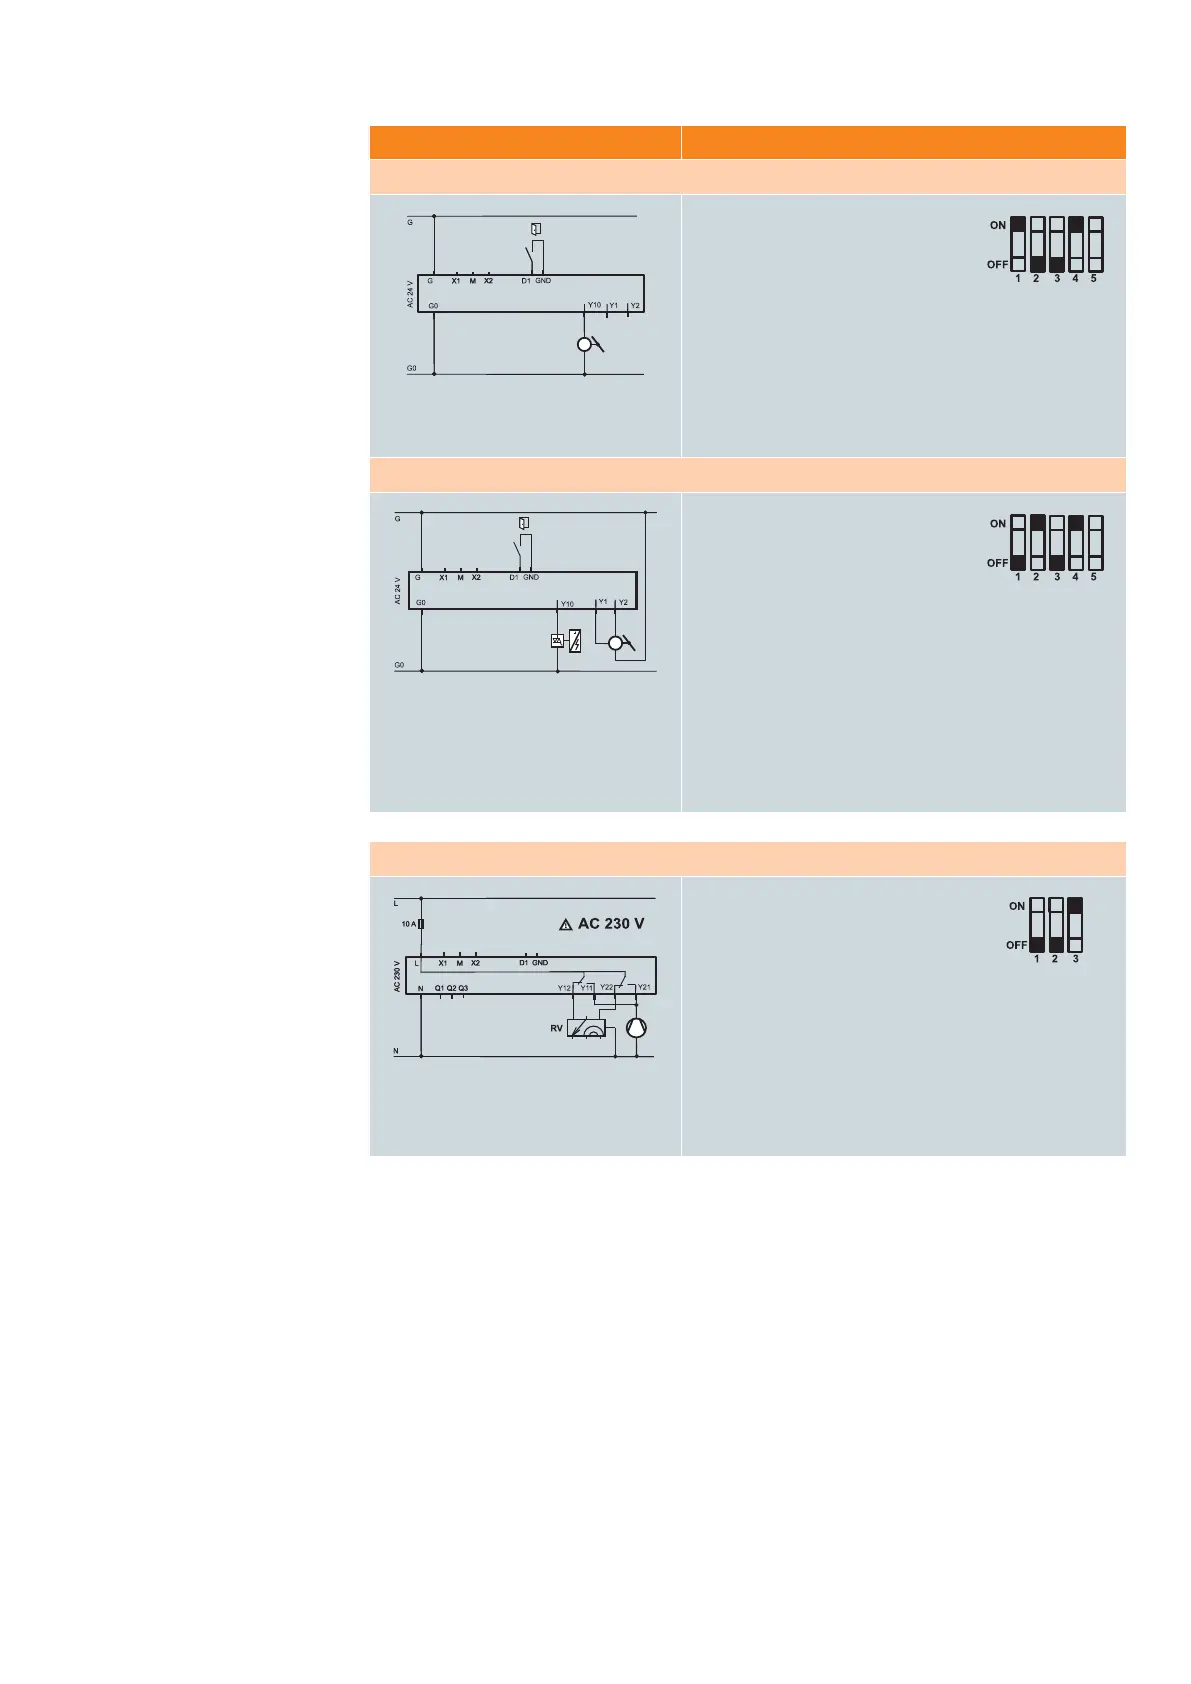
VAV single duct, cooling only
– Damper actuator: 0…10 V
– Window contact
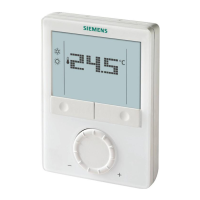
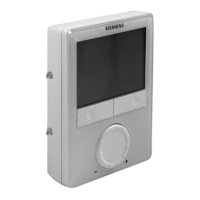
1. Thermostat: RDG400
2. DIP switch: Single duct application
Y10 = DC 0...10 V
3. Wiring: Actuator → Y10-Go-G
Window contact → D1-GND
4. Parameters: no change (= default)
TIP
– Window contact for saving energy during the airing of rooms
VAV single duct and el. reheater
– Damper actuator: 3-pos.
– El. heater: DC 0...10 V
– Central time switch
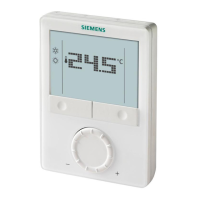
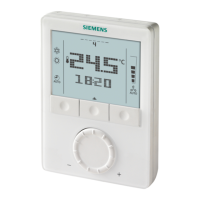
1. Thermostat: RDG400
2. DIP switch: Single duct application,
el. heater
Y10 = DC 0...10 V
3. Wiring: Actuator → Y1/Y2-G
El. heater → Y10-Go
Time switch → D1-GND
4. Parameters: P47 = 1 (VAV output 3-pos.)
TIPS
– Use a central time switch (e.g. SEH62.1) to set back room
temperature during non-business hours
– Adjust parameter “Prolong comfort period” (P68) to allow
occupant to override the central time switch, e.g. when
working overtime
Compressor with reversing valve
– Compressor: ON/OFF
– Reversing valve: ON/OFF
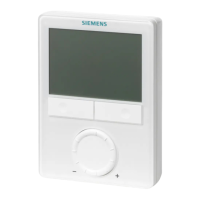
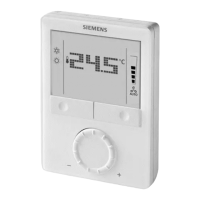
1. Thermostat: RDG110
2. DIP switch: 4-pipe application
3. Wiring: Compressor → Y11/Y21-N
Reversing valve → Y12/Y22-N
4. Parameters: P52 = 0 (fan disable)
– Set control sequence to manual changeover (P01=2);
then the user can select manually between heating and cooling
VAV application examples
Heat pump application
example
 Loading...