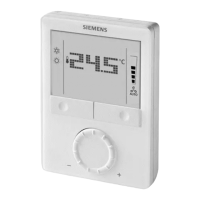
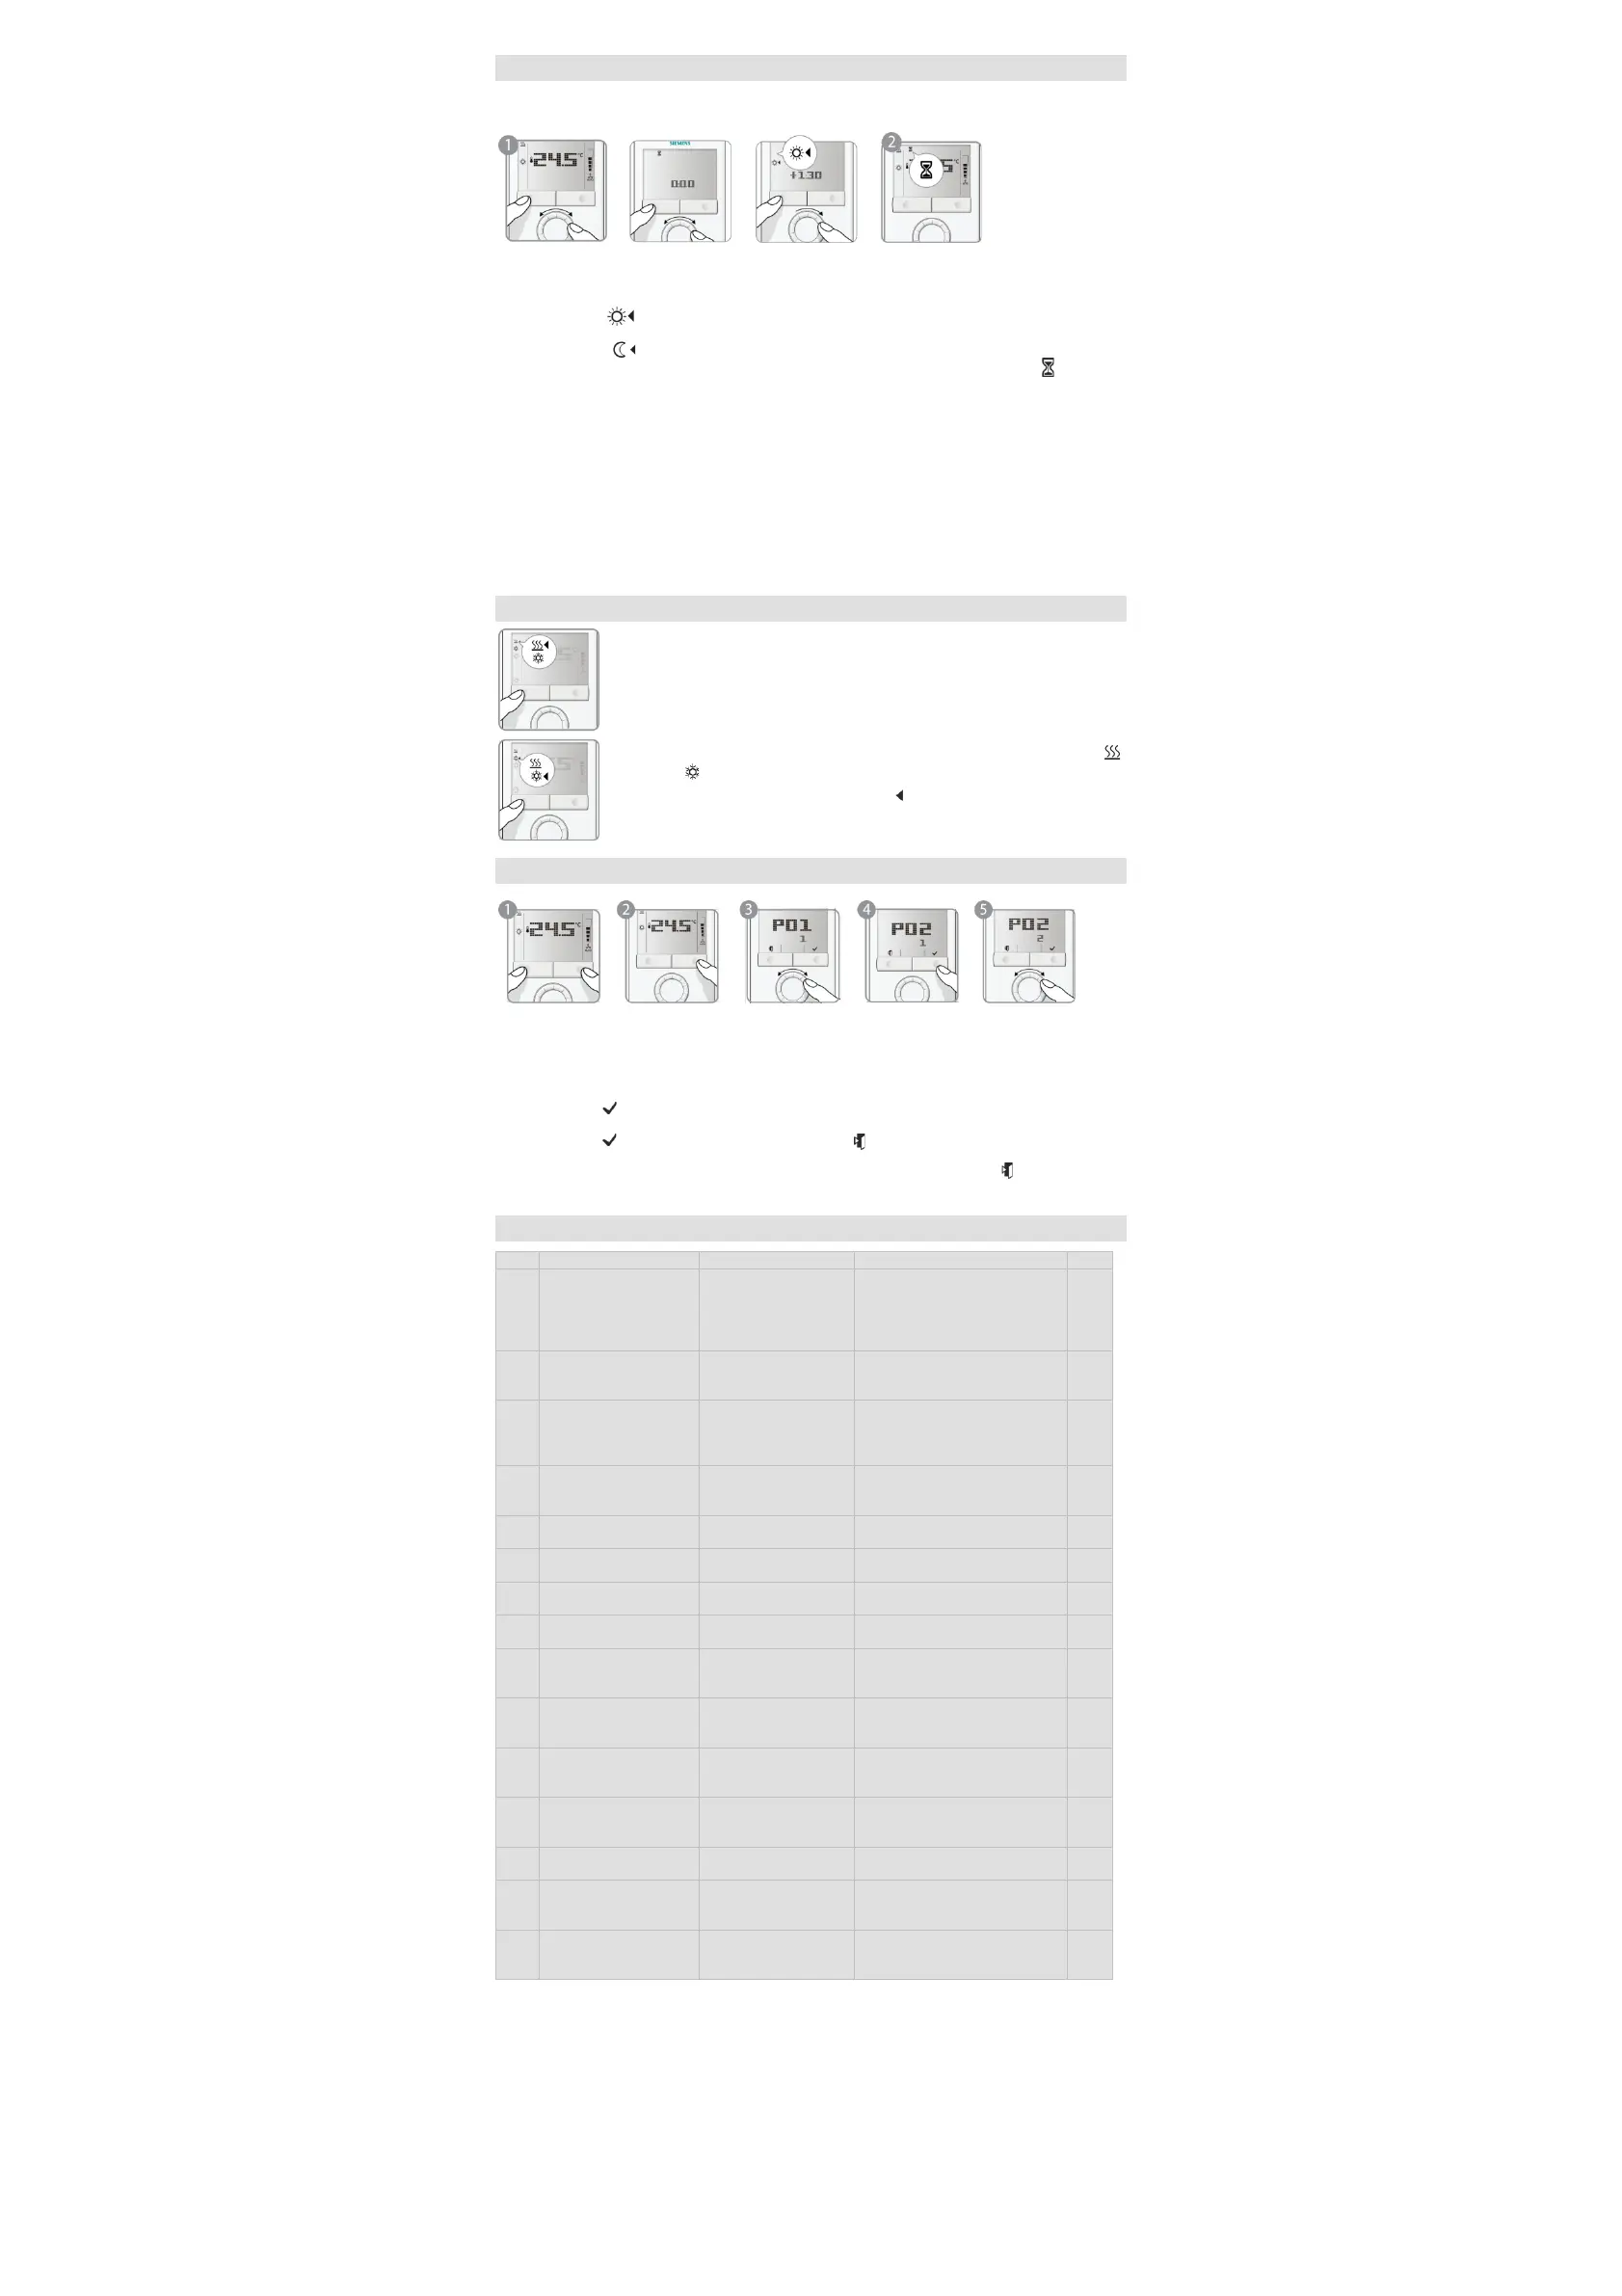
Temporary timer for extended presence or absence
Economy modes can be temporarily extended by 0.5 to 9.5 hours using the temporary
1. To set the temporary timer, press and hold the operating mode button for maximum 3 seconds. While
holding the button, turn the rotary knob clockwise or counterclockwise as required.
a) Turn the rotary knob clockwise to extend Comfort mode.
Display: 0....+9:30
b) Turn the rotary knob counterclockwise to extend Economy mode.
Display: 0....-9:30
2.
Release the operating mode button and the mode is temporarily changed, indicated by .
After the temporary timer has elapsed, the thermostat will resume operation in the operating mode that
was active before:
Extended Comfort mode New operating mode = Economy
Extended Economy mode New operating mode = Comfort
• If Economy cannot be selected via the operating mode button (P02≠2), Protection mode will be used
for extended absence instead!
The temporary timer function is aborted whenever a new setting is made.
Note:
Extended Comfort mode is also possible when an external contact such as a keycard switch or central time clock is active
To enable this function, the time for the extended period must be set via parameter P68.
Changing from heating to cooling mode
Depending on the type of plant, the changeover from heating to cooling
(or vice versa) is made either automatically by a changeover sensor or a
remote change
over switch, or manually by pressing the operating mode
button (see parameter P01)
To select
cooling or heating manually (P01=2), press the operating mode
button until the desired mode appears
With automatic changeover or continuous heating / cooling, symbols
indicate that the system currently operates in heating or cooling mode
With manual changeover, symbol
appears, indicating that the system
currently
operates in heating or cooling mode
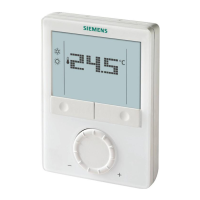
Control parameters
If you want to change control parameters, proceed as follows:
1. Press both buttons simultaneously for at least 3 seconds.
2.
Release them and, within 2 seconds, press the right button again for 3 seconds.
3.
Select the required parameter by turning the rotary knob.
4. Press button (OK). The current value of the selected parameter starts blinking and can be
changed
by turning the rotary knob.
5.
Press button (OK) to confirm the adjusted value, or (Esc) to cancel the change.
If you wish to adjust additional parameters, repeat steps 3 through 5, or press
(Esc) to leave the
parameter setting mode.
Parameter list
4-pipe: 4
1 = cooling only
2 = H/C changeover, manually
3 = H/C changeover, auto
P02 Mode selection via
operating mode button
1 1 = Comfort / Protection mode
2 = Comfort / Economy /
P03 Mode selection via fan
mode button
0 0 = Auto / Manual
1 = Manual
2 = Auto / Manual /
P04 Selection of °C or °F RDG100/110: 0
RDG110U: depends on
0 = °C
1 = °F
P06 Standard temperature
0 0 = Room temperature
Additional display
information
0 = --- (no display)
1 = ˚C and ˚F
P09 Minimum setpoint
limitation in Comfort
5 °C
(41 °F)
5…40 °C
(41 °F…104 °F)
limitation in Comfort
(95 °F)
(41 °F…104 °F)
Economy mode
(59 °F)
(OFF, 41 °F…WcoolEconomy)
P12 Setpoint for cooling in
Economy mode
30 °C
(86 °F)
OFF, WheatEco…40 °C
(OFF, WheatEconomy…104 °F)
Electric heater in
cooling mode
OFF = Disabled
ON = Enabled
P14 Button lock 0 0 = Disabled
1 = Automatic
(Comfort mode)
1 = Stage 1 (H or C)
2 = Stage 1 (Cooling only)
* Degree Fahrenheit parameter
selections are only applicable to RDG110U version
The control parameters displayed depend on the DIP switch settings made
Siemens Switzerland Ltd
Subject to change
B3181.1en
2014-10-20

 Loading...