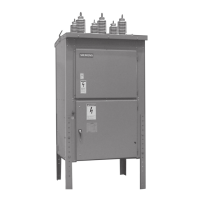
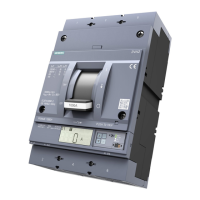
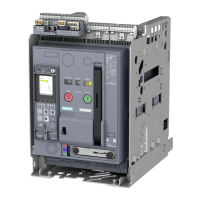
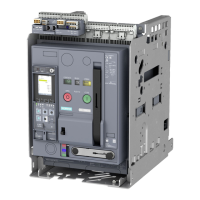
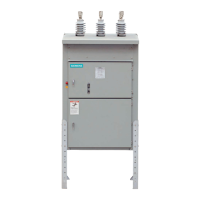
Installation
When the test is performed with the
circuit breaker open, the integrity of
the vacuum interrupter will also be
verified. If these levels cannot be
sustained and there is no other source
for the failure, the vacuum interrupter
must be replaced.
Note: The dc test voltage is given as a
reference only. It represents values
believed to be appropriate and
approximately equivalent to the
corresponding power-frequency withstand
test values specified for each voltage
rating. The presence of this column in no
way implies any requirement for a dc
withstand test on ac equipment or that a
dc withstand test represents an acceptable
alternative to ac withstand tests. When
performing dc tests, the voltage should be
raised to the test value in discrete steps
and held for a period of one minute.
Note: Do not use dc high-potential
testers incorporating half-wave
rectification. Such devices produce high
peak voltages.
These high voltages will produce X-ray
radiation. Such devices also show
erroneous readings of leakage current
when testing vacuum circuit breakers.
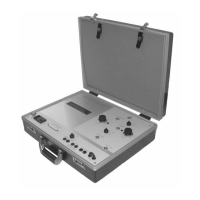
Field dielectric tests are recommended
when new units are installed, or after
major field modifications. The
equipment should be put in good
condition prior to the field test. It is not
expected that equipment shall be
subjected to these tests after it has
been stored for long periods of time or
has accumulated a large amount of
dust, moisture or other contaminants
without being first restored to good
condition.
Rated maximum
voltage
Rated power-
frequency withstand
Field-test voltage
kV (rms) kV (rms) kV (rms) kV dc
15.5 50 37.5 53
27.6 60 45 64
38.0 80 60 85
Table 2: High-potential test voltages
A dielectric test on secondary and
control circuits should be made for one
minute at 1,125 volts ac or 1,590 volts
dc. The above voltages are in
accordance with NEMA Standards.
Note: Certain control devices, such as
motors and motor circuits, should be
tested at 675 volts ac. Electronic devices
should be tested at the voltages specified
in the instruction manual for the electronic
device.
3. Charge the closing springs manually
and push the close pushbutton to close
the circuit breaker.
4. Verify main contact status indicator
shows CLOSE. Press the trip
pushbutton and verify the main
contact status indicator shows OPEN.
The spring condition indicator should
also show DISCHARGED.
5. Energize the control circuits. The motor
should run to charge the closing
springs, and then automatically turn
off.
6. Close the circuit breaker electrically
(locally and remotely as applicable)
and verify the circuit breaker shows
CLOSE and remains closed by checking
the main contact status indicator. Note
that the motor will immediately run to
recharge the closing springs.
7. Trip the circuit breaker electrically
(locally and remotely as applicable).
8. Trip the circuit breaker by passing
sufficient current (or voltage if
applicable) through the coils of
protective relays.
23