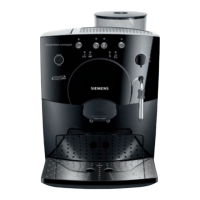
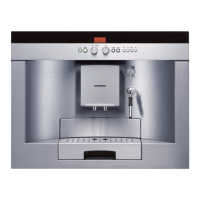
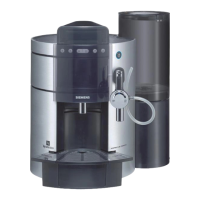
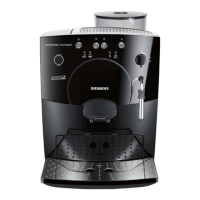
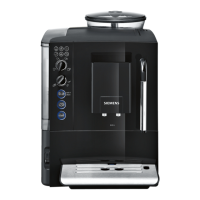
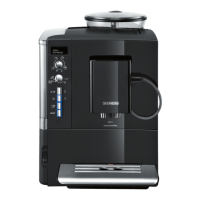
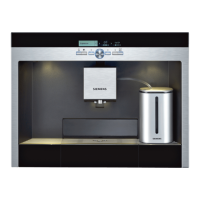
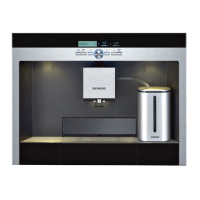
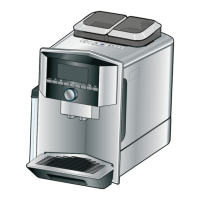
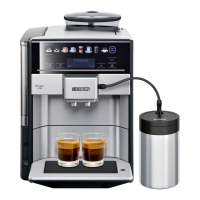
Overview
Figures A-E
1 Power switch (on/off) auto off
2 Coffee strength button â
3 Coffee dispensing button E
4 Coffee dispensing button F
5 Steam generation button h
6 Hot water / steam dial g / h
7 LED display
a Add water H
b Empty tray I
c Run service programme S
d Turn dial J
8 Nozzle (for hot water / steam)
a Plastic mounting
b Sleeve
c Nozzle tip
9 Height-adjustable coffee outlet
10 Lid for water tank
11 Removable water tank
12 Bean container with aroma cover
13 Cleaning tablet duct
14 Cup shelf (warming function)
15 Sliding switch for adjusting grind
16 Grate
17 Coffee grounds tray
18 Residual water tray
19 Float
20 Cord storage compartment
21 Doors to brewing unit
22 Brewing unit
a Button (red)
b Handle
Before using for
the rst time
General
Fill the appropriate container using only
pure, cold, uncarbonated water and only
roasted beans (preferably espresso or
coffee bean blends for fully automatic coffee
machines). Do not use coffee beans that
have been glazed, caramelized or treated
with other additives containing sugar, since
they will block the grinding unit.
This appliance can be adjusted for use
with different water hardness values (see
“ Setting the water hardness”).
Switching on the appliance
● Placetheapplianceonaat,water
resistant surface.
● Pull enough of the power cord out of the
storage compartment and plug it into the
electrical socket.
● Remove and rinse the water tank 11
andllitwithfreshcoldwater.Donotll
above the “max” mark.
● Replace the water tank 11 and push it
rmlydownintoplace.
● Fill the bean container with coffee beans.
● Make sure that the hot water / steam dial
6 is at “O”.
● Press the power switch 1 auto off to
switch on the appliance.
Filling the system
Whenswitchedonforthersttime,the
waterpipesintheappliancemustbelled.
● Place a cup under the nozzle 8.
● Turn the dial 6 to
g / h. Water runs into
the cup.
As soon as Jashes,turntherotary
knob 6 to “O”.
● The coffee dispensing buttons 3 E and
4 Fnowash,theappliancerinsesauto-
matically and heats up.
The appliance is ready for use as soon as
both LEDs light up.