Do you have a question about the Sierra Wireless RX55 and is the answer not in the manual?
The Sierra Wireless RX55 is an LTE router designed for robust and reliable connectivity, offering advanced features for remote deployment, monitoring, and maintenance. This quick start guide outlines the essential steps for setting up and configuring the device, emphasizing both local and remote management capabilities.
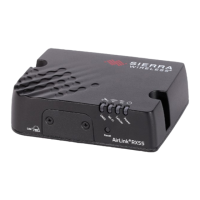
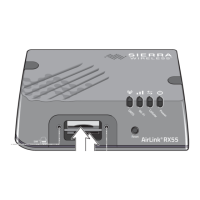
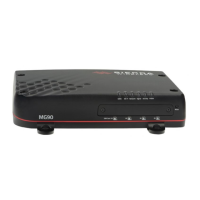
The RX55 serves as a high-performance LTE router, providing cellular connectivity for various applications. It supports dual SIM cards, allowing for primary and secondary network connections to ensure continuous operation. The router is designed to integrate seamlessly with Sierra Wireless's AirLink Management Service (ALMS), enabling remote deployment, monitoring, and maintenance of multiple devices. This integration facilitates efficient fleet management and ensures that routers are always up-to-date and operating optimally. The device also includes GNSS (Global Navigation Satellite System) capabilities, which are crucial for location-based services and asset tracking. Additionally, the RX55 offers multiple connectivity options, including Ethernet, Wi-Fi, RS-232, and USB, making it versatile for various industrial and enterprise environments. The router's robust design and comprehensive feature set make it suitable for critical infrastructure, transportation, and other demanding applications where reliable and secure communication is paramount.
https://airlink./ or 192.168.1.1. This allows for initial setup, password changes, and detailed configuration.na.airvantage.net or eu.airvantage.net).source.sierrawireless.com/airlinkos if the router does not automatically connect to the network, providing a resource for self-help troubleshooting.| Brand | Sierra Wireless |
|---|---|
| Model | RX55 |
| Category | Network Router |
| Language | English |