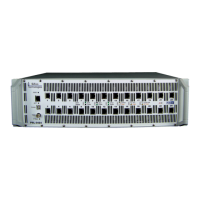
PSA / PVA Installation Guide
April 20, 2023 Sifos Technologies Page 13
Press OK. When Windows finds the proper driver software, press Next and Windows will install the FDTI driver.
The PSA/PSL/PVA-3000 USB driver is also available from the web at:
http://www.ftdichip.com/
Drivers/VCP.htm
Drivers for a Linux PC are also available from this same location.
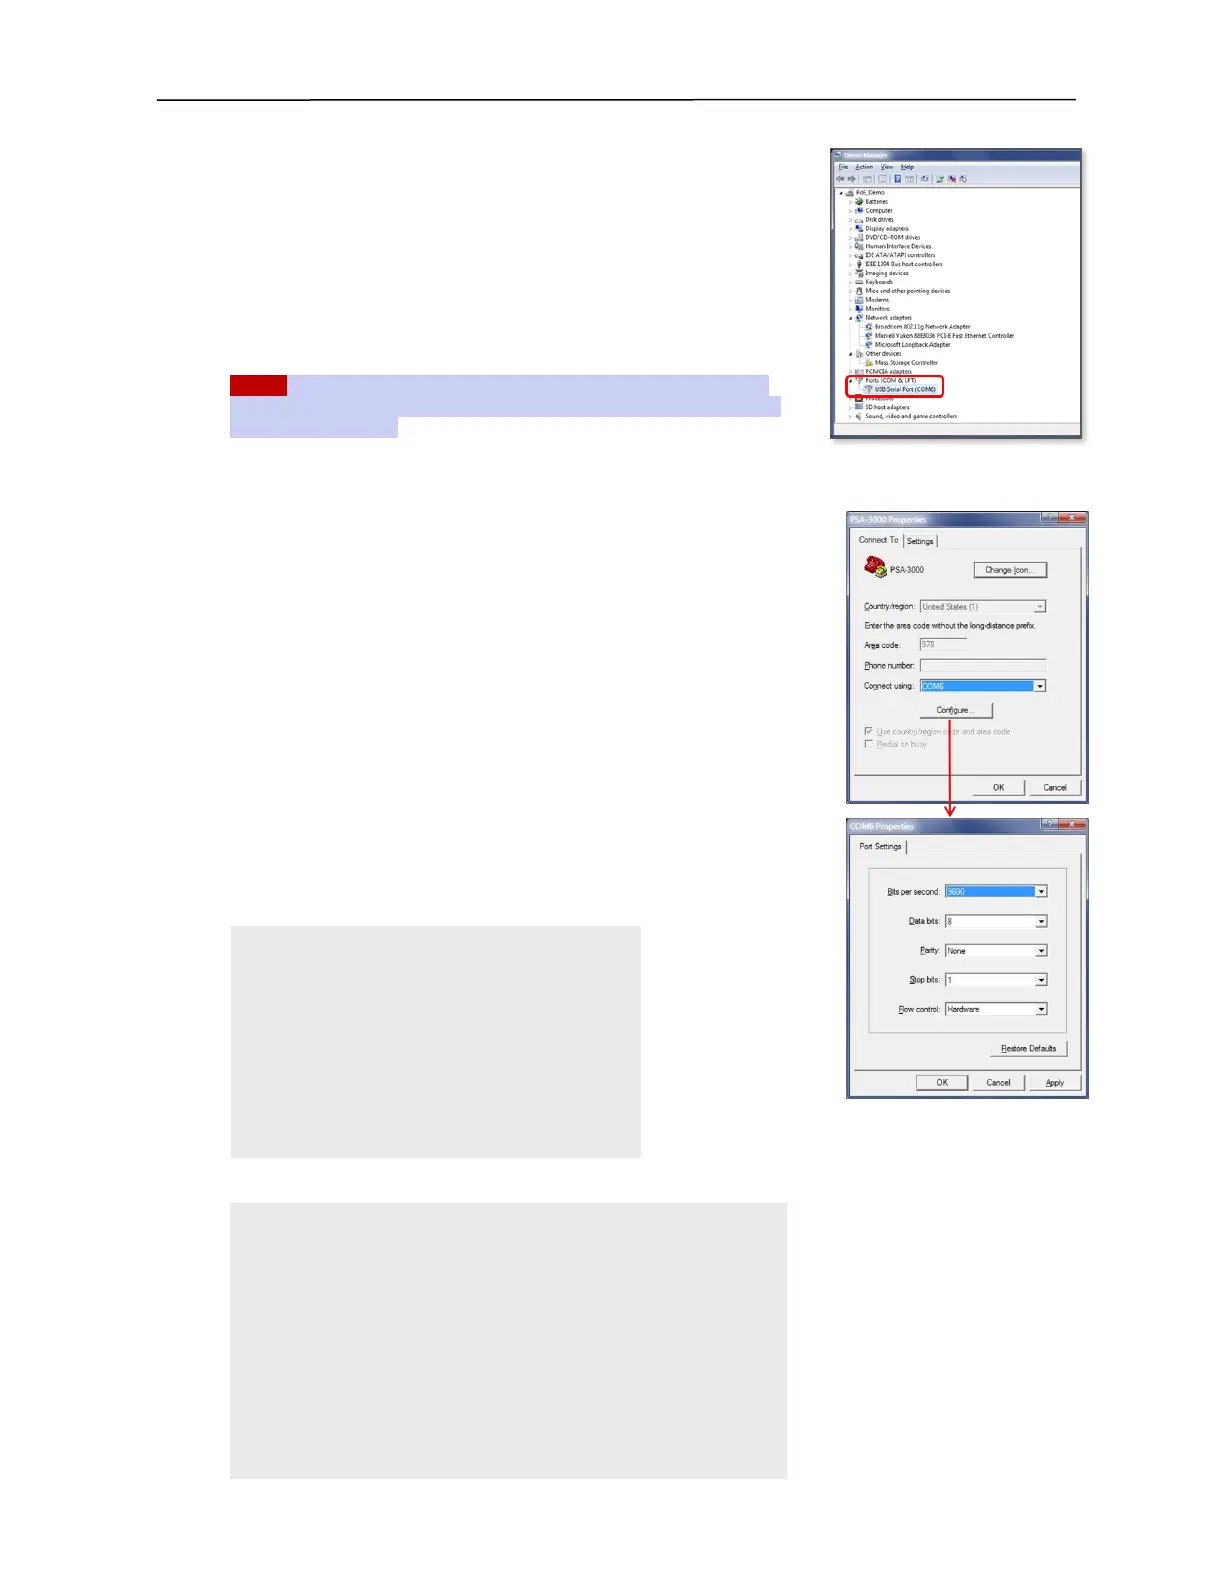
Once the driver is installed and running, Windows will automatically assign a
“virtual” COM port number to the USB interface. This is readily discovered
using the Device Manager under Ports (COM and LPT). In Figure 6,
Windows has assigned COM6 to the USB connection.
NOTE! Application notes from FTDI covering USB driver installation on
various Microsoft Windows versions are included on the software CD under
\USB Serial Console\..
RS-232 Console Connections
Connect a standard RS-232 cable with DB9 connectors (furnished with the instrument) from host PC to the PSA
controller (front of PSA-3000, rear of PSA/PVA-3002). Then configure the
terminal emulator as described below.
Configuring Terminal Emulator and Setting IP Address
The HyperTerminal terminal emulator is set-up is as follows:
Start HyperTerminal,
Select a connection name when prompted
In the connection dialog, enter the COM x port for Connect using
(see Figure7). This is the RS-232 serial or virtual COM port in the host PC.
In the Port Settings dialog, select the following parameters:
Bits per second > 9600
Data bits > 8
Parity > None
Stop bits > 1
Flow Control > Hardware
With HyperTerminal set up and running as described above, hit the ENTER key
on the Keyboard. The following menu will appear:
Type 1 and press ENTER. Follow the command prompts to set up the IP address. Note that the IP mask is entered
as a bit count of 1’s where, for
example, 255.255.255.0 is 24 ‘1’
bits..
There is approximately a 10-second
delay before “Done” is displayed,
and then the main menu appears
again.
Type “3” to Enable the PSA. Then
disconnect the serial port and close
the terminal emulation software.
> 1
Use DHCP ? (Y/N)> N
Enter IP Address (xxx.xxx.xxx.xxx) > 10.10.10.114
Confirm? (Y/N) y
Enter Number of Mask Bits (01 – 30) > 24
255.255.255.0
Confirm? (Y/N) y
Enter Gateway Address (xxx.xxx.xxx.xxx) >
10.10.10.1
Confirm? (Y/N) y
Figure 6. COM Port Assignment
PowerSync Analyzer
Firmware Version #.##
MAC Address: 00204A######
IP Address: 192.168.221.105
Mask: 255.255.255.0
Gateway: 192.168.1.1
1. Set IP Address
2. Firmware Upgrade (Controller)
3. Enable PSA
(PSA DISABLED) >
Figure 7. Console Connection