13 US-EN
Note: When fully charged the product can be
used for up to 60 minutes of cordless operation.
Note: When the battery is almost empty, the
charging display
9
on the display will flash. The
product can then only be used for a short period
of time before it will need to be connected to a
power supply.
Operating using the power adapter
If the product stops working during use due to an
empty or low battery, simply plug in the power
adapter to continue.
Insert the cable plug of the power adapter
7
into the bottom of the product.
To avoid injuries and damage to the product,
always switch the product off before charging.
Insert the power adapter
7
into an outlet
which meets the product specifications.
After a few seconds you can switch on the
product by sliding the ON / OFF switch
3
into the desired position for the desired speed.
If the product does not start working immedi-
ately, switch it off by sliding the ON / OFF
switch
3
to the "0" position and wait 1 min-
ute before you try to switch it on again.
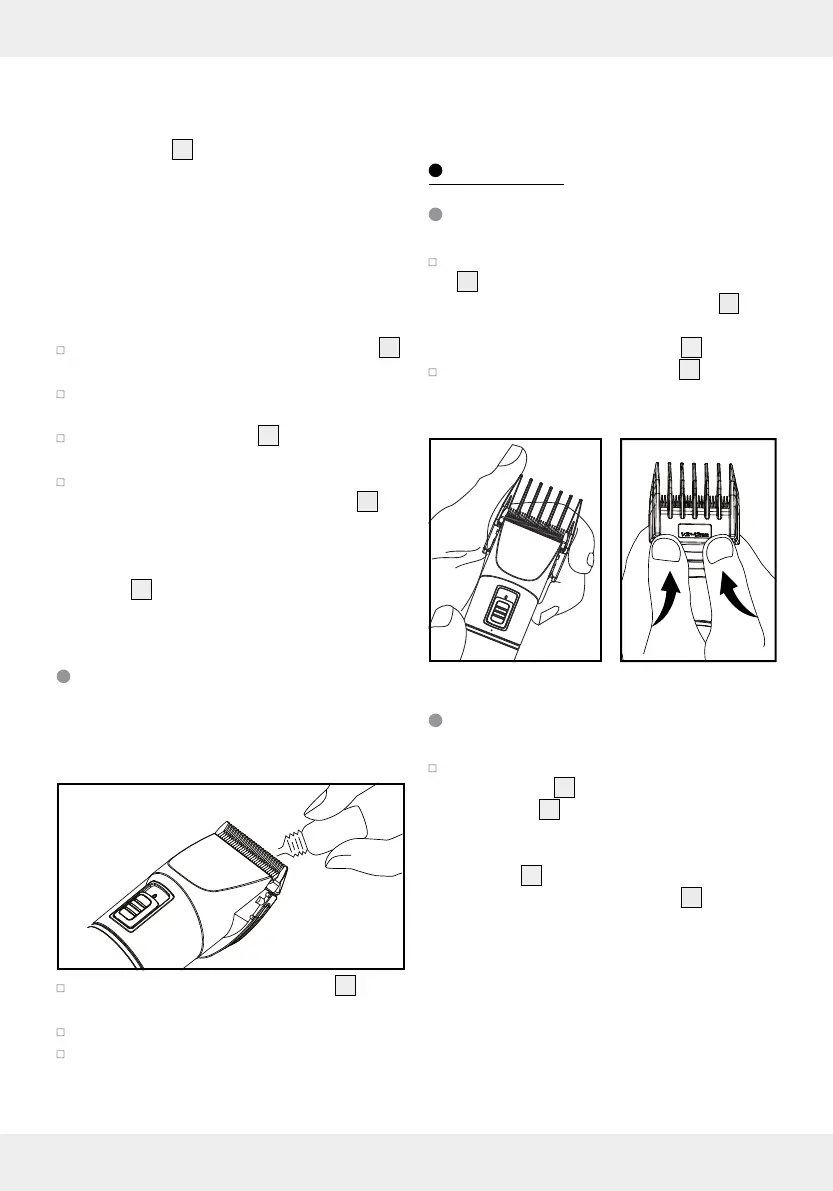
Oiling the blades
For good performance we recommend oiling the
blades before using the product for the first time
and after cleaning.
Apply one or two drops of blade oil
14
be-
tween the blades and spread evenly.
Wipe off any excess oil with a cloth.
You can use any acid-free oil, e.g. sewing
machine oil.
Note: The blade can be oiled with or without
comb attachment or thinning attachment
Operation
Changing the attachments
Carefully place the desired comb attachment
11
onto the product as shown. Ensure that
both recesses of the comb attachment
11
properly engage into the lateral detents at
both sides above the cutting unit
1
.
To remove the comb attachment
11
, press and
slide it forward and upwards using both
thumbs as shown.
Setting the trim length
To set different trim lengths, hold the upper part
of the product
2
and twist the lower part of
the product
5
into the desired position
(⅓₂ in–₄ in / 0.8–2.0 mm). The set trim
length will be displayed on the length position
indicator
4
which aligns with the dot-marking
on the upper part of the product
2
.