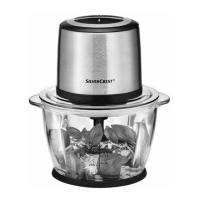
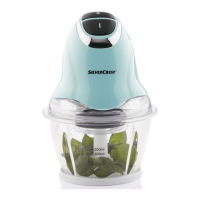
SMZT 260 A1
GB
│
MT
│
55 ■
NOTES
► If larger pieces of food start collecting on the wall of the bowl during
processing, lift the motor unit 1 off the connecting piece 4. Give the
bowl 8 a firm shake and restart the processing. Any residues can be
removed with a spatula.
► Particularly hard foods should be cut into small pieces (approx. 2 cm)
before processing. Otherwise, the motor unit could block.
Use a 'pulsing' processing method when working with hard foods. To do
this, press the relevant speed button 2/3 several times briefly in succession.
► If the food is not completely chopped, you can either cut it into smaller
pieces or lift the motor unit 1 off the connecting piece 4. Give the
bowl 8 a firm shake and restart the processing.
8) Once the food is fully chopped, release the speed button 2/3.
9) Remove the power plug from the socket.
WARNING! – RISK OF INJURY!
► Never attempt to remove food from the bowl 8 while the blade 7 is still
turning. There is a risk of injury and food can also spray out and make a mess.
10) Wait until the blade 7 has come to a complete standstill.
11) Lift the motor unit 1 off the connecting piece 4.
12) Remove the connecting piece 4.
WARNING! – RISK OF INJURY!
► Handle the extremely sharp blade 7 with caution as it can cause injuries.
Keep the blade 7 out of the reach of children.
13) Carefully pull the blade holder 5 with the blade 7 out of the bowl 8.
14) Remove the food.
NOTES
► Chopping harder, abrasive foods can cause the bowl 8 to take on a dull
appearance after a while. This is normal and will not impair the functioning
of the appliance.
► After you have finished processing the food, you can use the base 0 as a
lid for the bowl 8 to keep the food fresh for longer.
– Remove the motor unit 1 and the connecting piece 4 from the bowl 8.
– You can leave the blade holder 5 with the blade 7 in the bowl 8 if
you wish.
– Remove the base 0 from the underside of the bowl 8. Turn the base
0 around. You can now place the base 0 on the bowl 8 so that it
closes off the bowl 8.
 Loading...


