18 GB/IE/NI
P Operation
P Setting up your product
Installing/removing the belt clip (see fig. C)
Installing the belt clamp
Insert the belt clamp
15
into the slot located at the back of the handheld
transceiver. The belt clamp
15
must audibly click into place.
Removing the belt clamp
To remove the belt clamp
15
from the handheld transceiver, release the
belt clamp lock. Once it is unlocked, slide the belt clamp out of the slot.
Inserting/ Replacing the batteries (see fig. A)
Step 1: Remove the belt clamp
15
.
Step 2: Unlock the battery compartment cover lock
16
and remove
battery compartment cover.
Step 3: Insert 3 AA sized batteries/rechargeable batteries into the
battery compartment with the correct polarity ensuring that the positive +
and negative – of the batteries/rechargeable batteries and the battery
terminals inside the battery compartment are aligned.
Step 4: Mount the battery compartment cover and lock it back with the
lock
16
.
Step 5: Replace the belt clamp
15
.
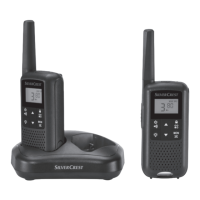
Charging the rechargeable batteries (see fig. B)
This product can use either alkaline or Ni-MH rechargeable batteries.
If you choose to use rechargeable batteries on your handheld radio
transceiver set, please follow the information detailed in this section.
Setting up the charging cradle:
Step 1: Make sure to place the charging cradle on a flat, stable surface.
Step 2: Plug the USB cable into the Micro-USB socket
18
of the
charging cradle.
Step 3: Connect the USB cable to a USB power supply (not included).
Then plug the USB power supply into a well-accessible power outlet.
Step 4: Place the handheld transceivers onto the charging cradle.
You can see the charging status from the Battery level indicator
23
to
check the battery charging status. Total charging time is approx. 16 hours.

 Loading...