GB/IE/NI/CY/MT12
3. Preliminary Measures prior to
Starting Up
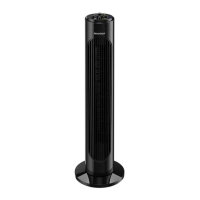
3.1 Device Installation
Remove all packaging material and all trans-
port bracing from the device.
For a safe and trouble-free running of the device,
choose the installation location which meets the fol-
lowing requirements:
The floor should be firm, flat and horizontal.
Minimum distances of 30 cm to the side, 30 cm
to the top, 30 cm to the rear and 1 m to the front
must be maintained from the enclosure.
Do not place the unit in a hot, wet or very humid
environment.
The socket must be easily accessible so that the
mains connection cable can be easily discon-
nected if necessary.
Temperature range: from 0 to +40 °C
Air humidity (no condensation): 5–75 %
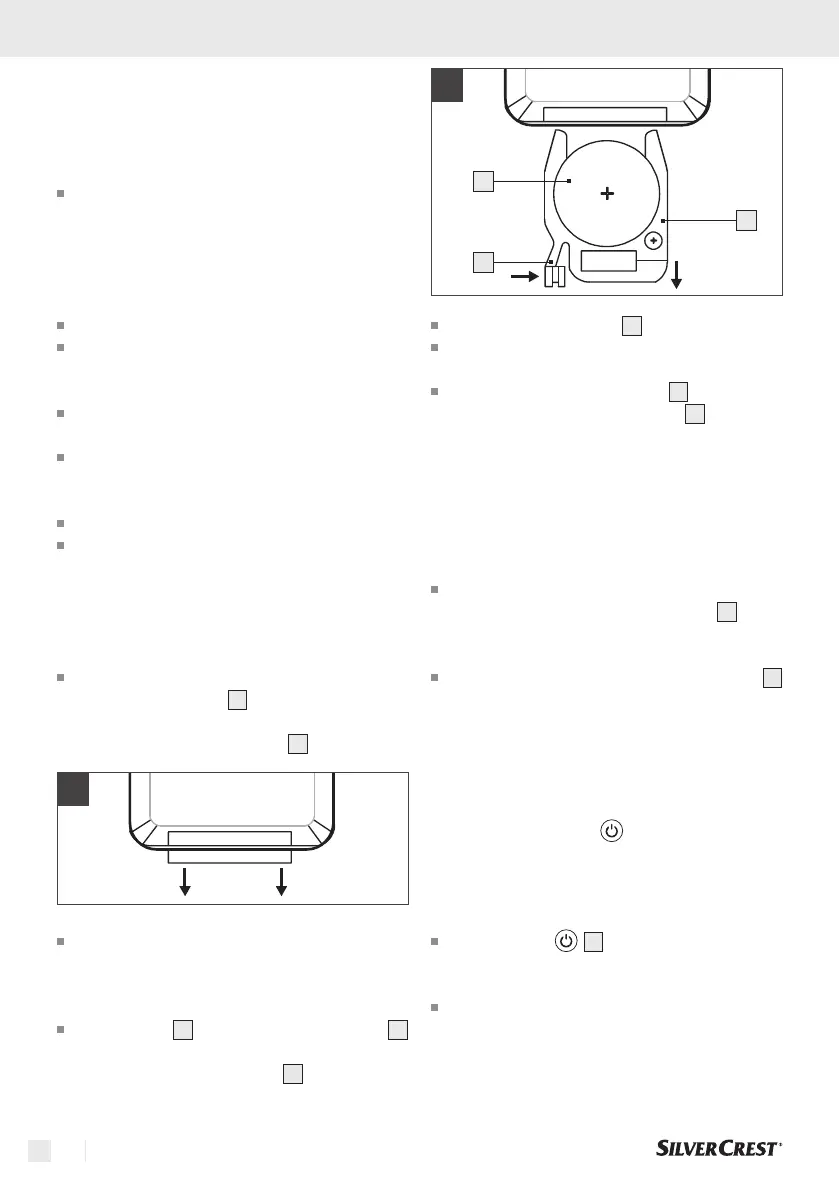
3.2 Remote control: How to insert or change
the battery
The remote control unit is delivered together with
a lithium button cell
16
. To enable the remote
control, remove the plastic tape that protrudes
from the battery compartment
14
(see Figure 1).
1
If the remote control battery needs to be re-
placed, insert a new 3-volt lithium button cell.
Pay attention to the type of lithium button cell
(CR2025).
Press the tab
15
on the battery compartment
14
of the remote control toward the centre. Now pull
out the battery compartment
14
(see Figure 2).
2
14
15
16
Remove the old battery
16
.
Insert a new 3V-button-cell battery (type
CR2025). Pay attention to the correct polarity.
Push the battery compartment
14
back into the
remote control unit until the tab
15
snaps into
place.
4. Starting Up
4.1 Standby mode
Connect the jack plug of the mains cable to
the unit and plug the mains adapter
6
into a
socket. The unit is now supplied with power. A
short beep sounds.
A circular motion is simulated on the display
1
for about 20 seconds to indicate that charging
is in progress when the device is started up.
5. Control on the device
5.1 Switch on the unit
Note: The buttons have a beep feedback and work
best with a light swipe over them.
Press the key
5
to switch on the product.
The unit starts directly in ventilation level "03"
when it is first put into operation.
During further use, the unit starts at the same
ventilation level that was selected during the last
operation.