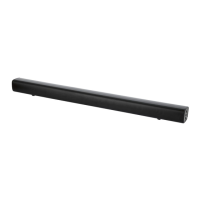
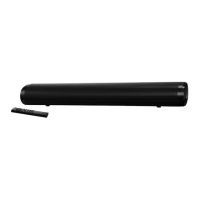
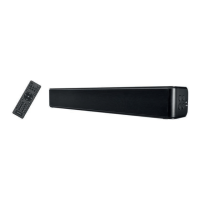
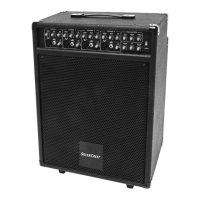
SSB 70 C3
English - 21
8.2 Fitting the batteries into the remote control
Open the battery compartment (23) on the back of the remote control by sliding the battery compartment cover in the direction of the arrow and removing it. Insert
the batteries (2 AAA-type batteries) with the correct polarity (+ and -). The correct polarity is labelled on the batteries and inside the battery compartment (23). Re-
insert the cover of the battery compartment (23) and slide it in the opposite direction of the arrow until it locks in place. Please also refer to Figure B on the fold-
out cover page.
8.3 Connection options / Operating modes
CAUTION! Make sure that the sound bar and the devices to be connected are switched off when you connect them. Please also read the
user manual for the device to be connected.
The HDMI (ARC) connection only works if all the components connected are ARC-compliant. Use the HDMI (ARC) cable (C) supplied.
See also the user manual for the connected device.
The cable used for playback must not exceed a length of 3 metres.
The SSB 70 C3 sound bar lets you play sound and/or music from various sources:
Playback can be controlled using the buttons on the device or the remote control.
You can use the Source button (2) or the remote control to select the operating mode you want. The operating modes and corresponding display information can
be found in the table below:
Operating mode /
Source
Input Use Button on remote
control
Display
HDMI ARC HDMI(ARC) (9)
Connection via HDMI (ARC) cable to the HDMI (ARC) jack, e.g. TV
or DVD player
HDMI(ARC) (13) Hd
OPTICAL OPTICAL (10)
Connection via Toslink cable, e.g. TV or digital receiver
OPTICAL (14) OPtI
BLUETOOTH
®
----- Via wireless connection, e.g. from smartphone
button (15) bt
USB USB (4)
Connection of USB media, e.g. USB stick to play back audio files
(audio formats supported: MP3 and WAV)
USB (33) USB
AUX USB (11)
Connection via adapter cable (stereo jack/Cinch), e.g. DVD player
or satellite receiver
AUX (34) AUX
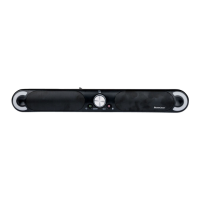
8.4 Display information
Every time a setting is changed on the sound bar, the LED display (1) lights up on full brightness for around 8 seconds before reverting back to the lower brightness
level.
Setting LED display
“Standby” - -
“HDMI(ARC)” mode Hd
“BLUETOOTH
®
” mode bt
“OPTICAL” mode OPtI
“USB” mode USB
“AUX” mode AUX
“MOVIE” audio settings CINE
“DIALOG” audio settings dIA
“MUSIC” audio settings SONG
“3D” audio settings 3d
“VOL-“ / „VOL+” V 00 to V 40
“TREBLE” t -5 to t 5
“BASS” b -5 to b 5
For USB playback Track runtime in mm:ss format
“ON” or “AL”
Press the button (32) to switch off the LED display (1). Pressing the button (32) again or any other button switches the LED display (1) back on again.