10
GB/CY
using it again�
Do not reposition the product
during operation�
Do not cover the blender or place
any objects on it�
Use the product on an easily
accessible, level, dry, heat-
resistant and sufciently stable
surface� Do not position the
product near the edge of the work
surface�
Never place the product on or
near hot surfaces (cooker hobs
etc.) and never expose the
product to high temperatures
(heating units etc�) or weather
effects (rain etc�)�
When cleaning the product, never
immerse it in water�
Stop using the blender if the
plastic components of the product
have cracks or have become
deformed� Only replace faulty
parts using matching original
components�
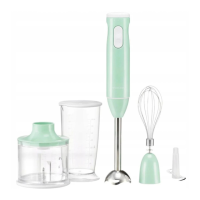
Disassembling the product further
than illustrated (see g. C) may
cause irreparable damage and
rule out any warranty claims�
z Before rst use
Please note:
Take the product out of its
packaging and remove all packing material�
Check that all package contents are
present�
Check if the product or individual parts are
damaged� If that is the case, do not use the
product� Please contact the retailer via the
service address indicated�
Clean the product (see “Cleaning and
care”)�
After this, the product is ready to use�
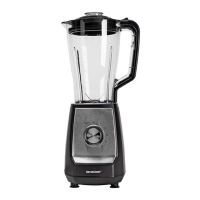
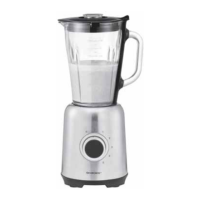
z Setup
Connecting the product to the mains
Unwind the power supply cable from the
cable holders on the underside of the
product as much as necessary�
Place the product on a stable, even,
heat-resistant, well-ventilated surface which
is out of the reach of children� Ensure that
the product has a rm grip on the surface.
Plug the mains plug of the mains power
cable into a properly installed power outlet
socket�
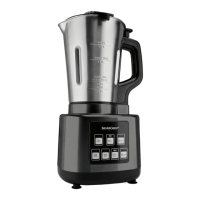
z Operation
WARNING! Danger of
injury!
Danger of injury
from running parts�
Never stop or inhibit rotating
parts with your hand or any other
object�
Turning the control knob
5
to positions “P”
11
and “1”
9
to “2”
10
will start up the
product (see g. B).
“P” (pulse function)
11
: turn the control
knob and hold it in the “P” (pulse function)
position� The drive unit’s motor
4
rotates
at full speed� The pulse function is ideal for
frothing liquids or crushing ice cubes�
Power setting “0”
8
: turn the control knob
5
to “0”� The product is switched off�
Power setting “1”
9
: turn the control knob
5
to “1”� The drive unit’s motor rotates at
low speed� This speed is ideal for blending
liquids�
Power setting “2”
10
: turn the control knob
5
to “2”� The drive unit’s motor rotates at
full speed� This speed is ideal for blending
purees and shakes�
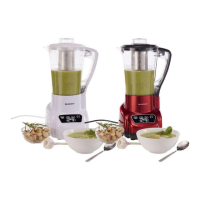
Processing ingredients
Please note:
When crushing ice, do not
put more than 10-12 ice cubes in the
blender jug
7
� Ensure that the ice cubes are
no more than 2�5 cm long�
 Loading...