19 GB/MT
Fig. Step
C
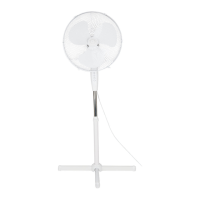
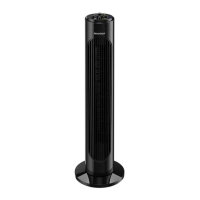
1. Turn the extension pole [] upside down
so that the L-shaped bolt [] is directed
upwards.
2. Remove the L-shaped bolt [] and the
washer [] from the extension pole [].
3. Place the base [] and the base weight
[] on the extension pole [].
4. Fasten the washer [] and the L-shaped
bolt [].
D
1. Turn the assembled parts from the previous
assembly step upside down. Place the
base[] on the floor.
2. Loosen the lock screw[] from the
extension pole[].
3. Place the motor unit’s[] upper pole on
the extension pole []. Align the hole on
the back side. Tighten the lock screw[].
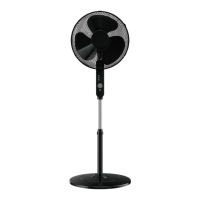
E
Pull off the protective sleeve from the motor
shaft [4]. Discard the protective sleeve.
F
Remove the 4 lock screws [] from the motor
unit [].
G
1. Align the rear grille handle [3] upwards
and to the rear. Attach the rear grille [2]
to the motor unit [].
2. Tighten with the 4 lock screws [].
H
Point the groove on the motor shaft [4]
upwards.
I
1. Loosen the lock screw [] from the
blade [1] (the lock screw is pre-assembled
on the blade’s screw thread).
Place the blade on the motor shaft[4] (the
blade’s rear with the lock screw is facing
the motor unit[]).
2. Tighten the lock screw [].
Fig. Step
J
1. Open the 5 grille clips [] on the front
grille [].
2. Remove the lock nut and the lock
screw [] from the front grille [].
3. Hang the hanger [] of the front grille []
on the rear grille [2].
NOTE: The 5 grille clips [] must fit over
the frame of the rear grille [2].
K
Insert the lock screw []. Fasten the lock
nut []. Close the 5 grille clips [] at the grille
frame.
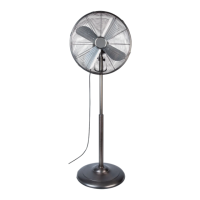
Height adjustment
Loosen the height adjustment knob []
(positioned on the extension pole []) in a
counter-clockwise direction.
Adjust the length of the extension pole [].
Tighten the height adjustment knob [] in a
clockwise direction.
Tilt adjustment
Loosen the knob [9].
Adjust the tilt angle manually.
Tighten the knob [9] again.
Do not perform the tilt adjustment when the
product is in operation.
NOTE: The screw and the nut [8] are intended
for guiding the tilt adjustment. Neither remove the
screw not the nut when adjusting the tilt angle.
Operation
Place the product on a flat, stable ground.
Connect the power plug [7] to a suitable
socket-outlet.