21
GB
WARNING! Risk of material
damage!
~ Never place the device on hot surfaces
(e.g. hot plates) or near to heat sources
or open fire.
~
Only use the original accessories.
~ Do not clean using sharp objects or
abrasive cleaning agents.
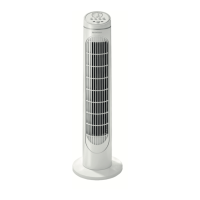
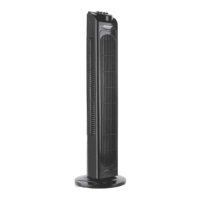
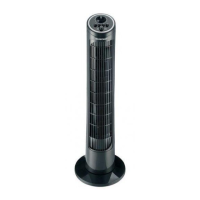
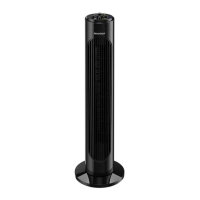
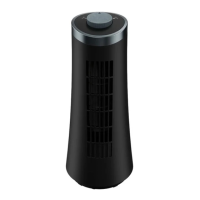
4. Items supplied
1 tower fan16
1 base (consisting of 2 parts)18
1 remote control9 with battery inserted
1 copy of the user instructions
Unpacking
1. Remove all parts from the packaging.
2. Check that all parts are present and in-
tact.
5. Assembling the
device
Before the device can be switched on, the
base18 must be assembled:
1. Figure A: put the back half of the
base20 and the front half of the
base21 together. Ensure that the con-
nection audibly clicks into place.
2.
Pull the mains power cable
19 through
the opening in the middle of the
base18.
3. Figure B: align the guide pin on the
underside of the tower fan16 with the
hole in the base18. Press the base
onto the tower fan. Ensure that the con-
nection audibly clicks into place.
4. Figure C: clamp the mains power ca-
ble19 into the guide for the mains pow-
er cable22.
5. Select a location which complies with the
safety information (see “Safety informa-
tion” on page 18). Ensure that it is stable.
6. Remote control
The remote control9 is supplied with a
CR2025 (3V) battery inserted. Before
switching on, remove the plastic strip from
the remote control.
Changing the battery in the
remote control
DANGER!
~ There is a danger of explosion if the bat-
tery is not correctly replaced. Replace
only with the same or an equivalent
type.
1. Press the small lever on the side of the
battery compartment15 gently in the
direction of the middle, and then pull
the battery compartment out of the re-
mote control9 in the direction of the
arrow.
2. Replace the old battery with a new
one. The positive pole (+) of the battery
must be pointing upwards.
3. Slide the battery compartment15 into
the remote control9.
__384787_2107_B8.book Seite 21 Dienstag, 30. November 2021 2:02 14

 Loading...