MAINTENANCE AND
CLEANING INSTRUCTIONS
A. GENERAL
The periods and the procedures for maintenance
and cleaning are given as guides and are not to
be construed as absolute or invariable.
Cleaning, especially, will vary depending upon
local water and ambient conditions and the ice
volume produced; and, each icemaker must be
maintened individually, in accordance with its
particular location requirements.
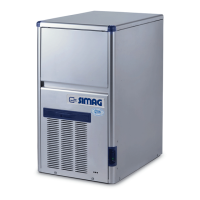
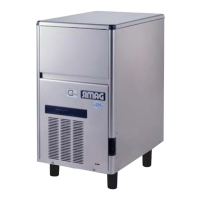
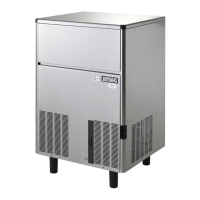
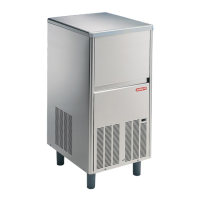
B. ICEMAKER
The following maintenance should be scheduled
at least two times per year on these icemakers,
by using the SIMAG technical service.
1. Check and clean the water line strainer.
2. Check that the icemaker is levelled in side
to side and in front to rear directions.
3. Clean the water system, evaporator, bin
and spray jets using a solution of Ice Machine
Cleaner.
Refer to procedure C cleaning instructions and
after cleaning will indicate frequency and proce-
dure to be followed in local areas.
NOTE. Cleaning requirements vary according
to the local water conditions and individual
user operation. Continuous check of the clarity
of ice cubes and visual inspection of the
water spraying parts before and after cleaning
will indicate frequency and procedure to be
followed in local areas.
4. With the ice machine and fan motor OFF on
air cooled models, clean condenser using vacuum
cleaner, whisk broom or non metallic brush taking
care to do not damage both the condenser and
ambient temperature sensors.
5. Check for water leaks and tighten drain line
connections. Pour water down bin drain line to be
sure that drain line is open and clear.
6. Check size, condition and texture of ice
cubes. Perform adjustment of the evaporator
thermostat or cube size control by turning its
adjusting screw clockwise for a thicker ice cube
and counterclockwise for a thiner one.
7. Check the bin thermostat to test shut-off.
Put a handfull of ice cubes in contact with its bulb.
This should cause the ice maker to shut off within
20÷30", but only at the end of the freezing cycle!
NOTE. Perform the above check only at the
beginning of the harvest cycle as, during the
freezing cycle the bin thermostat contacts
are bypassed by the front microswitch of the
timer.
When remove the ice cubes from its sensing
bulb the unit will restart after few seconds from
the defrost cycle assuring the filling up of the
water tank.
NOTE. It is possible to adjust the setting
temperature of the bin thermostat by slightly
turning its adjusting screw.
8. Check for refrigerant leaks.
C. CLEANING INSTRUCTIONS OF WATER
SYSTEM
1. Remove the front and the top panels to gain
access either to the control box and to the
evaporator.
2. Wait till the end of defrost cycle then, shut
the unit OFF by means of its master switch.
3. Scoop out all the ice cubes stored into the
bin in order to prevent them from being
contaminated with the cleaning solution then
flush out the water from the sump reservoir by
removing the overflow stand-pipe.
4. Prepare the cleaning solution by diluting in
a plastic container two or three liters of warm
water (45°÷50°C) with a 0,2÷0,3 liters of Ice
Machine Cleaner PIN 00100901.
WARNING. The Ice Machine Cleaner
contains Phosphoric and Hydroxyacetic
acids. These compounds are corrosive
and may cause burns if swallowed, DO
NOT induce vomiting. Give large amounts
of water or milk. Call Physician
immediately. In case of external contact
flush with water. KEEP OUT OF THE
REACH OF CHILDREN
5. Remove the evaporator cover then slowly
pour onto the evaporator platen the cleaning
solution. With the help of a brush dissolve the
most resistant and remote scale deposits in the
platen.
6. Set the compressor switch on "0 - OFF"
position and give power to the unit by the master
switch (Fig.6).
NOTE. With the system in CLEANING mode
the water pump is the only component in
operation to circulate the cleaning solution in
the entire water system.
7. Let the unit to remain in the CLEANING
mode for about 20 minutes then switch OFF the
machine.
8. Flush out the cleaning solution from the
sump reservoir then pour onto the evaporator
Page 12