IV. INSTALLATION
IV-A. Load Bank Placement
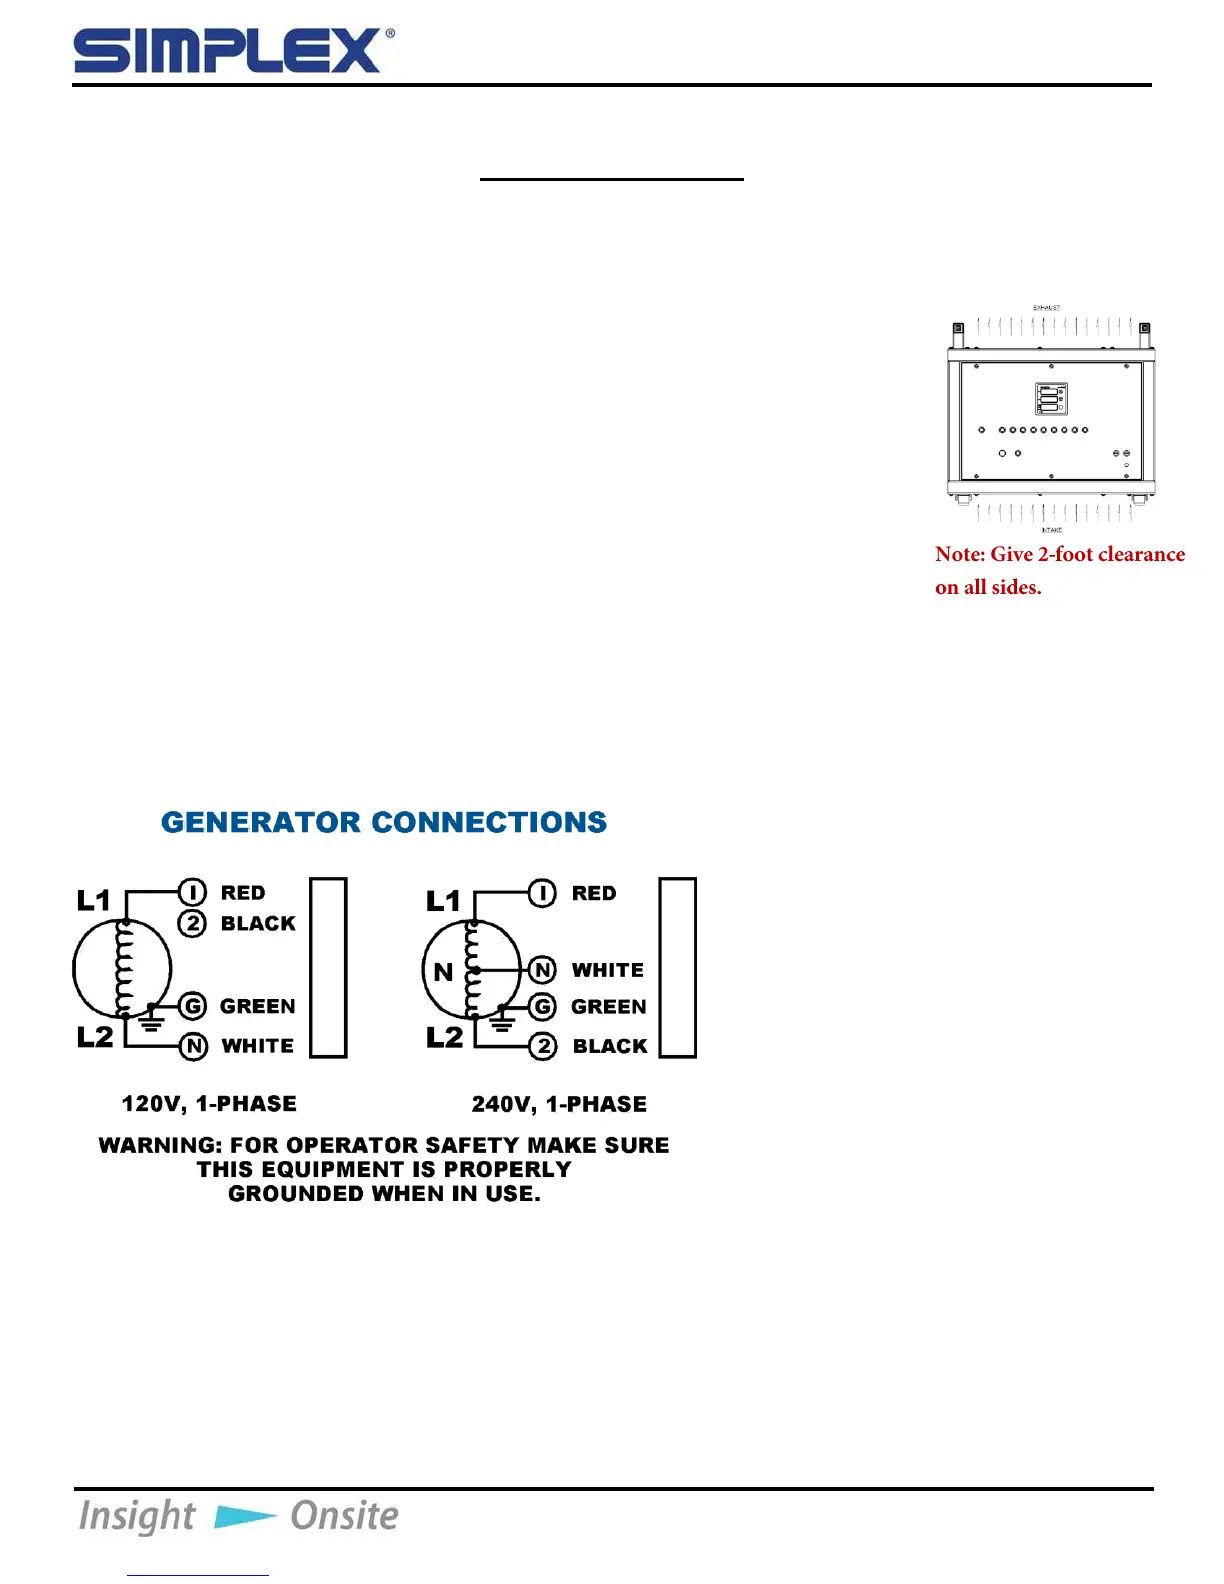
Proper placement of the load bank is essential for the operators’ safety
and maintaining the integrity of the load bank. The load bank requires 6 inches
of clearances on the side and 8 inches on the rear. Avoid blocking the air inlets
on the back and the bottom of the load bank (see Figure 1 Airflow diagram) and
ensure the area around the load bank is clear of debris.
The load bank elements are cooled by dual 135mm fans, and the unit operator
must make allowances for the hot load bank exhaust air.
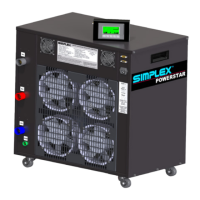
IV-B. Wiring the Load Bank
Using the connection chart found on the Swift-E load bank’s nameplates (see
Figure 2 Wiring directions), wire the load bank to the desired source for testing.
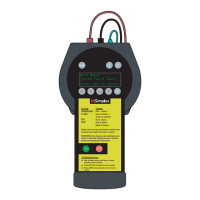
IV-C. Meter Setup Information
Your meter is set up at the factory, but should you need to change the settings, press and
hold the (menu) button for three seconds.