15
and reverse the leads. The polarity switch must be kept in the + DC posi-
tion on this range.
5. Read the current directly on the black arc marked DC, using the 0-50
scale. The current value is shown in microamperes.
6. Turn off power to the circuit. Remove the test leads and restore the circuit
continuity.
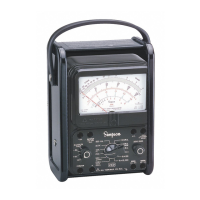
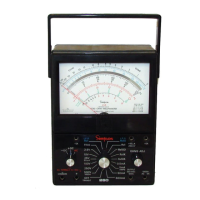
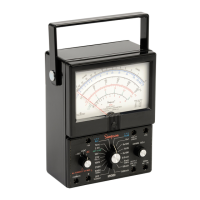
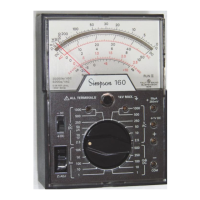
4.13
Measuring Direct Current, 0-1 Through 0-500
mA
Range
s
1. Connect the black test lead to the COM (–) jack and the red test leads to
the + jack. Set the polarity switch to the + DC position.
2. Set the range switch to any of the five mA direct current range positions,
as desired. The switch positions are marked 1 mA, 10 mA, 100 mA, 250
mA, and 500 mA. When in doubt as to which range to use, always start
with the highest ranges as a protection to the Instrument.
3. When the circuit power is turned off, open the circuit at the point where
current is to be measured. Connect the Instrument in series with the cir-
cuit, observing proper polarities.
4. Apply power to the circuit being measured. If the pointer deflects to the
left of zero, the polarity is reversed. Turn off the power. Set the polarity
switch to the –DC position and then reapply the power.
5. Read the current on the black scale marked DC, which is second from
the top of the dial.
mA Range
Use
Scale Reading
1.0 0-10 Divide by 10
10 0-10 Read direct value
100 0-10 Multiply reading by 10
250 0-2.5 Multiply reading by 100
500 0-50 Multiply reading by 10
6. Turn off power to the circuit. Remove the test leads and restore
circuit continuity.
5.
BATTERY
REPLACEMENT
When the Ohms Adjust control cannot be adjusted for zero ohms (with shorted
test leads), it is generally an indication that the battery must be replaced. Fail-
ure to do so promptly can result in damage to the 160 due to chemical leak-
age from the battery.
To replace the battery, remove the screw holding the back cover to front panel
and separate the back cover from the front panel. Loosen the screw securing
the battery contact plate located at the top of the 160 panel assembly, then
rotate the contact plate enough to allow removal of the batteries. When in-
stalling new batteries, note battery placement and polarity as indicated on
the contact plate.