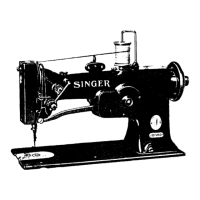
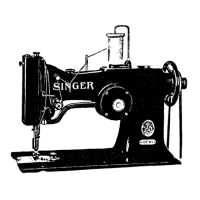
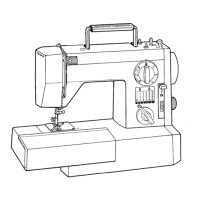
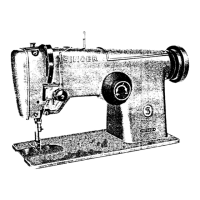
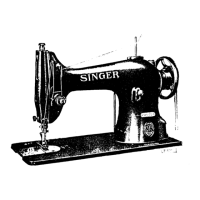
Do you have a question about the Singer 107W102 and is the answer not in the manual?
Describes operating modes, stitch adjustment via hand lever, and using flat needle plate for embroidery.
Details using Cording Attachments 233217 or 233221 with flat needle plate for cording.
Explains fitting the machine with Madeira Attachment 233212 for specific embroidery styles.
Specifies the maximum recommended operating speed and pulley direction for the machine.
Instructions for removing the bobbin case and bobbin from the machine.
Procedure for winding thread onto the bobbin using the bobbin winder.
Step-by-step guide for properly threading the bobbin case with thread.
Detailed instructions for threading the needle from the thread guides to the needle eye.
Explains how to control stitch width using the knee lever and lateral vibration.
Adjusting the spindle for the widest needle bar throw required for flat embroidery.
How to use the machine for flat embroidery, including hoop use and thread pickup.
Setting the lever plunger for continuous width seams like striping.
Adjusting the throat plate to prevent needle contact with the plate.
Adjusting needle bar throw and securing the lock nut for Madeira embroidery.
Describes selection of spur plates, presser feet, and punches based on eyelet size.
Instructions for Madeira embroidery operation, including hoop use and knee lever control.
Procedures for attaching cording attachments to the machine.
Adjusting machine settings, needle bar throw, and needle plate for cording.
Instructions for threading the cord guide tube with the cord.
How to operate the machine for cording, guiding work and ensuring cord placement.
Describes the correct tension for a perfect stitch where threads lock in material center.
How to regulate upper and under thread tensions using thumb nut and screw.
General instructions on oiling points, oil type, and frequency of oiling.
Illustration identifying oiling points on the front of the sewing machine.
Illustration identifying oiling points on the back of the sewing machine.
Illustration identifying oiling points on the base of the sewing machine.
Explains the function and adjustment of the automatic thread controller.
Details the function of the controller spring and how to adjust its action.
Procedures for setting and timing the needle bar and sewing hook.
Checking the correct setting of the needle bar using position marks.
Setting the needle bar when no timing marks are present.
Instructions for removing the arm shaft connection belt.
Procedures for removing the arm shaft and its components.
| Brand | Singer |
|---|---|
| Model | 107W102 |
| Category | Sewing Machine |
| Language | English |