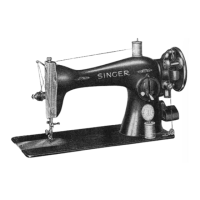
12
To Replace the
Bobbin
Case
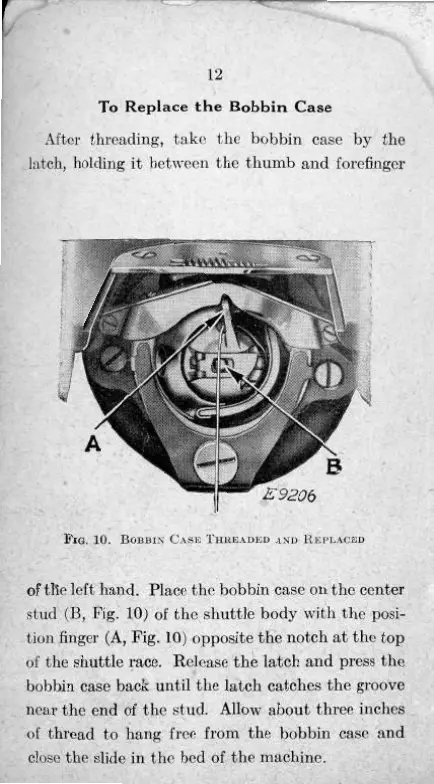
After threading, take the bobbin case by the
latch, holding it between the thumb and forefinger
FIG. 10.
BOBBIN CASE THREADED AND REPLACED
of the left hand. Place the bobbin case on the center
stud (B, Fig. 10) of the shuttle body with the posi-
tion finger (A, Fig. 10) opposite the notch at the top
of the shuttle race. Release the latch and press the
bobbin case back until the latch catches the groove
near the end of the stud. Allow about three inches
of thread to hang free from the bobbin case and
close the slide in the bed of the machine.
12
To
Replace
the
Bobbin
Case
After
threading, take the bobbin
case
by the
latch,
holding it between the thumb and forefinger
FIG.
10. BOBBIN CASE THREADED AND REPLACED
of
the left hand. Place the bobbin
case
on the center
stud (B, Fig. 10) of the shuttle body
with
the posi-
tion
finger (A, Fig. 10)
opposite
the notch at the top
of
the shuttle race. Release the latch and
press
the
bobbin
case
back
until
the latch catches the
groove
near the end of the stud.
Allow
about
three inches
of
thread to hang free from the bobbin
case
and
close
the
shde
in the bed of the machine.
 Loading...