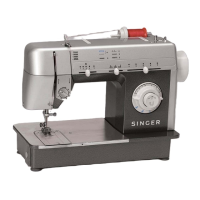
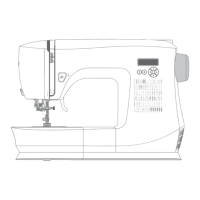
43
INSÉRER UNE FERMETURE À
GLISSIÈRE OU UN BIAIS (GALONNER)
Utilisez le pied fermeture glissière, au moyen duquel vous
pouvez piquer aussi bien à gauche qu' à droite, ou aussi au
plus près du cordonnet.
EXÉCUTION DU POINT DE
MATELASSAGE
Ce point est conçu pour ressembler à un point cousu à la
main pour la surpiqûre et le matelassage.
1. Enfilez la bobine en utilisant la couleur voulue pour la
surpiqûre.
2. Enlez la machine en utilisant un l invisible ou de même
couleur que le tissu et qui ne se verra pas.
3. Augmentez légèrement la tension du l.
4. Commencez à coudre.
INSERTION DE FERMETURES À GLISSIÈRE ORDINAIRES
Pour piquer le côté droit, changez le pied et placez le pied
à droite de l'aiguille, de facon à ce que celle-ci entre dans
l'encoche prévue.
Pour piquer le côté gauche, vous placez le pied à gauche de
l'aiguille.
GALONNER-BIAISER
Placez le cordonnet dans la bande de biais et épinglez ou
faullez-la sur l'étoffe.
Placez le pied fermeture glissière vers la gauche, de facon à
ce que l'aiguille entre dans l'encoche située du côté droit du
pied.
Suggestion utile: À l’aide de la commande de largeur de
point, vous pouvez effectuer un léger ajustement de la
position de l’aiguille pour coudre plus près du biais.
POINT DROIT AVEC FONCTION DE
NOUAGE AUTOMATIQUE
1. Appuyez sur le rhéostat; la machine coudra alors 4 points
en marche avant puis 4 points en marche arrière, et
continuera à coudre en marche avant jusqu’à ce que vous
relâchiez le rhéostat.
2. Appuyez sur l’interrupteur de marche arrière; la machine
coudra alors 4 points en marche arrière puis 4 points en
marche avant, puis s’arrêtera.
REMARQUE: pour une apparence dramatique,
expérimentez avec des combinaisons de différentes
tensions et longueurs de point.
INSERTING ZIPPERS AND PIPING
Use zipper foot to sew to the right or left of the zipper or close
to the cord.
INSERTING ZIPPERS
To sew down the right side, attach left side of zipper foot to
presser foot holder so that the needle passes through the
opening on the left side of the foot.
To sew down the left side, attach right side of foot to foot
holder.
HAND-LOOK QUILT STITCH
This stitch is designed to look like hand sewing for topstitching
and quilting.
1. Thread bobbin with desired top stitching color. When
sewing the machine will pull this thread to the top.
2. Thread machine with invisible or lightweight thread the color
that matches your fabric. This thread should not show.
3. Increase thread tension a little bit at a time until you
acheive the desired appearance.
4. Start to sew.
PIPING
Create a piping by covering a ller cord with a bias strip of
fabric. Attach the right side of the zipper foot to the foot holder
so that the needle passes through the right side of the zipper
foot.
Baste the seam allowances together, enclosing the ller cord,
forming seam tape for the piping.
Helpful Hint: Slight adjusting of the needle position to
sew closer to the piping may be accomplished with
the Stitch Width Control.
STRAIGHT STITCH WITH AUTO
TIE-OFF FUNCTION
1. Press the foot control and the machine will sew 4 stitches
forward and then 4 stitches in reverse and continue to sew
forward until the foot control is released.
2. Push the reverse button and the machine will sew 4
stitches in reverse and then 4 stitches in forward and stop.
NOTE: For a dramatic appearance, experiment with
different tension and stitch length combinations.