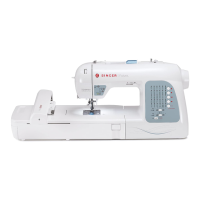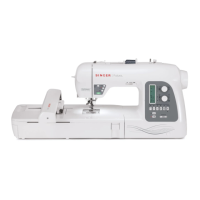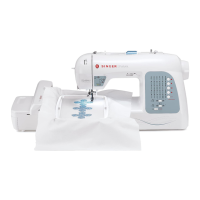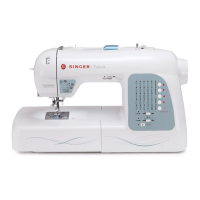
Do you have a question about the Singer Futura Quartet FQ-4 and is the answer not in the manual?
| Built-in Stitches | 125 |
|---|---|
| Built-in Embroidery Designs | 125 |
| LCD Screen | Yes |
| USB Connectivity | Yes |
| Automatic Needle Threader | Yes |
| USB Port | Yes |
| Built-in Memory | Yes |
| Stitches | 125 |
| Type | Embroidery and Sewing Machine |
| Weight | 20 lbs |
| Embroidery Hoop Size | 10" x 6", 4" x 4" |
Verifies needle bar height using a 28.95 mm gauge.
Adjusts needle bar height by loosening and tightening a set screw.
Assesses threader hook entry into the needle eye for proper function.
Adjusts the threader hook's vertical placement for correct operation.
Verifies presser foot clearance and parallelity to the needle plate.
Adjusts presser foot height and parallelity using set screws.
Checks presser foot parallelity to the needle plate slot.
Adjusts the front-to-back parallelity of the presser foot.
Checks side-to-side parallelity to the feed dog slots.
Adjusts the side-to-side parallelity of the presser foot.
Verifies feed-dog height above the needle plate.
Adjusts feed-dog height using a screw and nut mechanism.
Checks the timing of the needle bar's sideways movement.
Adjusts the sensor cam position for correct synchronizer timing.
Checks feed dog backward movement relative to needle drop.
Adjusts feed dog timing by modifying set screws on the lower shaft.
Verifies that no fabric feeding occurs in the 'Zero' feed test mode.
Adjusts 'Zero' feeding by controlling forward/reverse feed direction.
Checks stitch balance by sewing a keyhole buttonhole.
Fine-tunes stitch balance by adjusting the motor gear position.
Confirms the needle is centered within the middle needle plate slots.
Adjusts needle centering using an eccentric screw on the needle bar.
Verifies the timing belt tension is neither too tight nor too loose.
Adjusts belt tension by repositioning the idler pulley.
Checks hook tip position relative to needle at lower turning point.
Checks hook tip position relative to needle eye during upward movement.
Adjusts hook timing by turning the lower shaft screws.
Checks for gear play at four positions by rotating the cog wheel.
Adjusts hook gear play using an eccentric bearing and slot.
Checks alignment of the bobbin case stop with the plate spring's line.
Adjusts the retaining bracket position using screws for proper alignment.
Checks the hook's position relative to the stopper spring plate.
Adjusts the timing by turning the main shaft gear.
Checks for excessive noise and play in the take-up lever gears.
Adjusts gear play by repositioning the eccentric gear shaft.
Checks that needle clearance to hook is even at left/right positions.
Adjusts needle bar parallelism by moving the shifting bracket.
Checks needle clearance to hook is within 0.05-0.15 mm.
Adjusts needle clearance by turning a screw for the support shaft.
Checks needle positioning in the needle plate hole after adjustments.
Adjusts needle plate position using hexagonal screws and stopper plates.
Verifies bobbin thread tension provides 10-14 g resistance.
Adjusts bobbin thread tension by turning a tension screw.
Checks upper thread tension with bobbin tension correctly set.
Adjusts upper thread tension using a wheel and tension gauge.
Tests needle positioning at L/C/R without fabric feed.
Checks zig-zag step motor and center needle position.
Verifies stitch balance through a specific feeding and stitching sequence.
Checks the bobbin sensor and deactivates top thread detection.
Tests machine alignment with programmed forward and reverse feed.
Moves the embroidery unit to its original starting point.
Moves the embroidery unit diagonally from upper right to lower left.
Sews four corners of a pattern and then stops.
Sews four corners in a different sequence and then stops.
Continuously sews a diagonal line from upper right to lower left.
Continuously sews a diagonal line from upper left to lower right.
Continuously sews large diamond shapes at a set speed.
Continuously sews small diamond shapes at a set speed.
Adjusts the X-axis origin position by manipulating a braking plate.
Adjusts the Y-axis origin position by manipulating a braking plate.
