Do you have a question about the Singer Futura XL-550 and is the answer not in the manual?
| Maximum Sewing Speed | 850 stitches per minute |
|---|---|
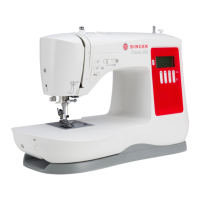
| Display | LCD Touch Screen |
| USB Connectivity | Yes |
| Automatic Needle Threader | Yes |
| Weight | 20 lbs |
| Type | Sewing and Embroidery |
| Embroidery Area | 10 x 6 inches |
| Presser Feet | Multiple included |
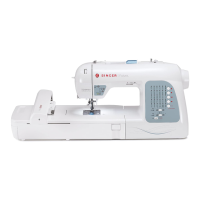
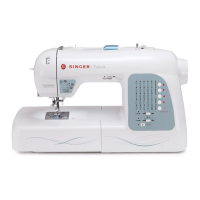
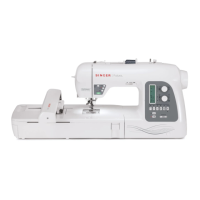
Identifies all parts of the sewing machine.
Lists all accessories included for the sewing machine.
Lists all accessories included for the embroidery unit.
Explains how to connect the power cord and foot control.
Explains the function of the power and light switch.
Describes how to use horizontal and vertical spool pins for thread.
Discusses fabric types and their suitability for embroidery.
Lists thread types and characteristics.
Lists needle types and sizes.
Explains how thread tension affects straight stitch appearance.
Explains tension for zigzag, satin, and buttonhole stitches.
States bobbin tension is factory-set and usually not adjustable.
Explains the LCD display for sewing, programming, and embroidery.
Explains how to use direct selection buttons for stitches.
Explains how to enter Program Mode for stitch programming.
Explains how to set stitch width and length using the dial.
Explains how to scroll through and delete programmed stitches.
Activates tacking stitch mode for securing stitches.
Automatically cuts top and bobbin threads.
Selects needle position (up or down) when stopped.
Activates reverse sewing function.
Starts and stops sewing operations.
Indicates machine status with LED lights.
Adjusts the sewing speed.
Provides quick reference for stitch length and width settings.
Explains how to adjust needle position for straight stitch.
Details settings for straight stitch, including presser foot.
Provides tips for sewing straight seams using needle plate guides.
Explains how to insert zippers using the zipper foot.
Explains how to create piping using a filler cord and fabric.
Explains how to adjust stitch width and length for zigzag.
Explains how stitch width affects pattern placement.
Specifies the blind hem foot for blind stitching.
Describes regular blind stitch for normal fabrics.
Describes elastic blind stitch for stretchable fabrics.
Specifies the general purpose foot for multi-stitch zigzag.
Specifies the general purpose foot for stretch stitches.
Describes the straight stretch stitch for knits and sportswear.
Covers overedge, ric-rac, feather, and blanket stitches.
Covers honeycomb and slant overedge stitches.
Covers turkish, slant pin, and thorn stitches.
Covers reinforced overedge for lingerie and wizard stitch for stretch fabrics.
Covers crossed stitch for elastic fabrics and pin stitch for picot edges.
Covers entredeux stitch for decorative borders and heirloom sewing.
Specifies the button sewing foot for sewing on buttons.
Explains how to use the buttonhole foot.
Outlines the procedure for sewing buttonholes.
Specifies the satin foot for decorative sewing.
Provides tips for using decorative stitches.
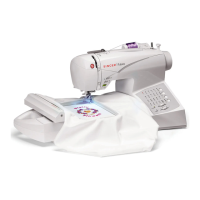
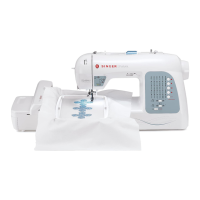
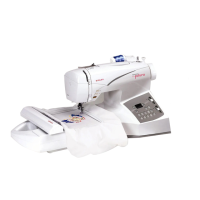
Steps to prepare before attaching the embroidery unit.
Instructions for attaching the embroidery foot.
Instructions for inserting the bobbin for embroidery.
Discusses fabric types and their suitability for embroidery.
Explains what stabilizer is and its types.
Explains the function of operation switches for embroidery.
Covers thread cutter, start/stop, forward/reverse stitch buttons.
Covers LED indicators and thread tension adjustment.
Lists common issues like skipped stitches and thread breaks.
Lists problems related to the machine side.
Lists problems related to the hoop side.
Addresses missing stitches and how to step back.
Troubleshoots when the screen indicates thread break but it's not.
Addresses stitch density issues after resizing designs.
Covers adjusting design density, resizing letters, and deleting design parts.
Addresses lettering density and reasons for design segmentation.
Provides tips for using the AutoPunch feature.
Explains how to prepare fabric for multi-hooping.
Guides on using the software's multi-hoop feature.
Explains how to move the hoop using shift buttons and press OK.
Explains how to send design data to the machine.
Guides on transferring subsequent design data and re-hooping.
Instructs to repeat the process for data 3 and data 4.
Explains how to navigate between color blocks in a design.
Explains how to move to a specific stitch position within a color block.
Lists messages displayed on the control panel.
Explains the three positions of the presser foot lifter.
Explains the function and usage of the feed dog control.
Explains how to convert the machine for free-arm sewing.
Lists common problems and their solutions.
Lists common stitching problems and their solutions.
Lists common thread-related problems and solutions.
Describes the satin stitch foot and its uses.
Explains the twin needle and its benefits.
Provides instructions for threading the twin needle.
Lists messages displayed on the control panel.
Lists safety precautions to reduce risks of burns, fire, shock, or injury.
Warns about moving parts, servicing, and electrical safety.
Covers foot control compatibility and polarized plug usage.