8
EYEPIECE ASSEMBLY
Fig.12
Fig.14
Fig.13
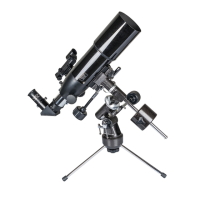
Refractor and MaksutovReflector
Fig.15
Fig.16
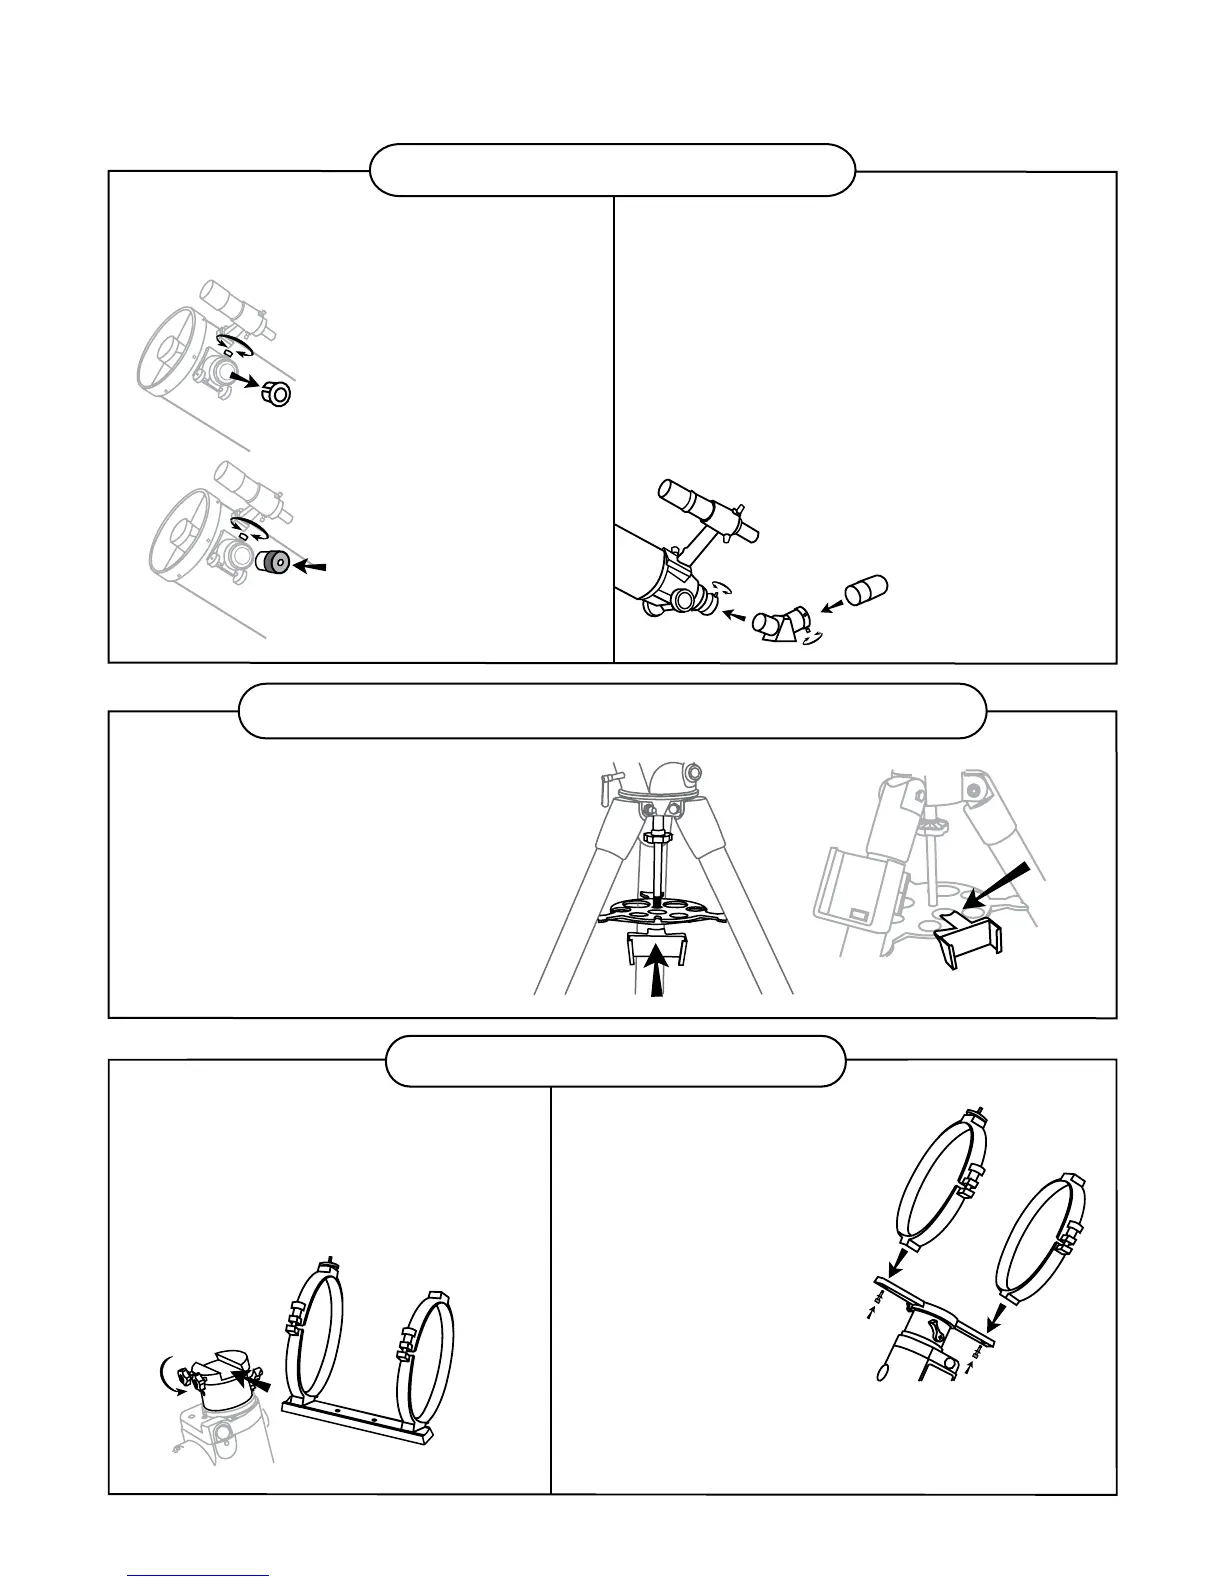
Locate the hand control holder. Slide
the holder onto the accessory tray as
shown in Fig.16.
INSTALLING THE HAND CONTROL
HOLDER (Fig.15, 16)
(for SynScan only)
HAND CONTROL HOLDER INSTALLATION
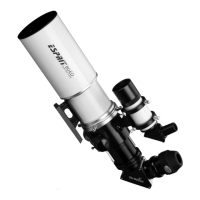
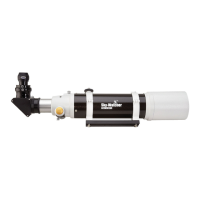
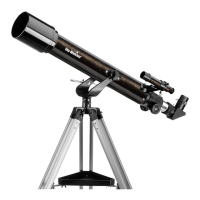
INSERTING THE EYEPIECE (Fig.12, 13) INSERTING THE EYEPIECE (Fig.14)
1) Unscrew the
thumbscrews on the
end of the focus tube
to remove the black
plastic end-cap.
2) Insert the desired
eyepiece and secure
it by retightening the
thumbscrews.
1) Loosen the thumbscrew on the
end of the focus tube.
2) Insert the diagonal into the focus
tube and re-tighten the
thumbscrew to hold the diagonal
in place.
3) Loosen the thumbscrews on the
diagonal.
4) Insert the desired eyepiece into
diagonal and secure by
re-tightening the thumbscrews.
Fig. 18
(diagram applicable to both mounts)
(Please attach the tube rings to the mounting plate as shown if the rings are not
already attached)
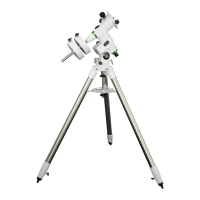
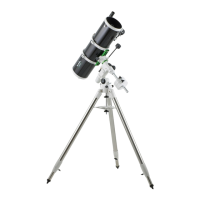
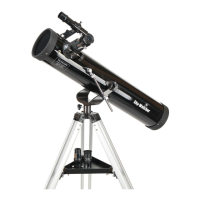
TELESCOPE ASSEMBLY
Fig. 17
ATTACHING THE MOUNTING PLATE
(Fig.17)
1) Position the mounting plate on the
mounting bracket.
2) Secure by tightening the two locking
screws.
ATTACHING THE TUBE
RINGS (Fig.18)
1) Remove the telescope
tube assembly from its
plastic packaging.
2) Remove the tube rings
from the telescope by
releasing their thumb nuts
and opening their hinges.
3) Using the bolts provided,
fasten the tube rings to the
mount with the 10mm
wrench provided.
 Loading...