3
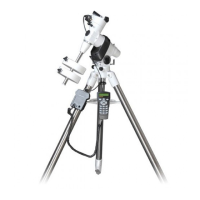
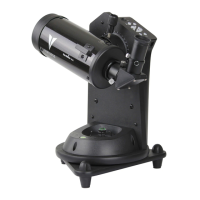
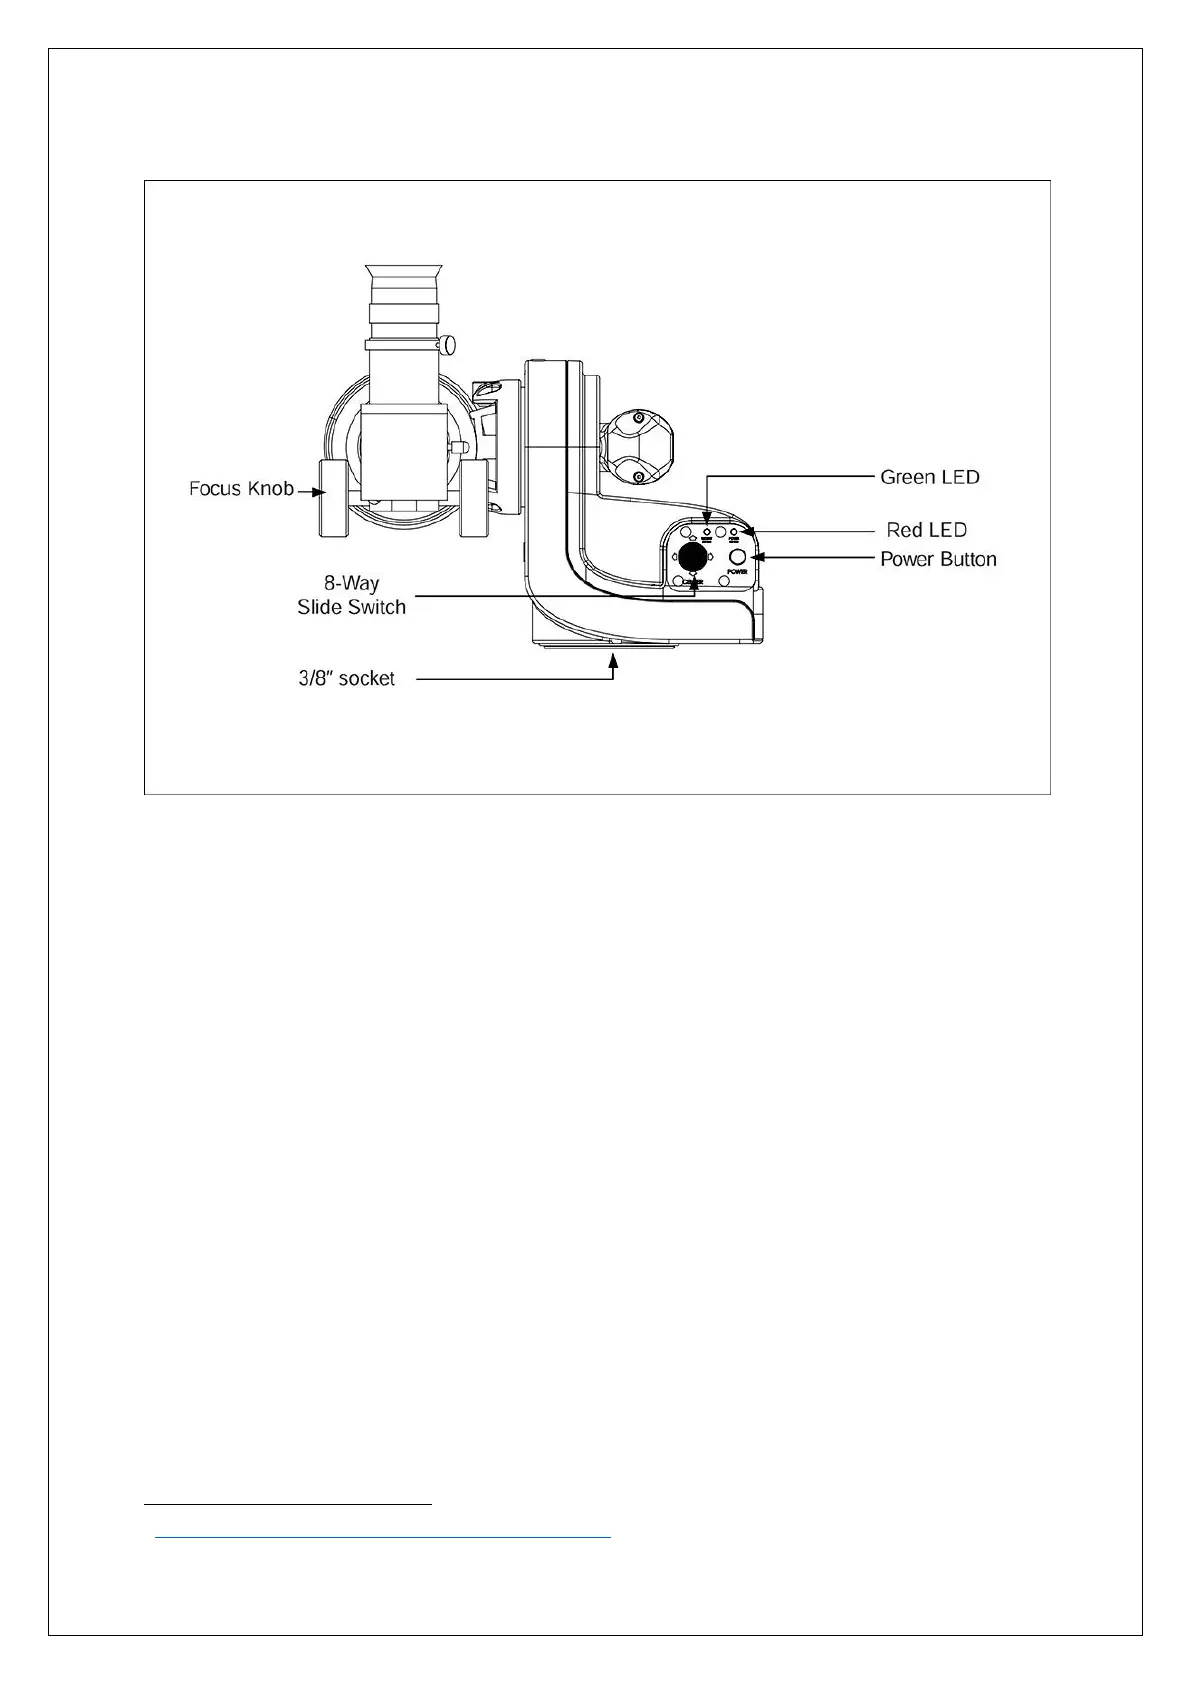
Figure 3- SolarQuest diagram.
Using the SolarQuest mount is surprisingly easy. The mount is lightweight and includes a tripod. The
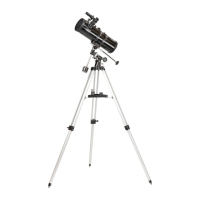
tripod and pier extension are the same supplied with the SW AZ GTi mount
.
After levelling the tripod and attaching the solar telescope, the only thing left to do is to turn on the
mount. SolarQuest then gets a GPS fix (about 1 to 2 min) and raises the OTA to the correct altitude
and starts to slew in azimuth until it finds the Sun.
When you use the mount for the first time, the 8-way slide switch should be used to centre the sun
in the field-of-view. The power button should then be pressed twice, and this offset is stored and
applied every time the mount is switched on. It is that simple.
Under clear skies the mount tracks the Sun flawlessly, keeping the Sun it in the Field-of-view for
hours.
Point to the Sun automatically:
1. Turn on power. The SolarQuest will level the solar telescope automatically and then takes up
to 2 min to acquire GPS lock before the next movement.
2. The SolarQuest will bring the solar telescope to the elevation of the Sun and starts slewing in
clockwise in the azimuth direction to search for the Sun.
3. The red LED (figure 3) will blink slowly during the search and becomes solid after the
SolarQuest mount locates the Sun successfully.
4. Use the 8-way slide switch (Figure 3) to centre the Sun in the FOV of the eyepiece. It is
normal to find lags in movement when switching to an opposite direction.
 Loading...