8
Preparation :
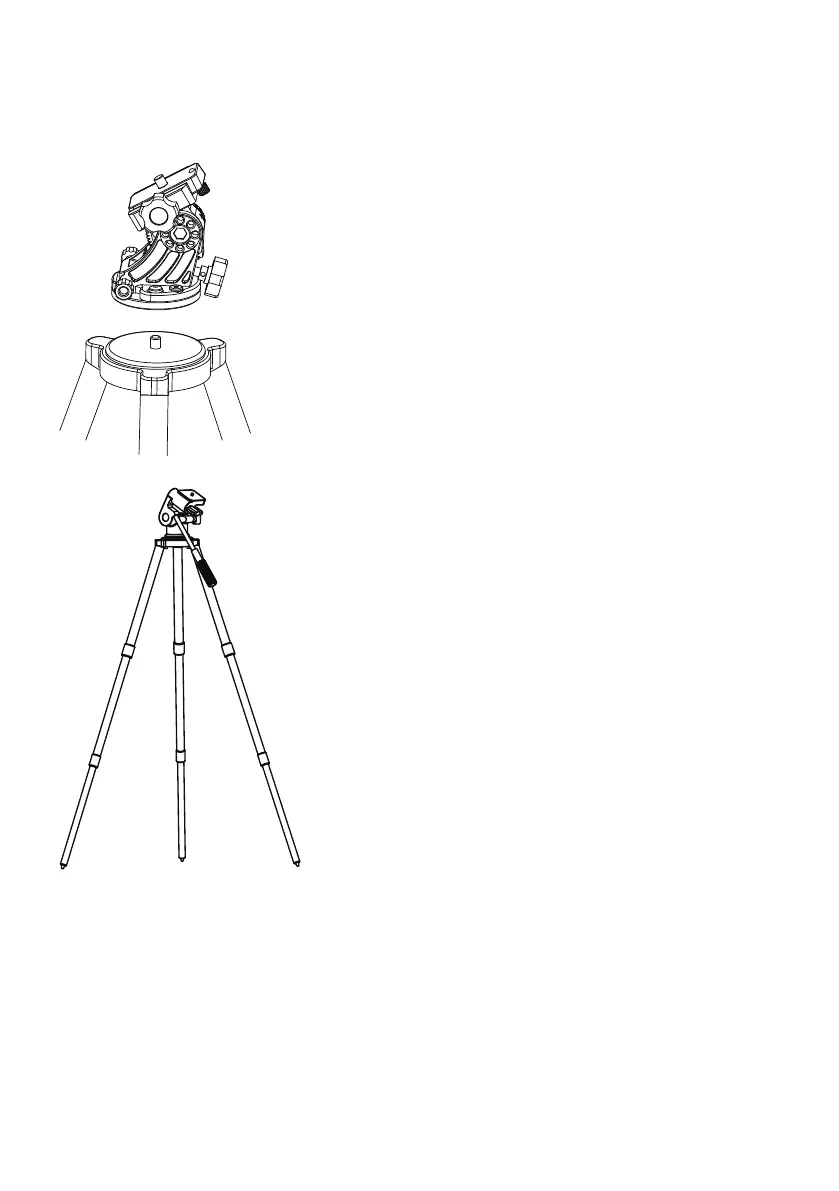
Without Tilt-head: take a standard photo tripod or video
tripod with a 3/8” connection screw. Spread the legs and
secure the tripod legs at the desired height to provide
a stable support for your Star Adventuer 2i. Assemble
Equatorial Wedge to the tripod as Fig 1.
With Tilt-head/Ball-head: Take a standard photo
tripod or video tripod with Tilt-head or Ball-head. Spread
the legs and secure the tripod legs at the desired height
to provide a stable support for your Star Adventurer 2i
as Fig 2.
With Equatorial Wedge: Make sure the 1/4" to 3/8" Convert Screw Adapter is not in
the 3/8" threaded socket at the bottom side of the Star Adventurer 2i. If it is, use a Slot
Screwdriver to remove it. Mount the Star Adventurer 2i on the (optional) Equatorial
Wedge (Fig 3). Make sure the Stopper is facing forward. Then point the Polar Scope to
the direction of the North Pole (For Northern Hemisphere observing) or South Pole (For
Southern Hemisphere observing) (Fig 4). Lastly, complete the Polar Alignment process
(Please see Polar Alignment session for reference).
Setup Tripod:
Mount Star Adventurer 2i:
 Loading...