Boom
3-6
31211015 6036, 6042, 8042, 10042, 10054
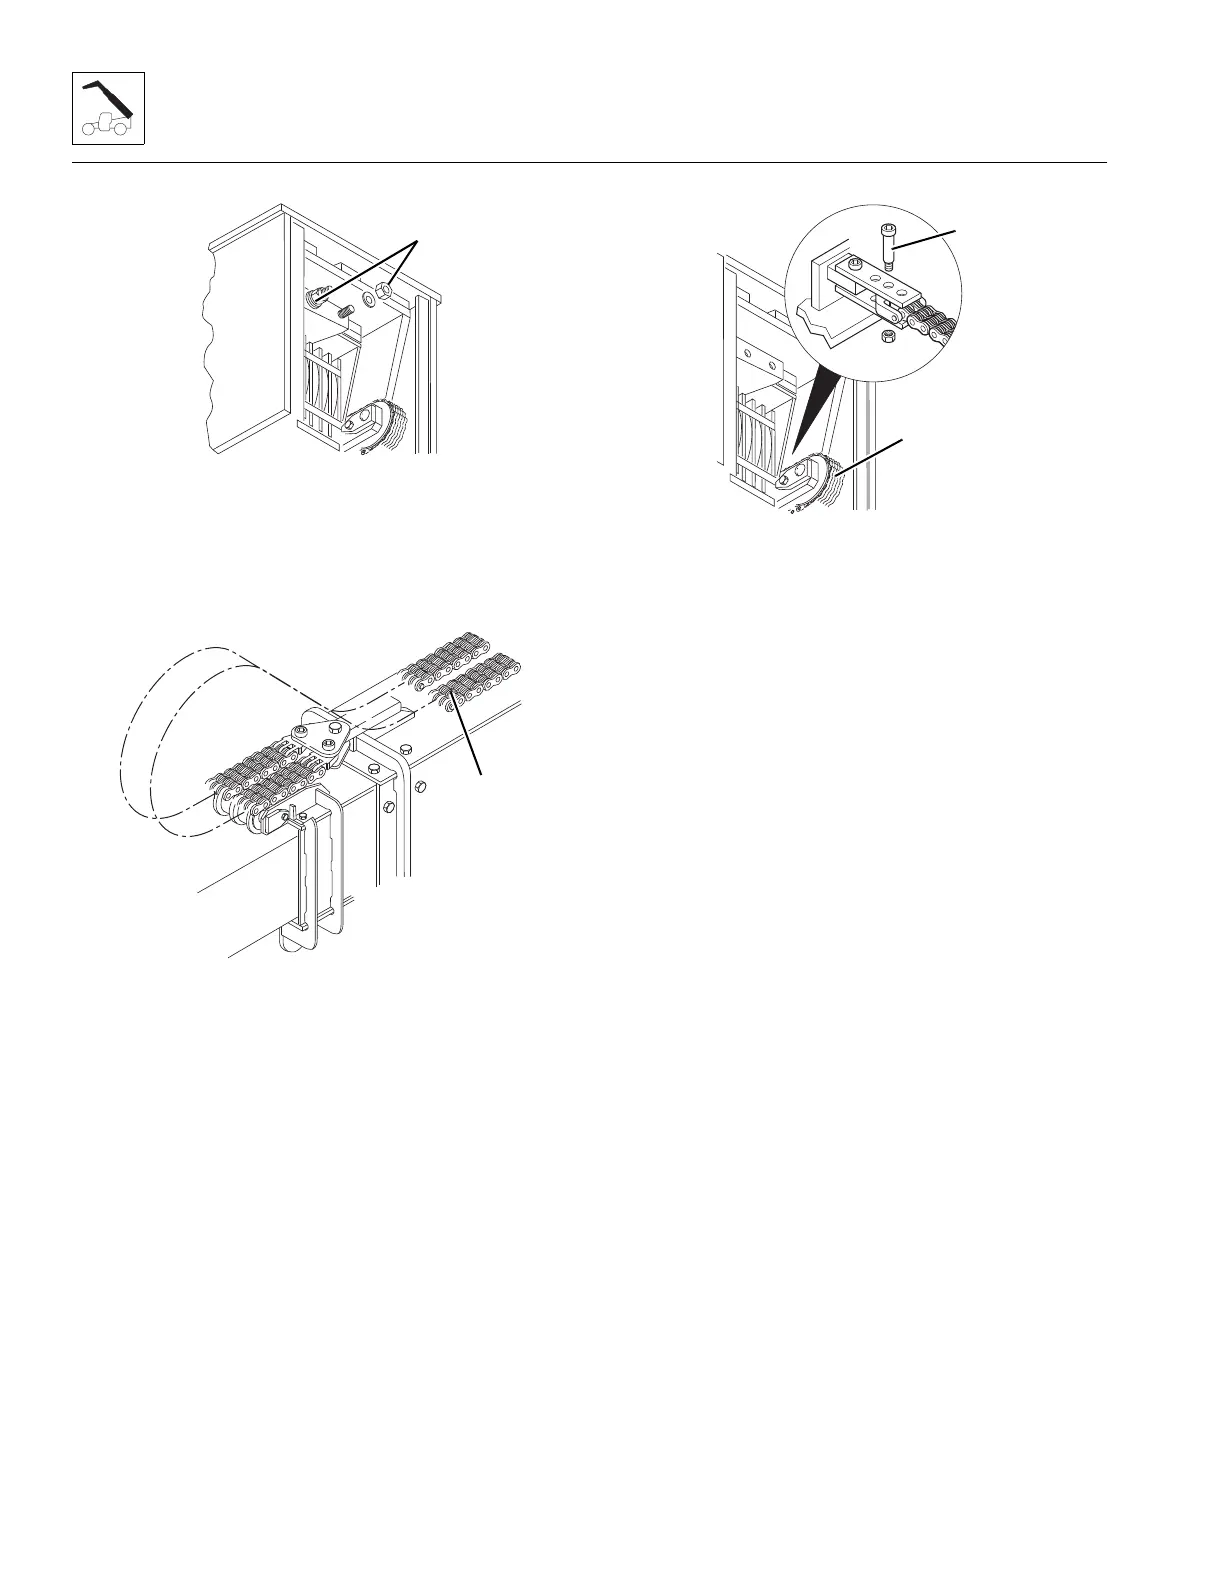
14. At the rear of the boom, measure the amount of threads
protruding beyond each locknut (4) and record the
measurement for reassembly. Remove the two locknuts
and flat washers holding both extend chain clevis’ to
the anchor plate on the first boom section.
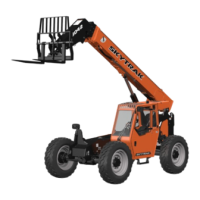
15. At the front of the second boom section, pull both
extend chains (5) out from between the second and
third boom sections. The extend chains can remain
anchored between the yoke plates on the first boom
section. Loop both chains over the top of the chain
sheave and lay the chains on top of the boom.
Note: Record the location of the shoulder bolt (6) to ensure
correct installation.
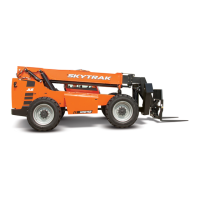
16. At the rear of the boom, locate the retract chain (7) on
the right side of the boom. In front of the retract chain
sheave, locate the shoulder bolt which holds the retract
chain to the anchor plates on the third boom section.
Remove the locknut from the shoulder bolt. Allow the
retract chain to hang out the rear of the boom.
Note: If replacing the third boom section with a new boom
section, the quick coupler assembly and the Attachment Tilt
cylinder should be removed at this time. Refer to Section Note:,
“The following procedure covers all styles of quick couplers.”
If the third boom section is not to be replaced, the quick coupler
assembly and Attachment Tilt cylinder can remain in place.
17. Using a sling or suitable support, pull the third boom
section straight out of the second boom section.
Reposition the slings as needed so the third boom
section balances when removed from the second boom
section. Set the boom section down on a hard, level
surface. Support the boom as needed to prevent it from
tipping over.
18. At the rear of the third boom section, remove the
remaining wear pads, shims and hardware. Label and
tag each set of wear pads being removed.
19. Inspect all wear pads for wear. Refer to Section 3.8,
“Boom Wear Pads”.