10
EMPTYING:
1. To remove the Vac head, unclip the side clamps and us-
ing the top handle, li the Vac head out of the drum.
Place Vac head safely on the ground.
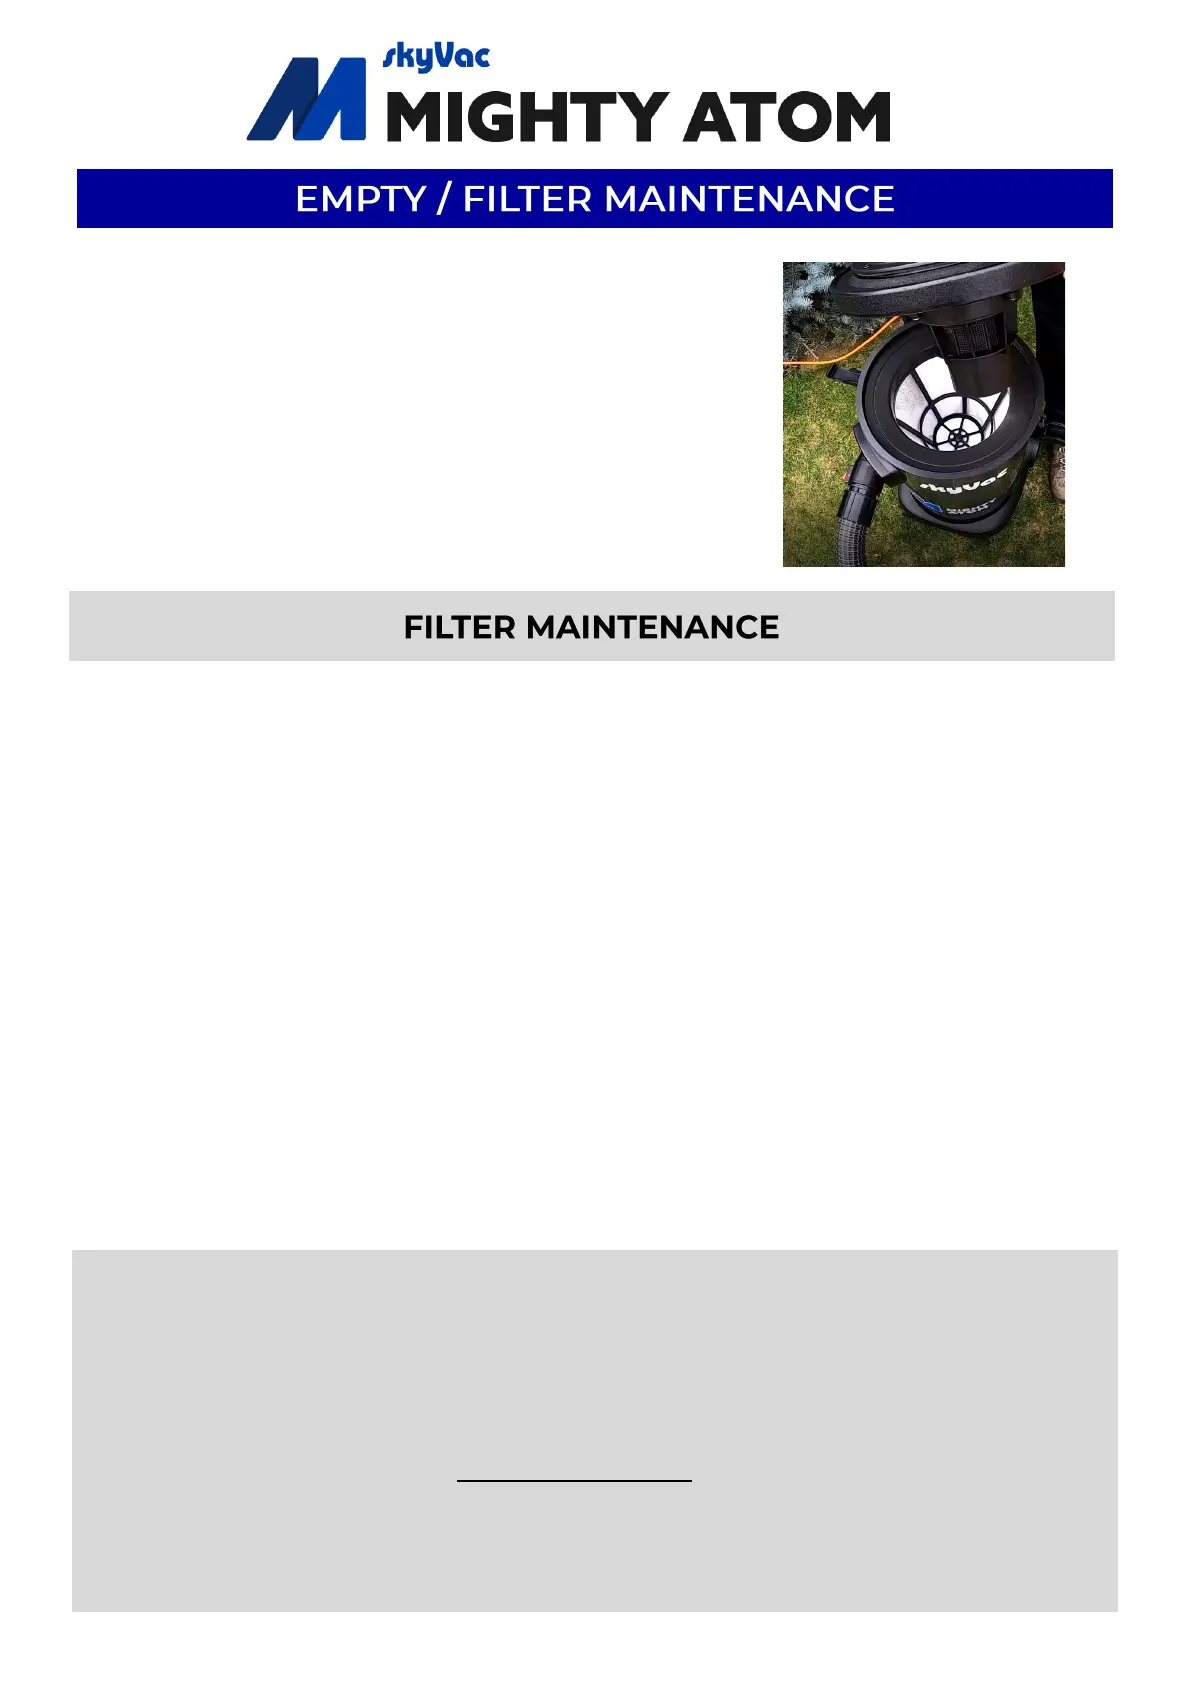
2. To remove the lter, li the circular frame from the
neck of the drum.
3. To empty drum contents, li the base and lt the con-
tents into a ower bed, bucket.
STEP 4
STEP 6
STEP 3
TO CLEAN:
1. Brush the sides of the lter with a s brush to remove excess dirt.
2. If the lter is exceponally dirty, use a domesc hose with spray jet aachment to
wash down.
3. Brush around the air intake secon of the vacuum head.
1. Sing in between the Vac head and the drum, the lter prevents dust and debris
from entering the motor.
2. For maximum sucon, start each project with a clean and dry lter.
3. We recommend keeping the lter in at all mes to protect the motor.
4. When emptying your vacuum throughout the day, ensure the lter is replaced with
the vac port directed at the same spot.
5. Remove and clean your lter at the end of each project.
6. Start new projects with a CLEAN and DRY lter.
NOTE:
1. The motor drawers air into the engine, passing through the lter.
2. If the lter becomes 1) clogged with dirt or 2) wet through, then air ow to the motor be-
comes restricted.
3. A dirty / clogged lter will aect your engine performance and can result in a loss of suc-
on.
4. The lter can be removed for extremely wet projects (where there is no risk of dry dust en-
tering the motor) - but MUST be replaced at the start of each new project.
5. We recommend having a spare lter with your system, so you can alternate lter use.
6. Replace your lter every six months.
 Loading...