Step 4C: Adjust Hot Water Temperature
For machines with hot water
Parts and tools:
•
Flat-head screwdriver
Procedure:
1. Remove the cup tray.
2. Use a large, flathead screwdriver to remove the two top and one lower rear
screws from the x-leg, then lift to remove the left rear side panel.
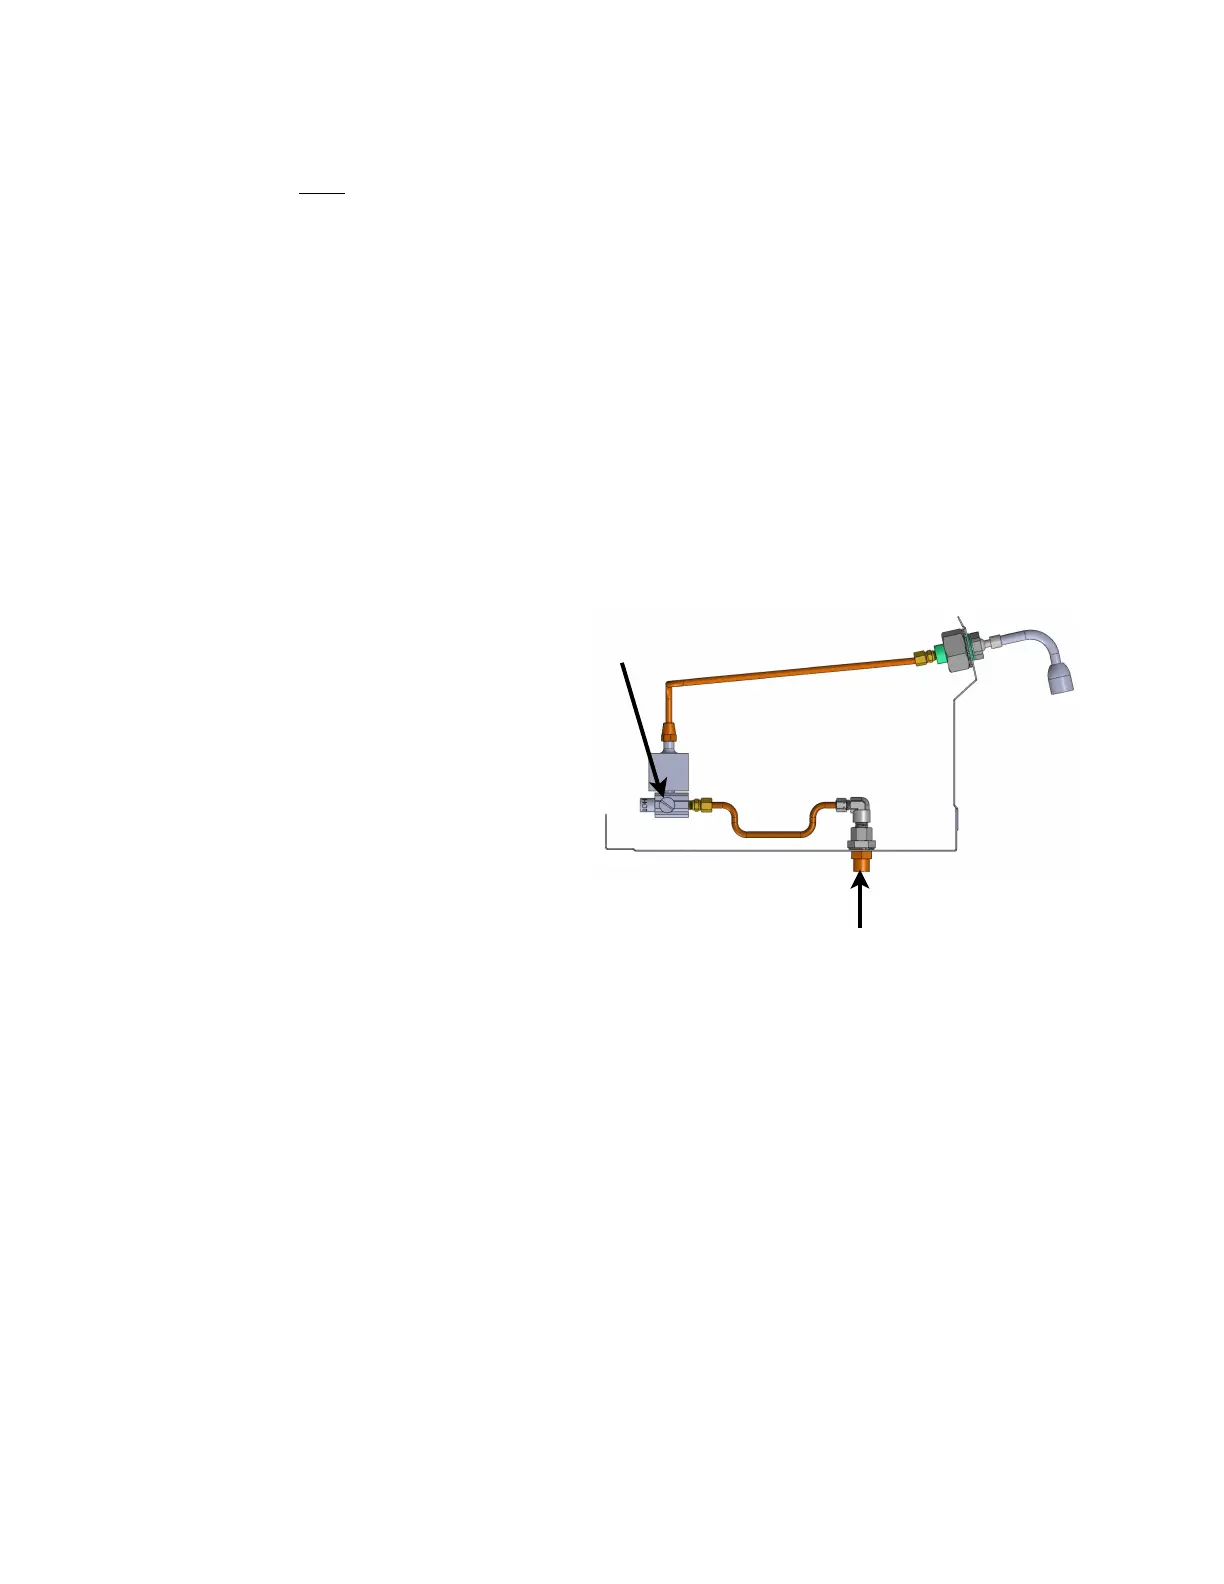
3. Use the adjustment needle-valve to regulate the amount of cold water that
mixes with the hot water.
‣
Turn counter-clockwise to increase the amount of cold water and decrease
the water temperature.
‣
Turn clockwise to decrease the amount of cold water and increase the
water temperature.
‣
Leave steam actuators in the “on” positions for “Step 8: Turn on Heating
Elements”.
Step 5: Connect Pump
Two (2) electrical cords extend from
outside of your Slayer espresso
machine. The thinner of these cords
has a small, white quick-connect plug.
Insert the quick connect plug into the
matching plug unit on the pump
motor.
Step 6: Connect Machine to Power
IMPORTANT: Before beginning any electrical work on your machine, ensure that
both the red power switch and white heating element switch are in the "off"
position.
Your espresso machine will ship with the power configuration requested at the time
of purchase. Only an electrician or approved technician should wire the power cord
into an appropriately-rated plug end. Once the plug end is attached, insert the main
power cord into an appropriately-rated and grounded receptacle.
Step 7: Fill Tanks
Procedure:
1. Pull one steam actuator forward, into the “on” position, until it stops.
2. Turn on the main water line and red power switch; tanks will begin to fill.
‣
Wait to turn on the white heating element switch.