Warranty: For the period of one year from date of purchase, manufacturer guarantees that this Product will meet
the specifications when used as directed. Manufacturer's sole liability and Customer’s sole remedy under any
warranty claim is limited to refund of purchase price or new product upon return of unit and proof of purchase.
QUESTIONS OR COMMENTS: Call 888-45-SLIME or visit www.slime.com
Accessories Marketing, Inc, a division of Illinois Tool Works, Inc. 125 Venture Drive, Suite 210, San Luis Obispo, CA
93401 USA.
Slime
®
is a trademark of Illinois Tool Works, Inc., registered in the U.S. and other countries.
BRACKET MOUNTING INSTRUCTIONS
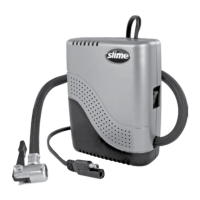
The inflator can hang on the wall for storage by using the mounting bracket and two
screws that are supplied in the kit.
1 2 3
4 5 6
7 8 9
Use a stud finder to locate a stud
on the wall.
Mark the spot with a pencil. Locate the pencil mark through
the hole of the mounting bracket
and place your screw at that point.
Using a power screwdriver, drive
the screw into wall.
Ensure top of mounting bracket is
level and repeat for second screw.
Place inflator onto the mounting
bracket and lock into place.*
Wrap the cord around the
handles on the right side.
Storage is available for your accessories kit, pencil gauge and coil hose.
* Wall mount is for storage only. Remove inflator from wall mount and place on a hard clean surface before
operating.