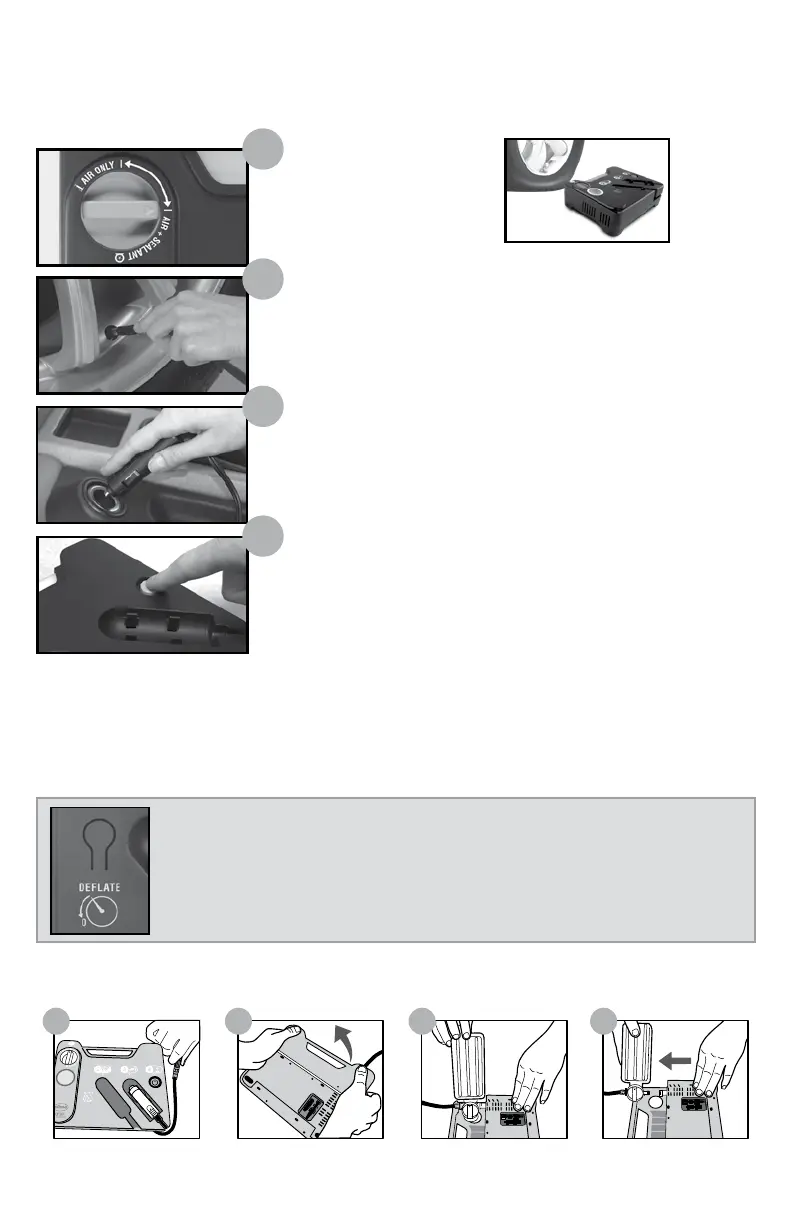
PRESSURE RELEASE
The PRESSURE RELEASE ensures optimum PSI pressure. Push the area to deflate
the tire if it has been overinflated, or if there is too much air prior to inflation.
Check your gauge for the desired PSI level. NOTE: Correct tire pressure can be
found in your vehicle’s owner’s manual or driver side doorjamb.
SEALANT CARTRIDGE REMOVAL INSTRUCTIONS:
Unwrap
air/sealant hose.
Pull cartidge out
horizontally.
Lift off cartridge
cover.
Rotate cartridge
to upright position.
31 2 4
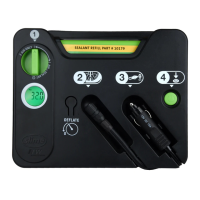
FLAT TIRE REPAIR (AIR + SEALANT) INSTRUCTIONS:
Check your tire warranty prior to installation of this product.
NOTE: Seals punctures up to 1/4in. (6mm) in tread area for flat tire repair.
Correct tire pressure can be found in your vehicle’s owner’s manual or driver side doorjamb.
Screw air/sealant hose onto tire’s valve stem.
Select AIR + SEALANT.
NOTE: Lay Flat Tire Repair Kit
on the ground facing upward.
Plug inflator into 12 volt accessory power outlet. Do not run
vehicle while inflator is operating. You may need to be in
“accessory” or “on” position. Please make sure emergency brake is
set and car is in park.
Push green button to turn system on. Gauge pressure will initially
be high until the sealant bottle is emptied. Once bottle is empty
the gauge pressure will drop and tire inflation begins. Fill to
desired pressure. Turn system off and check tire pressure. Once
correct tire pressure has been achieved, disconnect air hose and
power plug.
1
2
3
4
Drive two miles with speeds less than 25 miles per hour to disperse sealant throughout the
tire, allowing it to seek out and seal the puncture. Recheck tire pressure to verify that the
puncture has been sealed.
At your earliest opportunity take your vehicle to a tire repair facility for a permanent
professional repair. Inform tire repair specialist that Slime Sealant is in the tire.