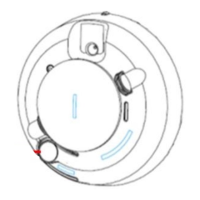
To place the SMCSM10-Z in diagnostic mode:
A. Press the Test Button on the smoke alarm for
5 seconds. When the test starts, the smoke
alarm LED flashes 1 to 9 times.
B. Count the LED flashes and see the table
below to determine the status of the smoke
alarm sensitivity and any action to take.
Alarm/Wireless Testing
Follow instructions in section 9 of this guide to
test the communication link between the
SMCSM10-Z and the Touchscreen.
Clean Me
Clean the SMCSM10-Z chamber cover with a dry
or damp (water) cloth as needed to keep it free
from dust and dirt. When necessary, use the
following procedure to clean the interior of the
smoke chamber and replace the smoke chamber.
A. Notify the Central Monitoring Station that the
SMCSM10-Z is being tested. Be sure the
system is in Test mode with the Central
Monitoring Station.
B. Remove the SMCSM10-Z from its mounting
base.
C. Remove batteries.
D. Slide a flat-blade screwdriver in the alarm
cap slot. Gently push the handle down to pry
the cap up and off.
E. Squeeze the smoke chamber where indicated
by the alignment arrows, and pull it up and
away from the SMCSM10-Z and discard. See
the following figure.
F. Blow out or use a soft-bristled brush to
remove dust and dirt from the smoke
chamber base.
G. Line up the new smoke chamber with the
optical base by aligning the arrows on the
smoke chamber to the latches on the optical
base and snap down into place.
H. Replace the alarm cap by lining up the cap
with the smoke alarm.
I. Insert the cap into the smoke alarm and turn
clockwise approximately 15 degrees. The cap
snaps firmly into place when secure.
J. Insert the batteries into the smoke alarm
using the proper polarity, and replace the
battery compartment cover.

 Loading...