Do you have a question about the Smeg A1-2 and is the answer not in the manual?
Details on connecting the appliance to the electrical power supply, including grounding and socket requirements.
Specifications for air supply in the room where the appliance is installed, according to safety standards.
Instructions for connecting the appliance to natural gas or LPG, including hose and connection details.
Procedure for changing burner nozzles to adapt the appliance for different types of gas.
Steps to adjust the minimum gas flame for natural gas burners to ensure stable operation.
Procedure for regulating the minimum gas flame for LPG, including bypass diameter information.
Guidance on correctly positioning and levelling the appliance using adjustable legs after hook-up.
Instructions for attaching the rear top upstand to the appliance using screws.
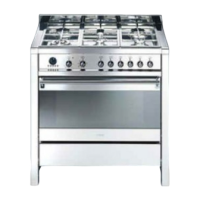
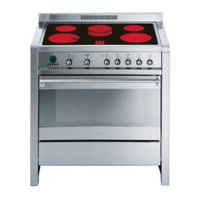
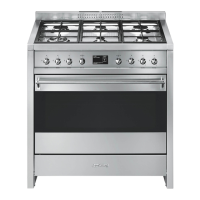
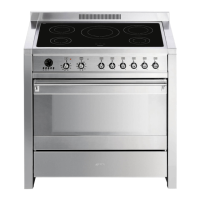
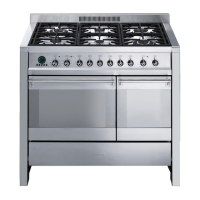
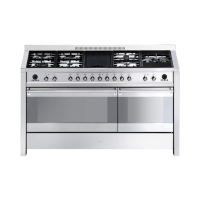
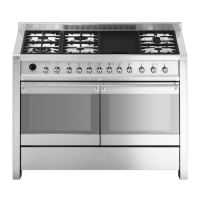
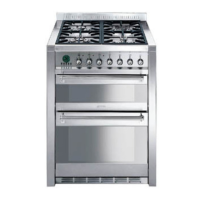
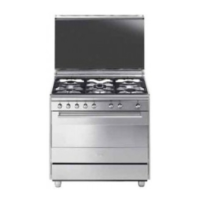
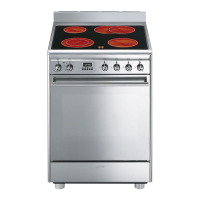
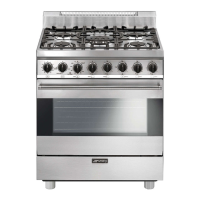
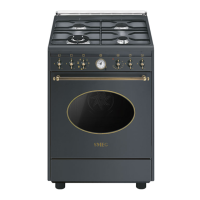
Overview of the front control panel, detailing symbols for oven and cooking zones.
Explanation of the function switch knob and its various settings for oven operation.
Instructions for operating the cooking hob burner command knob, including lighting and flame adjustment.
Instructions for setting cooking duration, start time, and using the analog programmer functions.
Guide to setting the time and using the minute-minder and programming functions of the electronic clock.
Step-by-step guide to lighting the hob burners using the electric ignition device.
Tips for efficient burner use, preventing overflow, and safe placement of cookware.
Important advice and warnings for first-time oven use, including pre-heating and steam prevention.
Information on when the oven light operates in relation to the function switch knob.
Details about the storage drawer, its contents, and safety precautions when accessing it.
Method for traditional cooking, including pre-heating, temperature settings, and pan usage.
Description of hot-air cooking, suitable for multiple levels, with no pre-heating required.
Instructions for grill cooking, including advice on pan placement and keeping the door closed.
Details on hot-air grilling for uniform browning and heat penetration, keeping the door closed.
Procedure for defrosting food using the oven fan, which circulates air at room temperature.
Guide to spit cooking, including preparing the spit, inserting frames, and drip tray placement.
Table of recommended cooking times and temperatures for various dishes using traditional cooking.
Guide to cleaning stainless steel surfaces using specific non-abrasive products.
Instructions for cleaning removable hob parts like grids, burner caps, and ignition components.
General oven cleaning, including removing parts, avoiding steam jets, and using self-cleaning liners.
Instructions for replacing the oven light bulb, including safety precautions and bulb type.
Procedure for safely removing and refitting the oven door using pins or screwdrivers.
How to remove the oven door seal for thorough cleaning, after taking off the door.
Important note that lubrication of gas taps must be performed by a specialised technician.
| Type | Freestanding |
|---|---|
| Width | 90 cm |
| Hob Type | Gas |
| Number of Ovens | 1 |
| Energy efficiency class | A |
| Material | Stainless steel |
| Depth | 60 cm |
| Height | 90 cm |
| Ignition Type | Automatic |