This document provides the instruction manual for the Smeg PUM610X and PUM910X Cooker Hoods. It covers safety instructions, installation, usage, troubleshooting, maintenance, and environmental protection.
Function Description:
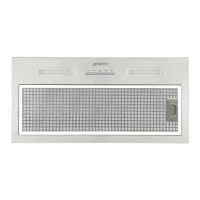
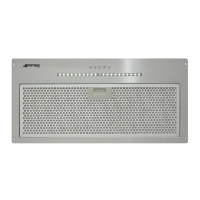
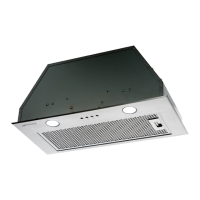
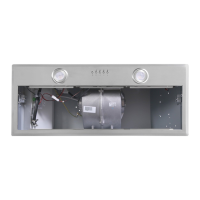
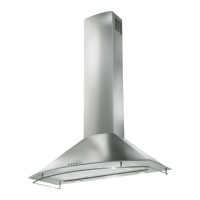
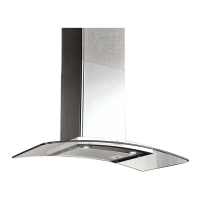
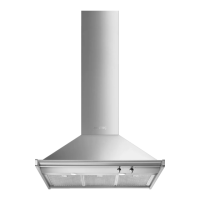
The Smeg PUM610X and PUM910X are cooker hoods designed to extract fumes and odors from the cooking area. They can be connected to an outside outlet via an extraction duct for external venting. The hoods feature an electronic button control panel for various operations, including power on/off, speed adjustment, lighting control, and a timer function. The primary function is to remove cooking fumes, but it's important to note that it removes odors, not steam.
Important Technical Specifications:
- Models: PUM610X, PUM910X
- Extraction Duct Diameter: 150mm (enamel, aluminum, flexible pipe, or non-flammable material)
- Installation Height: 60-75cm above the cooking hob surface for optimal effect. For gas appliances, the minimum distance is 65cm.
- Mounting Hole Dimensions:
- PUM610X (60cm model): 570mm (width) x 265mm (depth)
- PUM910X (90cm model): 865mm (width) x 265mm (depth)
- Control Type: Electronic button panel
- Speed Settings: 5 speeds
- Timer Function: 5 minutes (operates only when the motor is on)
- Lighting: LED modules, rectangle lamp
- ILCOS D code: DSS-1.5/65-S-120/33
- Max wattage: 2x1.5W
- Voltage range: DC 12V
- Dimensions: 120±1mm (length) x 33±0.5mm (width)
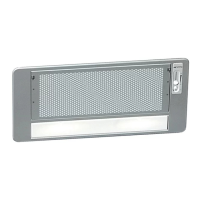
- Filters:
- Grease Mesh Filters (cleanable by hand)
- Activated Carbon Filter (optional, not supplied, recommended change every 3-6 months)
Usage Features:
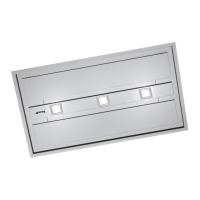
The cooker hood is operated via an electronic button panel with five buttons: Decrease (-), Increase (+), Lamp, Timer, and Power.
- Power On/Off: Pressing the Power button once turns the hood on at the 1st speed. Pressing it again turns the hood off and puts it into standby mode.
- Speed Adjustment: The hood has 5 speeds. The Increase (+) button cycles through speeds 1 to 5. Once at speed 5, further presses of the Increase button will keep it at speed 5. The Decrease (-) button reduces the speed by one level with each press. When at speed 1, pressing Decrease again turns the hood off.
- Lighting Control: The Lamp button turns the lights on and off independently of the motor.
- Timer Function: The Timer button activates a 5-minute timer, which only works when the motor is running. If the speed is adjusted while the timer is active, the timer will automatically exit. Once the timer expires, both the hood and the light will turn off.
- Safety: Always ensure proper ventilation when the hood is in extraction mode, especially when other gas-burning appliances are in use. The hood is for domestic use only.
Maintenance Features:
Regular maintenance and cleaning are crucial for the cooker hood's efficiency and longevity.
- General Cleaning: Always disconnect the appliance from the mains power supply before cleaning. Clean the appliance when it is cold. Avoid alkaline or acid substances (e.g., lemon juice, vinegar) on surfaces.
- Stainless Steel Surfaces: Clean regularly (e.g., weekly) with a clean, soft cloth. A specialized stainless steel cleaning fluid can be used. Wipe along the grain to prevent scratches.
- Control Panel Surface: Clean with warm soapy water and a well-wrung, clean cloth. Dry with a soft cloth. Avoid harsh cleaning chemicals or abrasive products to prevent damage to printing and to maintain warranty validity.
- Grease Mesh Filters: These filters can be cleaned by hand. Soak them in water with a mild detergent for about 3 minutes, then gently brush. Do not apply excessive pressure. Allow them to dry naturally, away from direct sunlight. Wash separately from crockery and kitchen utensils. Do not use rinse aid.
- Activated Carbon Filter (Optional): If installed, these filters should be changed every 3 to 6 months depending on cooking habits. To replace, disconnect power, remove the mesh filter, turn the carbon filter anti-clockwise to remove, replace with new ones, then reattach the mesh filter and reconnect power. Note that activated carbon filters can lower suction power.
- Bulb Replacement: The LED bulbs must be replaced by the manufacturer, its service agent, or similarly qualified persons. Always switch off the electricity supply and unplug the unit before replacing bulbs. Ensure bulbs have cooled down completely before handling. Use a cloth or gloves when handling bulbs to prevent perspiration from reducing bulb life. To replace, remove the grease filter, press out the LED light, pull out the connecting wire, dismantle the terminal, and then install the new light in reverse order.