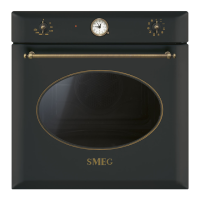
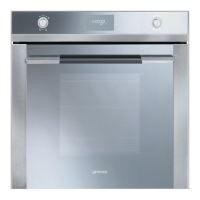
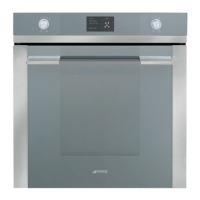
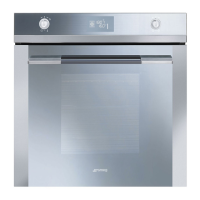
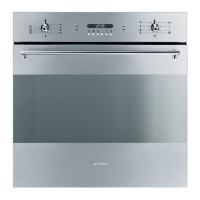
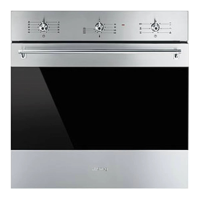
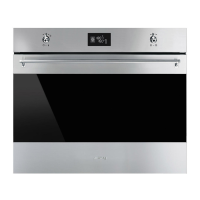
This document describes a multi-functional oven, detailing its operation, maintenance, and installation.
Function Description
The oven offers a variety of cooking functions, including Static, Grill, Lower element, Turbo, Eco, Fan assisted, Fan with grill, Fan with circulaire, Fan-assisted small grill, Fan-assisted bottom, and Vapor Clean.
- Static: This function provides even heat from above and below, suitable for traditional cooking of various food types, including roasts, bread, and cakes. It's ideal for dishes that require a consistent, gentle heat.
- Grill: The grill element provides perfect grilling results from above, suitable for thin and medium-thickness meat, and for browning food with the rotisserie. It also allows for browning sausages, spare ribs, and bacon, and can be used for large quantities of food, particularly meat, to be grilled evenly.
- Lower element: This function uses heat from the bottom to complete the cooking of foods that require a higher bottom temperature without affecting their browning, perfect for cakes, pies, and pizzas.
- Turbo: This function combines fan-assisted cooking with traditional cooking, distributing heat evenly across several levels. It's efficient and reduces odors and flavors mingling, making it suitable for large volumes that require intense cooking.
- Eco: This setting uses the grill and lower heating element in combination, suitable for cooking on a single shelf, providing low energy consumption.
- Fan assisted: This function combines fan operation with traditional cooking, ensuring consistent cooking even with complex recipes. It's perfect for biscuits and cakes, even when simultaneously cooked on several levels, and is recommended for using the 2nd and 4th shelves.
- Fan with grill: This function uses a fan-assisted grill to generate strong heat, perfect for very thick foods, especially large cuts of meat (e.g., shin of pork).
- Fan with circulaire: This function incorporates a fan and a circulaire heating element in the rear of the oven, allowing cooking on several levels simultaneously. It ensures consistent temperatures and even heat distribution, making it suitable for fish, vegetables, and biscuits without odors and flavors mingling.
- Fan-assisted small grill: This function combines the fan and the central heating element, ideal for rapid cooking and browning small quantities of food, enhancing the dietary advantages of the grill and the even cooking of the fan.
- Fan-assisted bottom: This function uses the lower heating element with fan assistance, ensuring more rapid and even cooking. It's recommended for sterilizing or finishing off dishes that are already well-cooked on the surface but need more heat. It's also perfect for any type of food. In pyrolytic models, this function is used for defrosting and proving.
- Vapor Clean: This function facilitates cleaning by using a small quantity of water poured onto the appropriate drawing placed on the bottom.
The oven also features an analogue programmer for setting cooking times and managing cooking operations. It includes a temperature knob and a thermostat indicator light to monitor and adjust the oven temperature.
Usage Features
Before using the oven for the first time, it is crucial to remove any protective film, labels, and accessories. All packaging materials should be removed, and the appliance should be cleaned. The oven should be heated to maximum temperature for a period to burn off any residues from the manufacturing process.
When using the oven, it's important to follow safety guidelines to prevent damage and injury. Do not spray any cleaning products near the appliance, use flammable materials, or place plastic kitchenware or containers with food inside. Avoid placing sealed tins or containers in the oven. Do not leave the appliance unattended during cooking operations involving fats or oils. Always remove all trays and racks that are not required during cooking.
For cooking advice, general use involves using a fan-assisted function to achieve consistent cooking at several levels. For cooking meat, cooking times vary according to thickness and quality of the food and taste. A meat thermometer can be used to ensure proper cooking. For cooking with the grill and fan, meat should be grilled even when preheated, and the grill function should be used to preheat the oven. Food should be placed at the center of the rack, and the symbol on the knob should be turned to optimize cooking.
For cooking desserts/pastries and biscuits, dark metal molds help absorb heat better. The temperature and cooking time depend on the quality and consistency of the dough. To check if a dessert is cooked, insert a toothpick into the highest point; if it comes out clean, the dessert is cooked. If the dessert collapses when it comes out of the oven, reduce the set temperature by about 10°C, selecting a longer cooking time if necessary.
For defrosting and proving, place frozen foods without their packaging in a lidless container on the first shelf. Avoid overlapping the food. To defrost meat, use the rack placed on the second level and a tray on the first level to collect liquid. The most delicate parts can be covered with aluminum foil. For successful proving, a container of water should be placed in the bottom of the oven.
To save energy, stop cooking a few minutes before the time normally used. Reduce any opening of the door to avoid heat dispersal. Keep the inside of the appliance clean at all times.
The analogue programmer allows setting the cooking time and starting time. The setting knob (A) and cooking start pointer (B) are used to set the desired cooking duration. The timer will sound when the set time has elapsed, and the buzzer can be turned off by turning knob A clockwise.
Maintenance Features
Regular cleaning and maintenance are essential for the oven's longevity and performance.
- General cleaning: Do not use steam jets, abrasive, corrosive, or chlorine-containing detergents, or sharp metal scrapers.
- Removing the door: For easier cleaning, the door can be removed. It involves opening the door completely and inserting two pins into the holes on the hinges.
- Cleaning the door glazing: The glass in the door should be cleaned thoroughly with absorbent kitchen roll, damp sponge, and a neutral detergent. The internal glass panes can be removed for cleaning by gently pushing the middle section of the upper heating element towards the rear to release it, then lowering it.
- Removing racks/trays support frames: These frames can be removed to clean the sides of the oven more easily. Pull the frame towards the inside of the oven to unhook it, then slide it out from the back.
- Cleaning the top section: The oven cavity has a tilting heating element that facilitates cleaning the roof of the oven. Push the middle section of the upper heating element towards the rear to release it, then gently lower it. Do not excessively flex the element during cleaning.
- Vapor Clean cycle: This assisted cleaning procedure removes dirt. It involves removing all accessories, including the upper guard and self-cleaning panels. Pour 40 cc of water onto the floor of the oven.
- Extraordinary maintenance: This includes removing and replacing the oven seal and replacing the internal light bulb. To remove the oven seal, unhook the clips located in the four corners and pull the oven seal outwards. The seal should be soft and elastic, and can be cleaned with a non-abrasive sponge and lukewarm water. To replace the light bulb, remove all accessories from inside the oven, then remove the rack/tray support frames. Remove the bulb cover using a tool (e.g., a screwdriver). Pay attention not to scratch the oven cavity enamel. Do not touch the halogen light bulb directly with your fingers; wrap it in insulating material. Replace the light bulb with one of the same type (40W). Refit the cover, ensuring the molded part of the glass is facing the door. Press the cover completely down so that it attaches perfectly to the bulb support.