Set Up Instructions
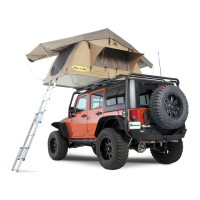
Step 1: Unfasten the cover strap and then remove the cover from the tent by unfastening the Velcro
around the edge and then carefully fold the cover over to the side. (Fig A, B)
Step 2: Release the hold down Velcro straps on each side of the tent (Fig C)
(Fig A) (Fig B) (Fig C)
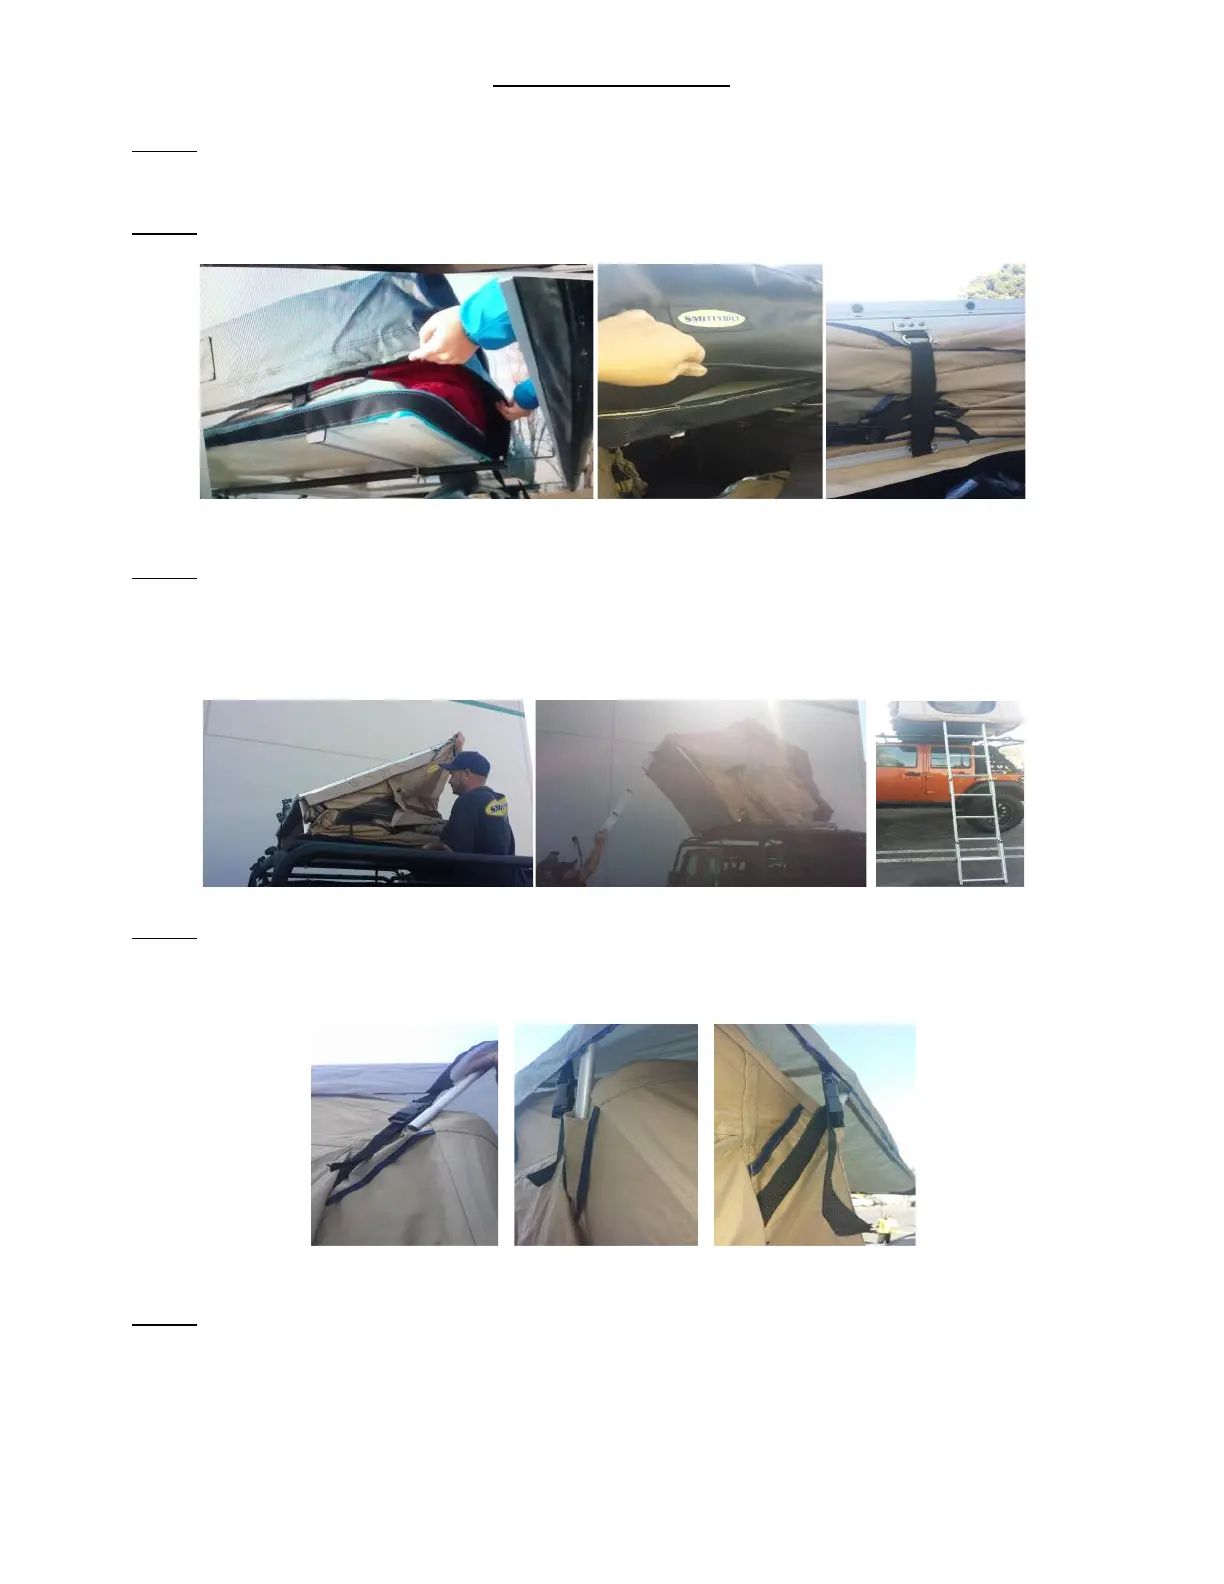
Step 3: Slide out the ladder until locking pins engage. The ladder can now be used as a lever to help
open the tent. Carefully fold open tent. (Fig D, E, F) Rest the ladder on the ground. Note: if ladder is too
vertical you will require a ladder extension. (Part # 2785) The ladder should be at an angle not straight
up.
(Fig D) (Fig E) (Fig F)
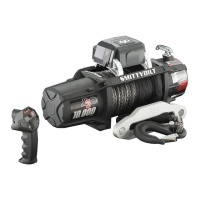
Step 4: If using the rain fly, slide the ends of the rain fly poles into the pockets on the side of the tent.
After the poles are set into pockets and you have installed the side rods in the next step, go back and
tighten the quick release straps/buckles on the sides of the rain fly. (G, H, I)
(Fig G) (Fig H) (Fig I)
Step 5: You can now enter your tent. Install door/window cover rods. Line up the grommet on the base
of the tent with the predrilled hole. (Fig J) Slide base of rod through grommet and into base of tent,
make sure rod is installed completely. (Fig K, L) Note: They are meant to have a “bow” in them when
installed. They will be at an angle to the side when installed into the holes.
Place the hook end of rod through grommet on rain fly/shade cover with the hook part facing
outward and downward. (Fig M, N, O) Proceed to do this on all 4 sides (If desired)