19
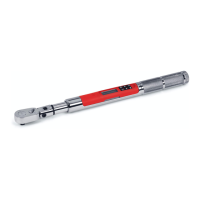
4. Use UP /DOWN buttons to set month then press ENTER button to highlight day.
5. Use UP /DOWN buttons to set day then press ENTER button.
6. SET TIME screen is displayed with Hour highlighted.
7. Use UP /DOWN buttons to set hour then press ENTER button to highlight minutes.
8. Use UP /DOWN buttons to set minutes then press ENTER button to highlight seconds.
9. Use UP /DOWN buttons to set seconds then press ENTER button.
10. Clock is set and Configure menu is displayed.
Note: Year selection will scroll up from 2014. Month selection will scroll from 1 to 12. Day selection
will scroll from 1 to 31.
Note: Hour selection will scroll through 0 to 23. Minute and Second selections will scroll through 0 to
59.
Note: If batteries are removed from wrench for longer than 20 minutes, clock will revert to default
settings and must be re-entered at power on.
Setting Calibration Interval
This function will allow user to set calibration interval for when "CAL NEEDED" message will be
displayed.
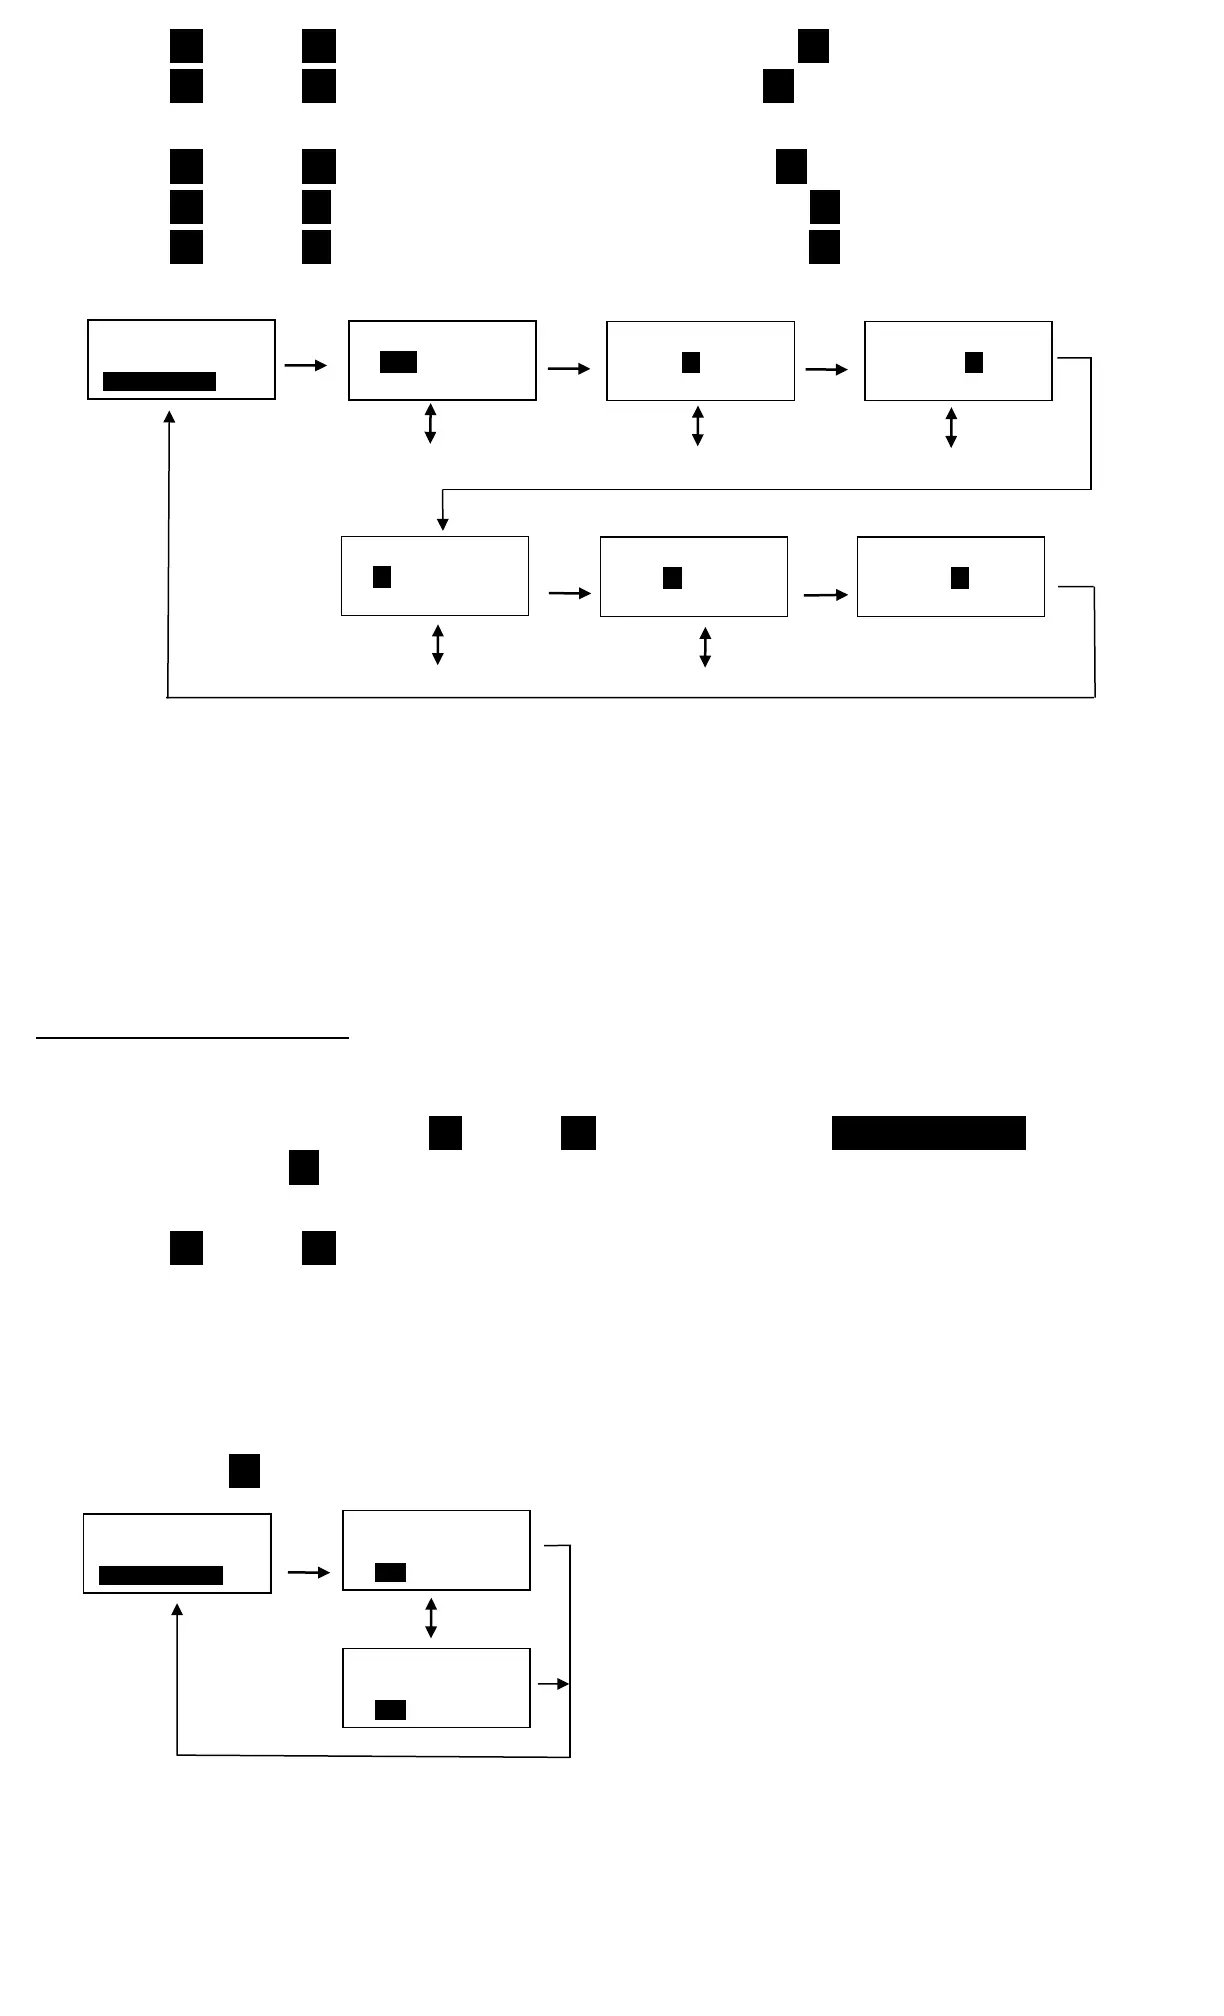
1. From Configure menu, use UP /DOWN buttons to highlight SET CAL INTRVAL selection
then press ENTER button.
2. CAL INTERVAL screen is displayed.
3. Use UP /DOWN buttons to change calibration interval.
Selectable Intervals:
DISABLED (factory default)
3 MON
6 MON
12 MON
4. Press ENTER button to accept selection and exit to Configure menu.
Note: Clock Date and Time must be set before calibration interval will function. If batteries are removed
from wrench for longer than 20 minutes, clock will revert to default settings and must be re-
entered at power on.