3
User Instructions
Basic Functions (Quick Start)
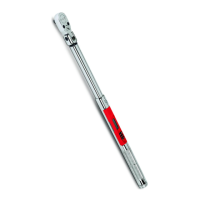
Figure 1
Install three fresh "AA" cells into wrench handle.
Wrench Power On Sequence
Note: Do not turn on wrench while torque is applied, otherwise torque zero offset will be incorrect
and wrench will indicate a torque reading when torque is released. If this occurs, re-zero
wrench by momentarily pressing POWER button while wrench is on a stable surface with no
torque applied.
1. Turn On Wrench.
Momentarily press POWER button. Snap-on logo is displayed followed by torque re-
zeroing screen. If previous measurement was angle measurement, then angle re-zeroing
screen follows the torque zeroing screen. After re-zeroing, the target torque or target angle
screen is displayed depending on previous measurement mode.
2. Select Measurement Mode.
Toggle between target TORQUE and ANGLE screens by repeatedly pressing
ENTER button.
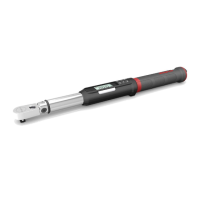
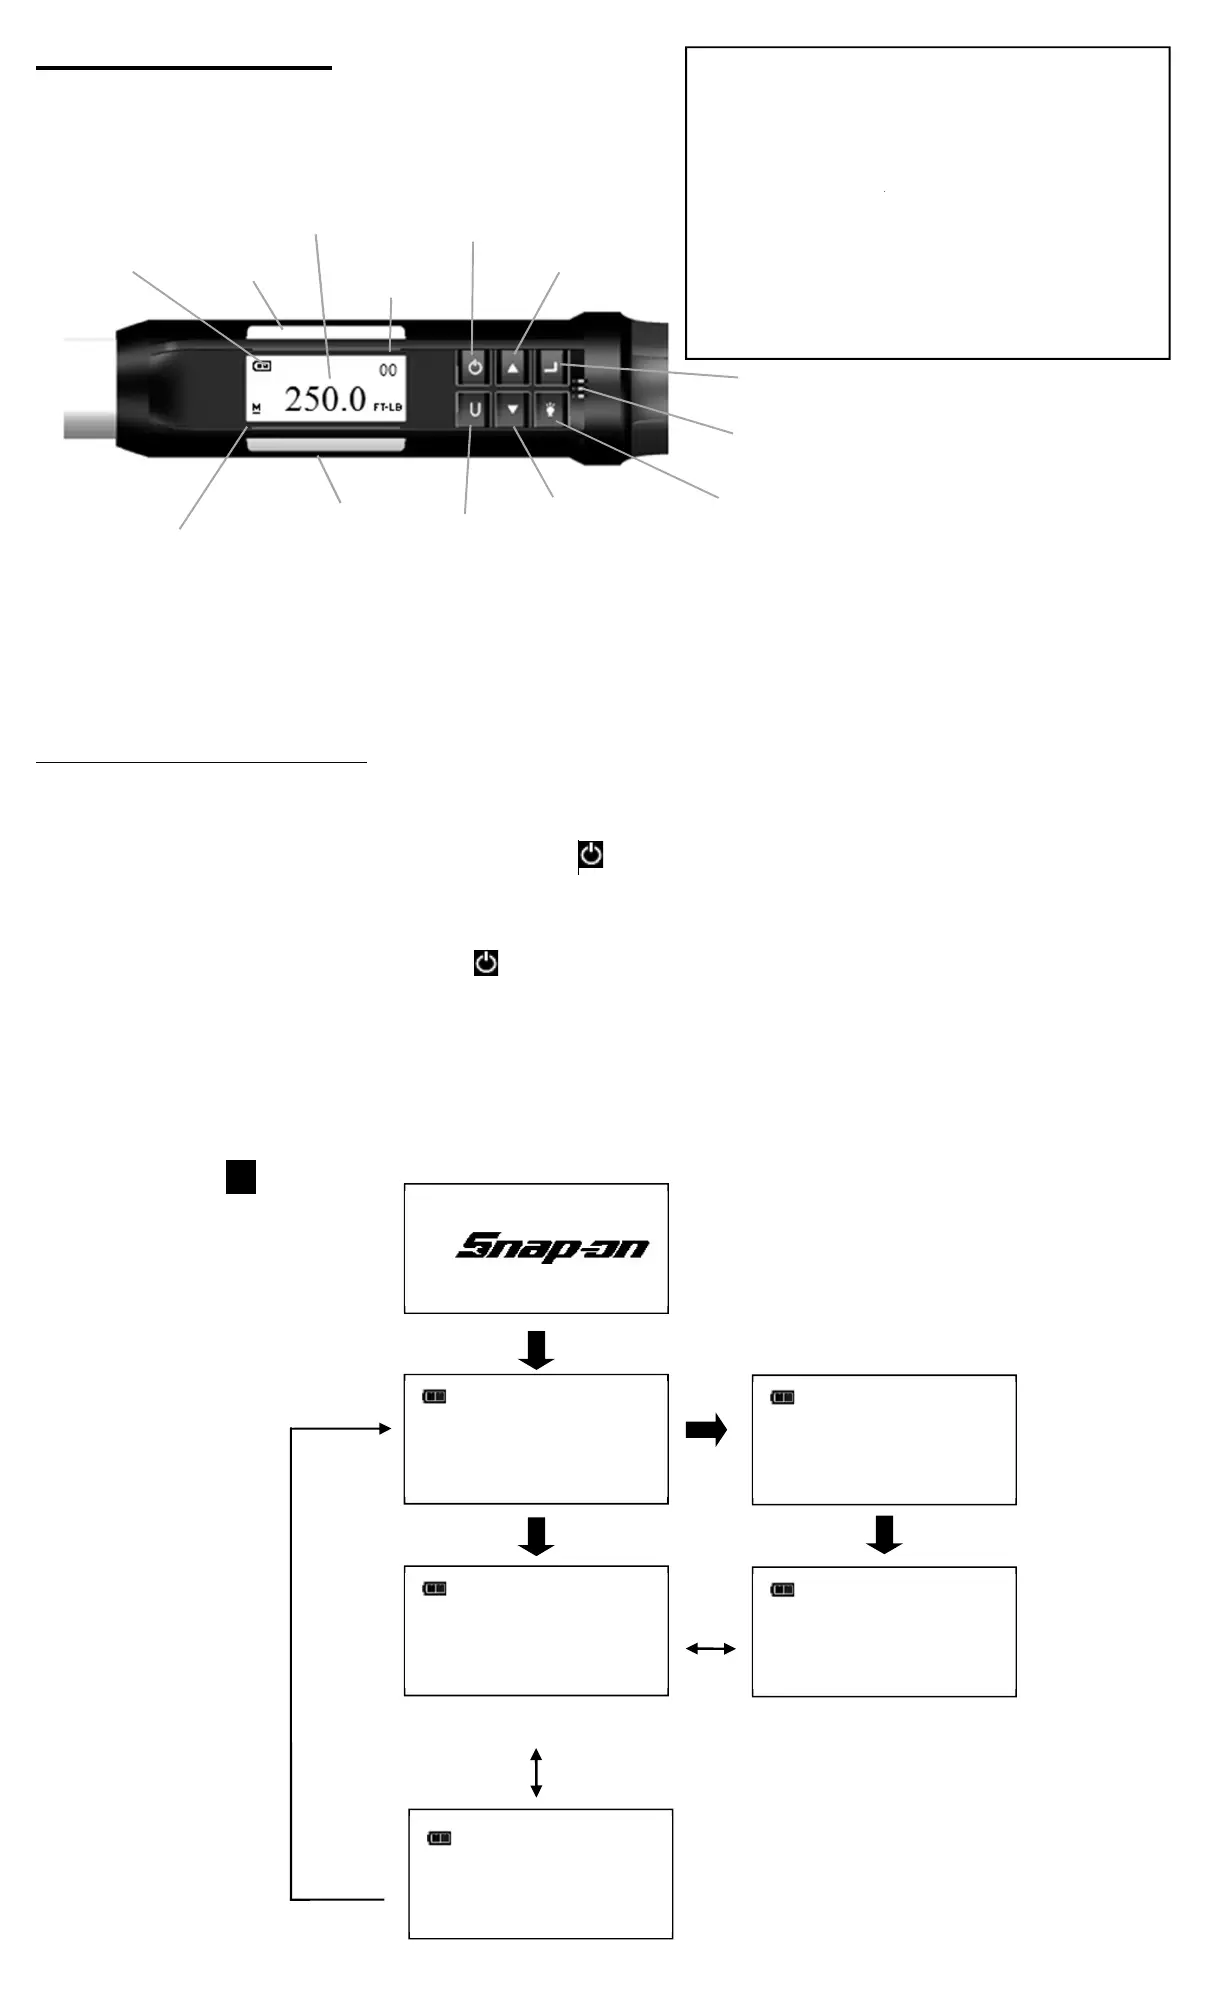
MODE
AUDIBLE ALERT
PROGRESS LIGHTS
Yellow - First light indicates 40% of target torque
or angle reached, Second indicates 60%
of target reached, Third indicates 80% of
target reached.
Green - Indicates target torque or angle reached.
Red - Indicates exceeded torque or angle
target+4% for targets above 20% to
100% of F.S. or target+10% for targets
from 5% to 20% of F.S, or exceeded
MAXIMUM Preset target (Note: Yellow
lights also turn on with red).
MODE SELECT, MENU ENTRY AND ENTER BUTTON
INCREMENT
BUTTON
ON/OFF
AND
DECREMENT
LCD BACKLIGHT
AND
PEAK TORQUE/ANGLE
RECALL BUTTON
UNITS AND
PRESET ENTRY
TORQUE AND/OR
ANGLE DISPLAY
BATTERY
CONDITION
PROGRESS
LIGHTS
PROGRESS
DATA
STORAGE
ALERT
00
250.0
FT-LB
TORQUE ZEROING
ANGLE ZEROING
--
SET STILL
00
180°
Target Angle Screen
ENTER
button
Target Torque Screen
ENTER
button
ANGLE ZERO REQ