6
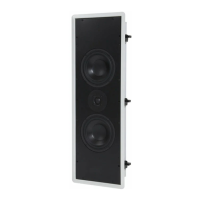
WALL MOUNTING YOUR SR7 SURROUNDS
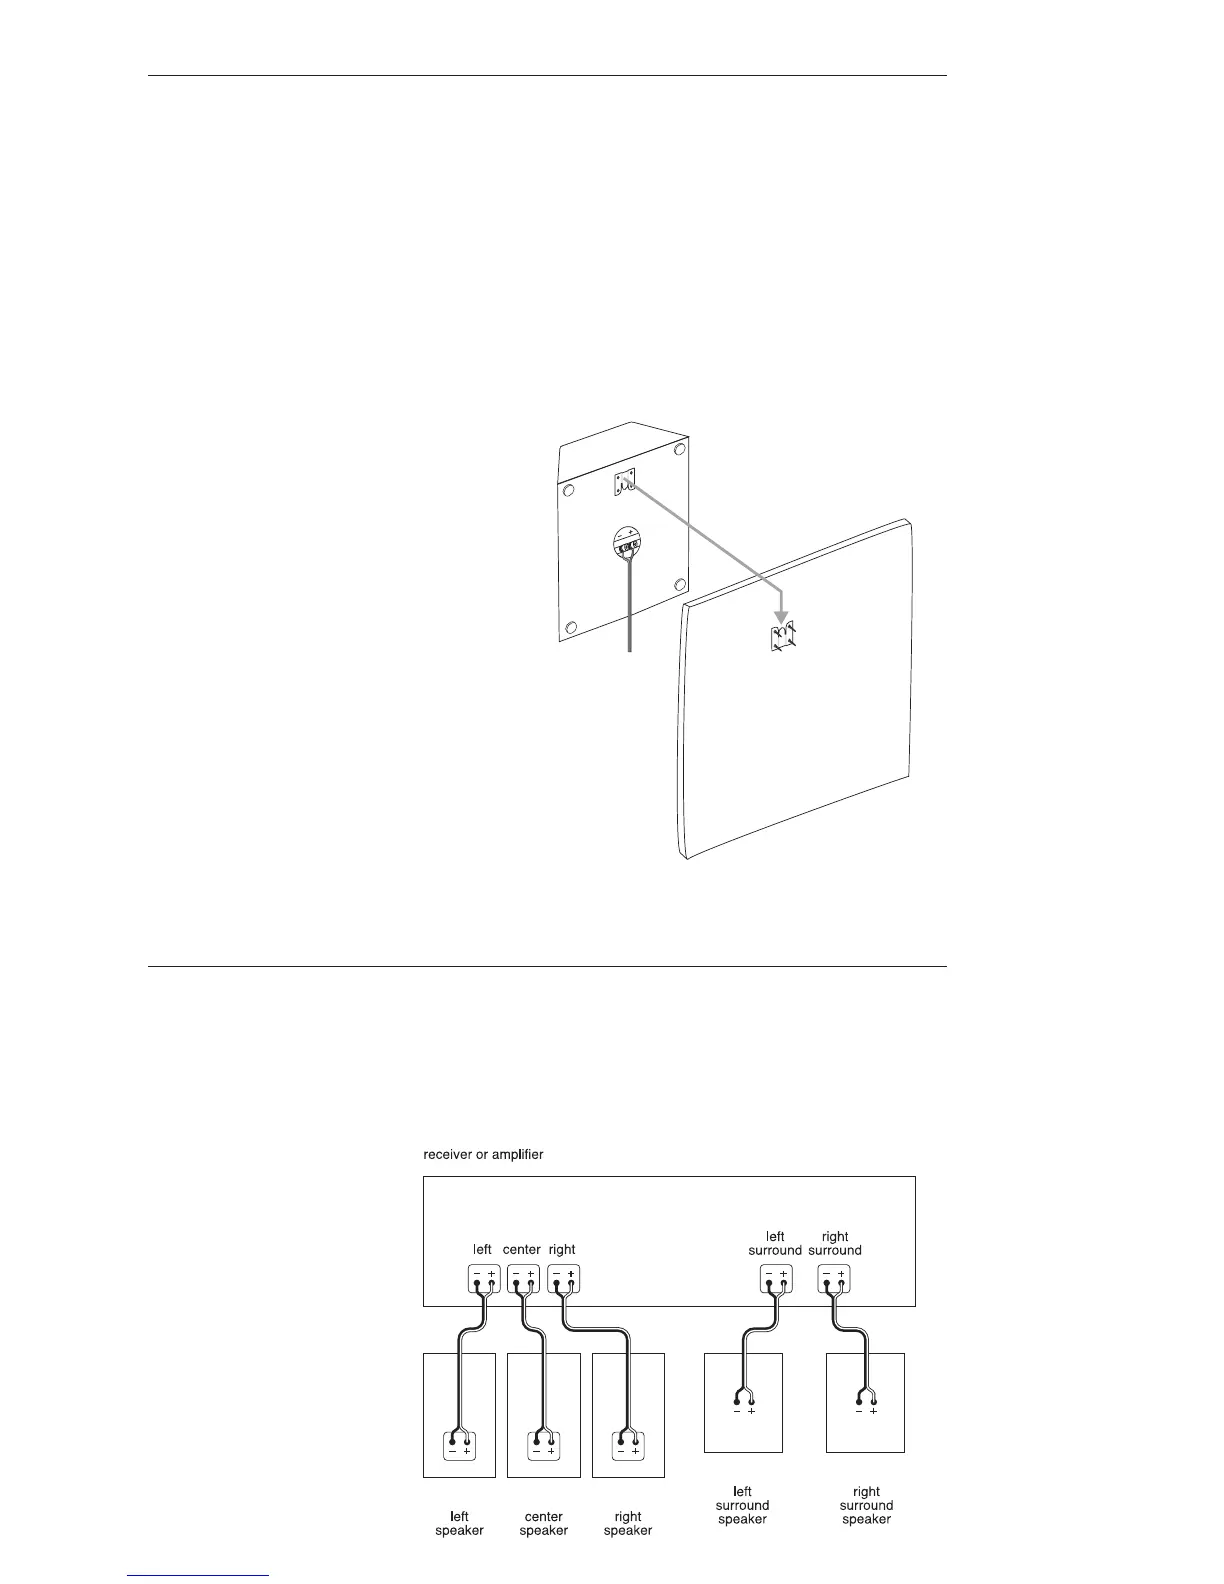
The SR7 is mounted via interlocking
hangers. The hangers are first screwed to
the wall at the appropriate position.
The enclosed mounting template will
guide you in locating the mounting
screws. In addition, it will ensure the
minimum clearance to the ceiling as
required by the mounting bracket
Please contact Snell Acoustics or an
authorized dealer for assistance in-
ceiling mount applications.
Please Note
Installation of surround speakers
requires a thorough understanding of
construction tools and procedures. We
recommend you consult a knowledge-
able installer if you are unsure of the
physical properties behind your walls.
Mounting on Drywall, Paneling, or
Other Hollow Surfaces
Use the supplied machine screws and
toggle wings. The toggle wings require a
7
⁄16-inch hole. Do not attempt to mount
the SR7’s to drywall with any of the
commonly available plastic anchors
(push-in inserts).
Mounting on Wood and Other Solid Surfaces
Use the supplied 2-inch #6 self-tapping par-
ticleboard screws. For best results, predrill the
hole with a
3
⁄32-inch drill bit.
Mounting on Masonry, Adobe, and
Similar Surfaces
Consult a knowledgeable installer about proper
hardware. You will obtain best results with #6
screws.
CONNECTING THE SR7 SURROUNDS
For Five-Channel Applications
(including THX systems)
Select either surround mode with the
toggle switch. Diffuse mode is up, and
direct is down. The toggle switch is
located on input cup.