Do you have a question about the Sojag 314-5158496 and is the answer not in the manual?
Lists all screws, bolts, and the Allen key included in the hardware kit for assembly.
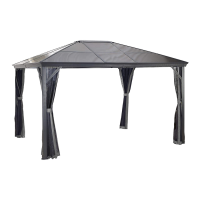
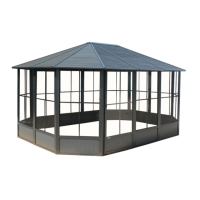
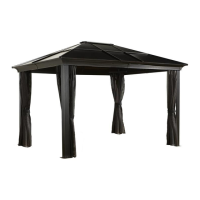
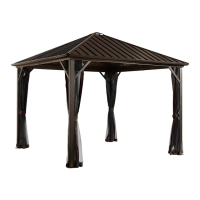
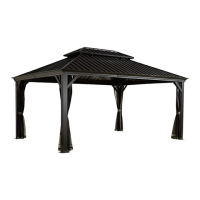
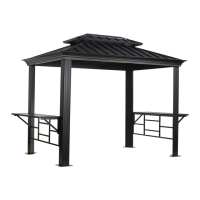
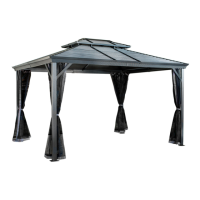
Provides a comprehensive list of all structural parts for the gazebo assembly.
Securely attach the columns (A) to the base (H) using screws (V).
Install hooks (X) into the ogee tracks for curtains and mosquito netting.
Slide and attach the long ogee mouldings (C, C1) together using screws (V).
Slide and attach the short ogee mouldings (B, B1) together using screws (V).
Install long ogees (C, C1) between columns (A) using screws (T, U, V).
Install short ogees (B, B1) between columns (A) using screws (T, U, V).
Attach joint cover plates (L) to secure ogee joints with screws (W, W1).
Secure corner covers (I) onto structure corners using screws (W).
Attach reinforcing bars (K2) to inside corners with screws (V) to form triangles.
Secure reinforcing bars (K) to ogees and columns with screws (V1).
Attach corner roof bars (D) to the inner roof connector (S1) using screws (V2).
Place the assembled roof structure onto the ogee mouldings.
Screw corner roof bars (D) to each column (A) using screws (V).
Connect center roof bars (E) to the inner roof connector (S1) using screws (V2).
Screw center roof bars (E) to the ogees (B, B1, C, C1) using screws (V).
Install the outside roof connector (S) to the inside roof connector (S1) using screws (U1).
Insert left (Ma) and right (Na) roof panels into the roof bars.
Place middle roof panels (Z) into the center roof bars (E).
Align middle roof panel bases (Z) with side roof panels (Ma, Na).
Insert roof support bars (J, J1, J2) into their respective tracks.
Align middle roof support bar (J2) with roof support bars (J, J1).
Place left roof panels (Mb) and right roof panels (Nb) into the roof bars.
Insert remaining middle roof panel (Z1) into the roof bars.
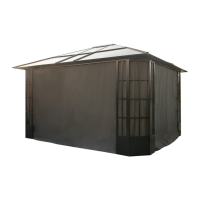
Secure left finishing roof side structure (F) to corner with screws (V).
Connect center structure (F2) to left structure (F) with finishing end (R) and screw (V).
Attach right structure (F1) to center structure (F2) with finishing end (R) and screw (V).
Align and secure right (F1) and left (F) structures at 10 ft corner with end (Q) and screw (V).
Continue around unit, completing installation of all finishing roof side structures.
Align and secure first/last structures at the final corner with end (Q) and screw (V).
Attach solidifying bars (G) underneath the structure using screws (V).
Install mosquito netting (P) by inserting hooks (X) into eyelets along the top border.
| Roof Color | Dark Brown |
|---|---|
| Roof Material | Steel |
| Material | Aluminum |
| Color | Brown |
| Assembly Required | Yes |