15
en
LCD Display
i The holes on each foot must line up with the holes on the support plate.
3 Attach the wing nuts to secure the feet to the support plates.
4 LCD Display
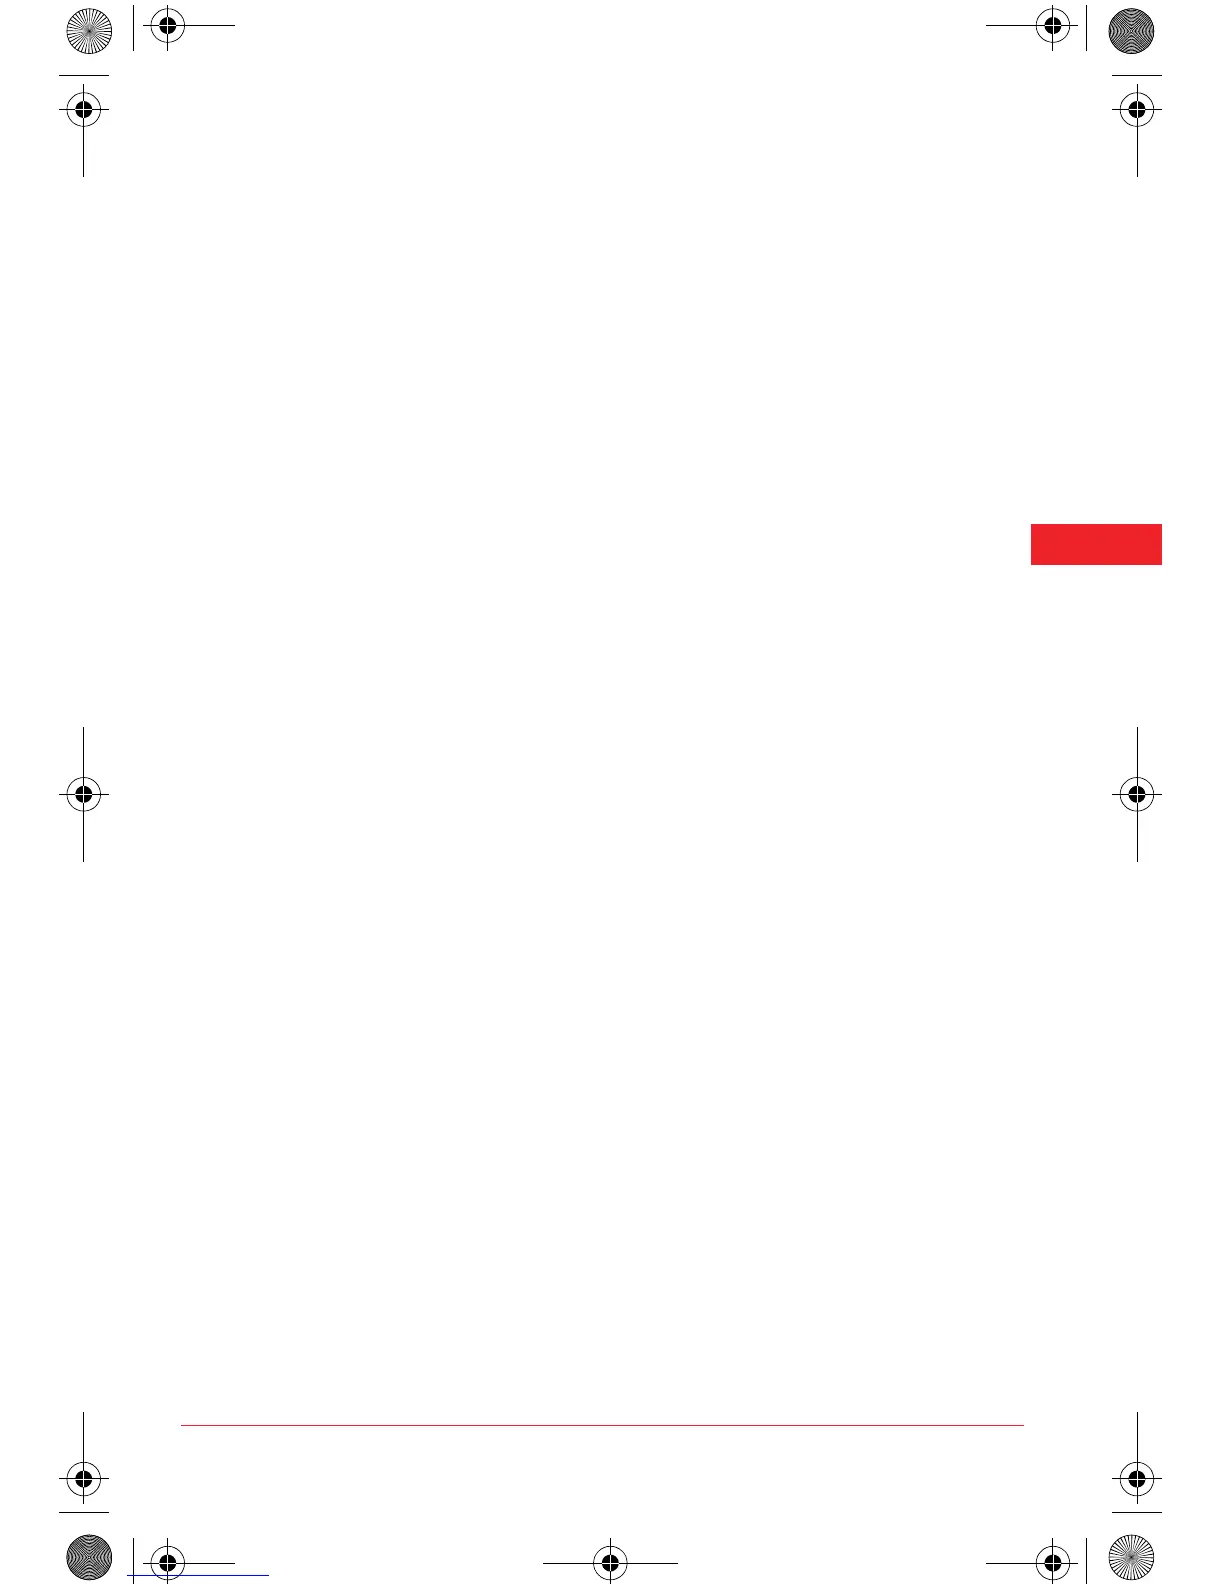
Different icons appear in the display, depending on the functions selected (fig.
10):
ABlocked
B Programming (days of the week)
C Comfort mode
D Economy mode
E Anti-frost mode
F Temperature/Time
G Programming (times of day)
H Heater in operation
5 Operating Mode
1 Connect the appliance to the mains.
2 Press the ON/OFF switch to turn the heater on (7).
i The LCD display will light up to show a blue background. All of the
display's icons will flash and disappear after a few seconds. The screen
will display the ambient temperature.
3 Press the start button (12).
i When the heater is switched on, the microprocessor reads the internal
memory of the appliance and loads the user’s last selected mode and
temperature.
i While the appliance is in operation, the ambient temperature and
selected operating mode appear in the display (fig. 11).
i The (Y) icon will be displayed while the heater is in operation.
i Once the desired temperature is reached, the sensor requires 2 minutes
to check the ambient temperature. During this time the heater will
continue to operate.
Selecting the Operating Mode
There are four operating modes: Comfort, Economy, Anti-frost and
Programming.
1 Press the Comfort button (13) if you want to select the Comfort mode.
i The Comfort icon (W) will be displayed.
ET8934_36_38_40_42.book Page 15 Thursday, July 9, 2009 9:22 AM