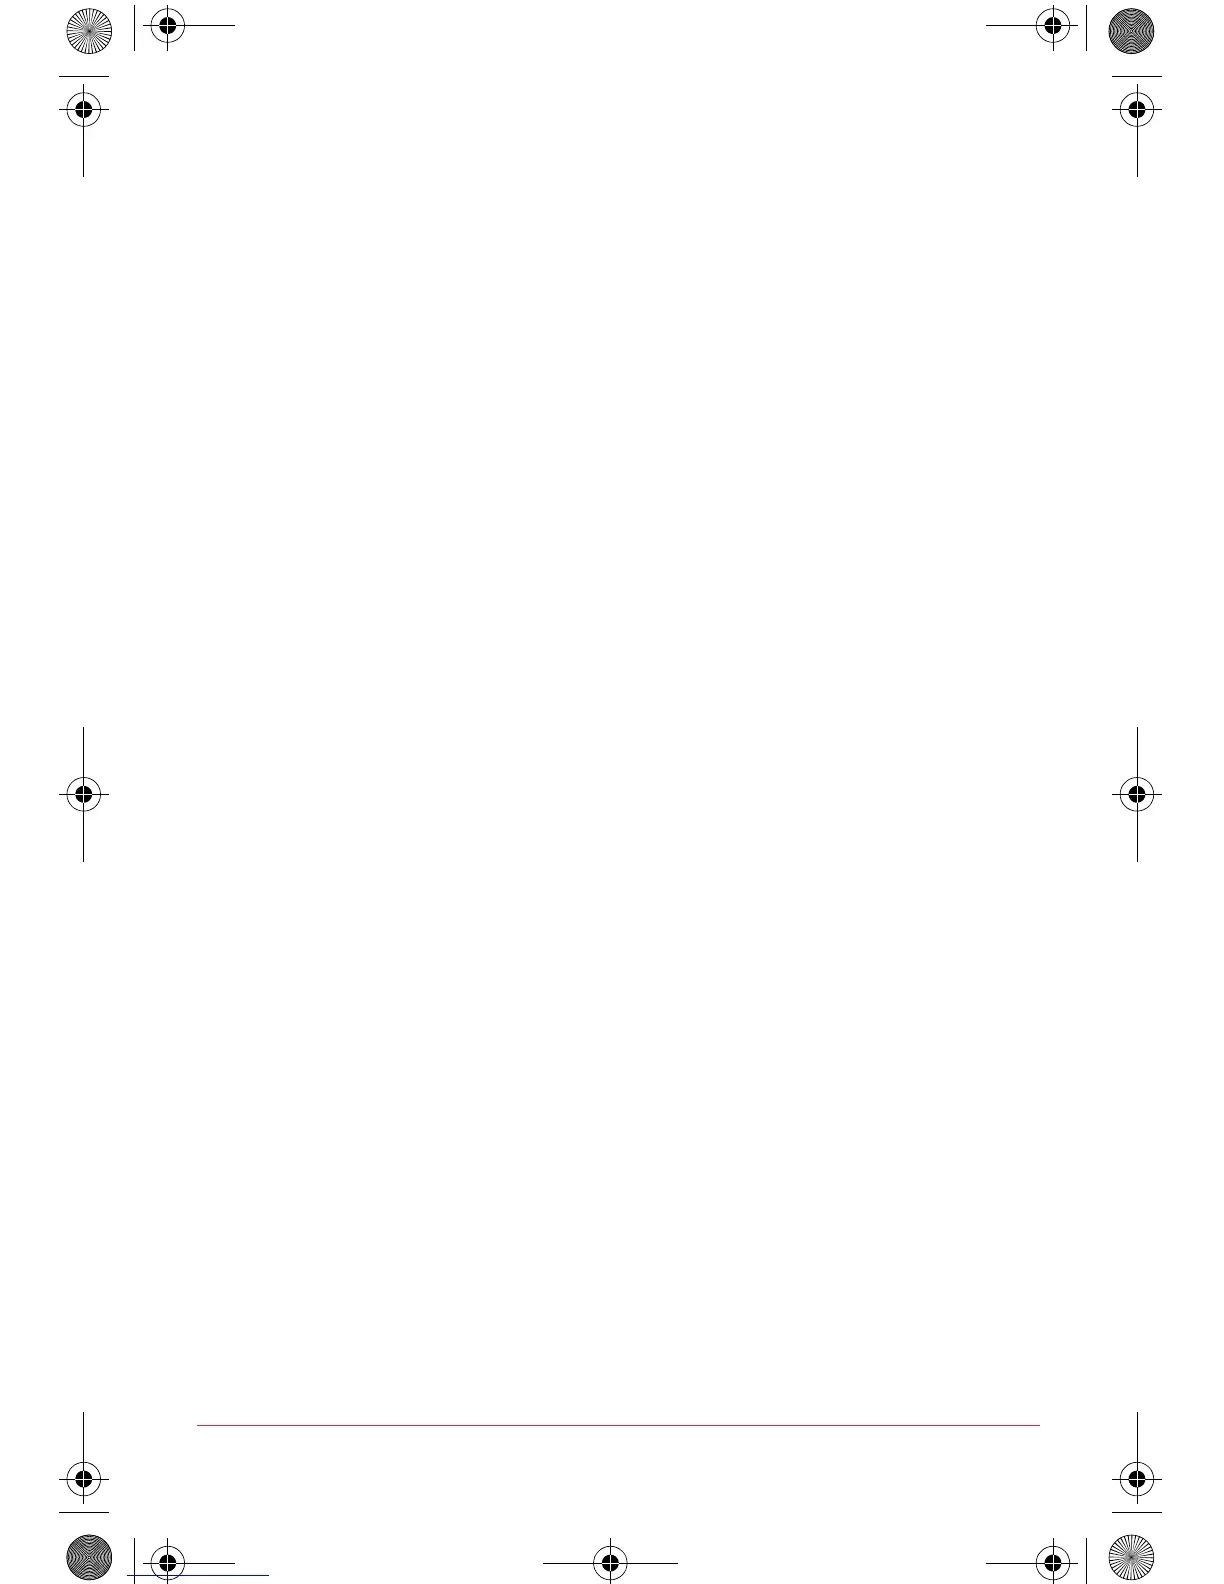
16 Programming
2 Press the Economy button (14) if you want to select the Economy mode.
i The Economy icon (X) will be displayed.
3 Press the Anti-frost button (15) if you want to select the Anti-frost mode.
i The Anti-frost icon (U) will be displayed.
4 Press and hold down the PROG button (9) for two seconds, if you want
the heater to operate according to the programmed weekly schedule (fig.
12).
i If the user does not reset the heater, it will operate according to the
factory default schedule setting.
5 Press the PROG button (9) once to exit this programming mode and
return to the last selected mode (comfort, economy or anti-frost).
Setting the Temperature in Comfort, Economy and Anti-Frost Modes
1 Select the required operating mode: comfort, economy or anti-frost using
the corresponding button (13), (14) or (15).
2 Press the “+” or “-” button once to display the programmed temperature.
3 Press the “+” or “-” buttons again to increase or decrease the
temperature as desired for each mode.
i The temperature changes by 0.5º C every time you press a key.
i The degrees centigrade icon will flash while the temperature setting is
being changed and will continue to flash until you have completed the
temperature selection.
4 After a few seconds without any button being pressed, the selected
temperature will automatically be saved.
• Temperature range in comfort mode: 5 - 35º C
• Temperature range in economy mode: 5 – 31.5º C (the maximum
temperature for this range must always be 3.5ºC below the temperature
set for comfort mode).
• Temperature range in anti-frost mode: 5 - 15º C
6 Programming
1 Press the PROG button (9) once to enter the programming mode.
Setting the Clock Time (fig. 13)
i To ensure that the heater starts operating at the expected time, the
current time must be saved on the clock.
ET8934_36_38_40_42.book Page 16 Thursday, July 9, 2009 9:22 AM