
K
karenwalkerSep 23, 2025
What to do if Solplanet ASW LT-G2 Pro Inverter displays E61 E62 error?
- GgarrettdavisSep 23, 2025
If your Solplanet Inverter is showing E61 or E62 errors, check the DRED device communication or operation.
What to do if Solplanet ASW LT-G2 Pro Inverter displays E61 E62 error?
If your Solplanet Inverter is showing E61 or E62 errors, check the DRED device communication or operation.
What to do if Solplanet ASW LT-G2 Pro shows E35 error?
If your Solplanet Inverter is showing error code E35, first, check the fuse and circuit breaker in the distribution box. Next, verify the grid voltage and usability. Finally, inspect the AC cable and grid connection on the inverter. If the problem persists after these checks, contact the service.
What to do if Solplanet Inverter displays E34 error?
If your Solplanet Inverter displays error code E34, check the grid voltage and grid connection on the inverter. Also, check the grid voltage at the point of connection of the inverter. If the grid voltage is outside the permissible range, consider modifying the monitored operational limits after informing the electric utility company. If the voltage is within range and the error persists, contact service.
How to fix Solplanet Inverter error E38?
If your Solplanet Inverter displays error E38, check the PV array’s insulation to ground, ensuring the insulation resistance is greater than 1 MOhm. Visually inspect all PV cables and modules. Also, ensure the grounding connection of the inverter is reliable. If the fault frequently occurs, contact the service.
How to resolve Solplanet ASW LT-G2 Pro error E36?
If your Solplanet Inverter displays error E36, ensure the grounding connection of the inverter is reliable. Perform a visual inspection of all PV cables and modules. If the fault continues, contact the service.
What to do if Solplanet ASW LT-G2 Pro displays E48 error?
If your Solplanet Inverter displays an E48 error, check whether the electric supply is abnormal. If the electric supply is normal and this fault still exists, please contact the service personnel.
What to do if Solplanet ASW LT-G2 Pro Inverter displays E65 error?
If your Solplanet Inverter displays an E65 error, make sure the grounding connection of the inverter is reliable. If this fault occurs often, contact the service.
What to do if Solplanet ASW LT-G2 Pro displays E46 error?
If your Solplanet Inverter displays an E46 error, check whether the open circuit voltage of each photovoltaic group is ?1020V. If the open circuit voltage of each PV group is less than 995V and this fault still exists, please contact the service personnel.
What to do if Solplanet ASW LT-G2 Pro Inverter displays E38 error?
If your Solplanet Inverter displays an E38 error, check the PV array’s insulation to ground, ensuring that the insulation resistance to ground is greater than 1 MOhm. Perform a visual inspection of all PV cables and modules. Also, ensure the grounding connection of the inverter is reliable. If the fault frequently occurs, contact the service.
Why is my Solplanet Inverter showing error E48?
If your Solplanet Inverter displays error E48, check whether the electric supply is abnormal. If the electric supply is normal and this fault still exists, please contact the service personnel.
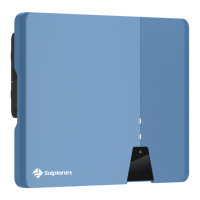
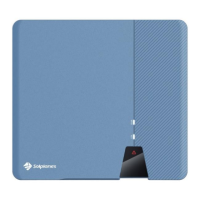
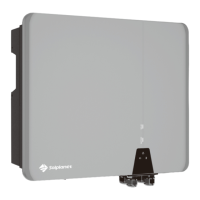
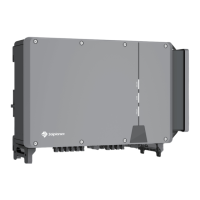
Overview of the ASW LT-G2-Pro series inverter and its function.
Specifies the inverters covered by this user manual.
Identifies qualified electricians as the intended users of this manual.
Explains safety symbols like DANGER and WARNING.
Details the intended applications and limitations of the inverter.
Highlights critical DANGER, WARNING, CAUTION, and NOTICE safety statements.
Explains symbols found on the product label and their meanings.
Lists all items included in the product package for verification.
Instructions for inspecting the packaging for damage upon delivery.
Details essential safety and environmental conditions for inverter mounting.
Provides step-by-step instructions for physically installing the inverter.
Crucial safety warnings related to electrical connections and high voltages.
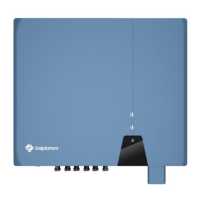
Identifies and describes the various ports on the inverter's connection panel.
Illustrates a wiring diagram for connecting with a separate DC isolator.
Specifies cable requirements for the AC grid connection.
Provides the procedure for connecting the inverter to the electrical grid.
Details how to make an additional grounding connection for safety.
Outlines specifications for connecting PV modules and cables.
Step-by-step guide for correctly assembling DC connectors.
Procedure for safely disconnecting and removing DC connectors.
Instructions for safely connecting the PV array to the inverter.
Guide to installing the WiFi or 4G communication module.
Instructions for connecting the RS485 communication cable.
Details on connecting the cable for the smart meter.
Describes how to monitor the inverter system using WLAN.
Explains controlling active power output using a smart meter.
Information on updating the inverter's firmware remotely.
Details on controlling power via DRED devices.
Connecting the inverter with third-party devices using Modbus.
Monitoring and response to earth fault alarms.
Steps for verifying electrical connections before operation.
Procedures for confirming mechanical installation integrity.
Guidance on selecting and setting local safety codes.
Describes the inverter's startup sequence and operating states.
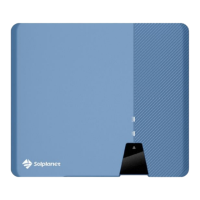
Introduces the inverter's control panel and LED indicators.
Explains the function of each LED indicator on the panel.
Specifications for the inverter's DC input parameters.
Specifications for the inverter's AC output parameters.
Provides overall specifications like dimensions, weight, and environment.
Lists applicable safety standards and regulations for the inverter.
Lists required tools and torque specifications for installation.
Procedure for cleaning the DC-switch contacts annually.
Instructions for cleaning the inverter's heat sink.
| Model | ASW LT-G2 Pro Series |
|---|---|
| Category | Inverter |
| Type | String Inverter |
| Max. DC Voltage | 1100 V |
| Number of MPPTs | 2 |
| Max. Input Current per MPPT | 12.5 A |
| AC Voltage Range | 180 V - 280 V |
| THDI | <3% |
| Frequency | 50 Hz / 60 Hz |
| DC Connection Type | MC4 |
| Operating Temperature Range | -25°C to +60°C |
| Cooling | Natural Convection |
| Max. DC Power | 7.5 kW |
| Rated AC Power | 6 kW |
| Max. AC Power | 6.6 kW |
| Rated AC Voltage | 230 V |
| Power Factor | 0.8 leading - 0.8 lagging |
| Max. Efficiency | 98.3% |
| European Efficiency | 97.6% |
| Protection | DC reverse polarity |
| Protection Class | IP65 |
| Communication | RS485, WiFi |