Copyright © 2010 Somfy SAS. All rights reserved.
Sunea io
3
EN
3.3. Motor/tube assembly
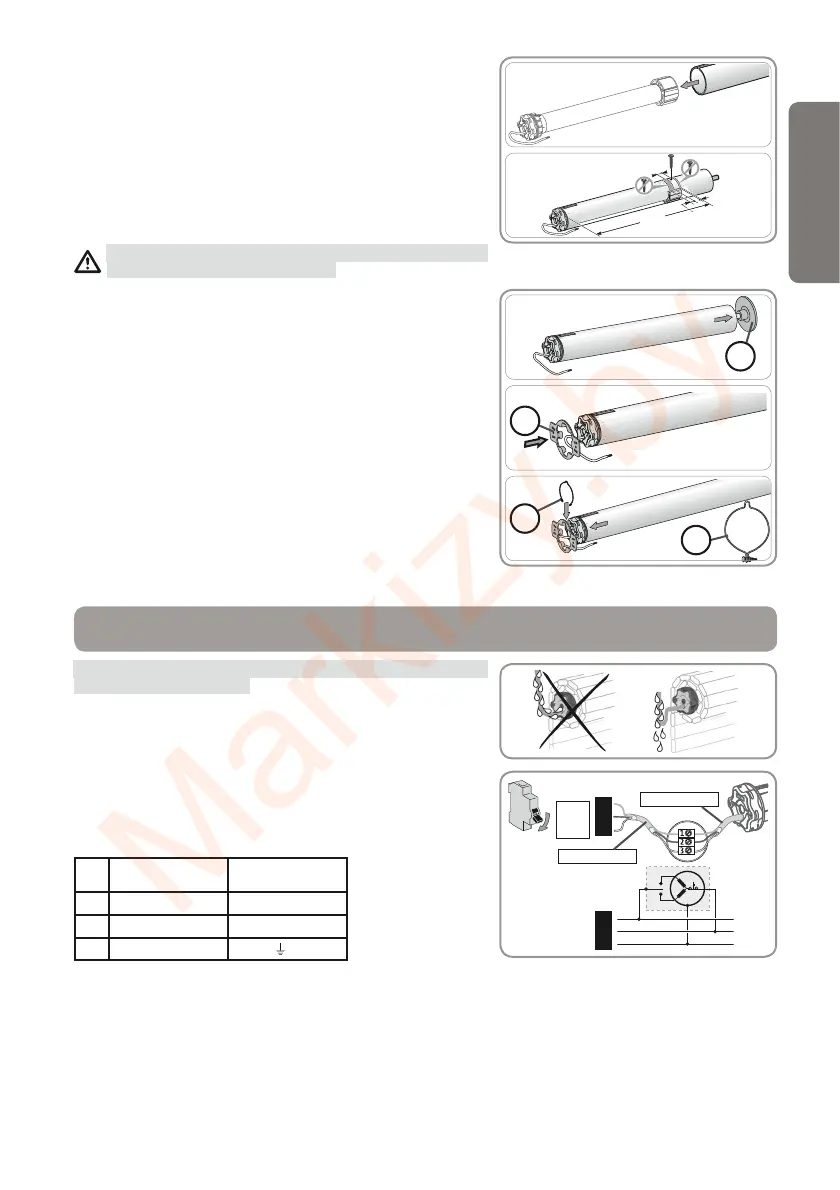
Slide the motor into the roller tube. For smooth roller 1)
tubes, position the cut notch on the crown.
For safety reason, fix the roller tube to the drive wheel 2)
with 4 self-tapping screws with a diameter of 5 mm or 4
steel pop rivets with a diameter of 4.8 mm located:
at least 5 mm from the far end of the drive wheel: -
L1 - 5, and
no more than 15 mm from the far end of the drive -
wheel: L1 - 15.
The screws or pop rivets must only be attached to the
drive wheel and not to the motor.
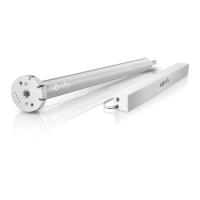
3.4. Fitting the tube-motor assembly
Fit the tube/motor assembly to the end bracket (C).1)
Fit the tube/motor assembly to the motor bracket (D).2)
Depending on the type of supports fit the stop ring (E) [For 3)
the motors >= 85 Nm absolutely use the locking stop ring
(F)].
15 mm
5 mm
20 mm
L1
1
2
C
D
E
F
1
2
3
Always make a loop in the power supply cable to prevent
water entering the motor!
Cut the power supply off. -
Connect the motor according to the information in the -
table below:
230 V ~ 50 Hz Motor cable
1 Brown Live (P)
2 Blue Neutral (N)
3 Yellow/Green
Earth (
)
1
2
3
1
2
3
OFF
230 V
~
50 Hz
3 x 1,5 mm
2
3 x 0,75 mm
2
4. WIRING