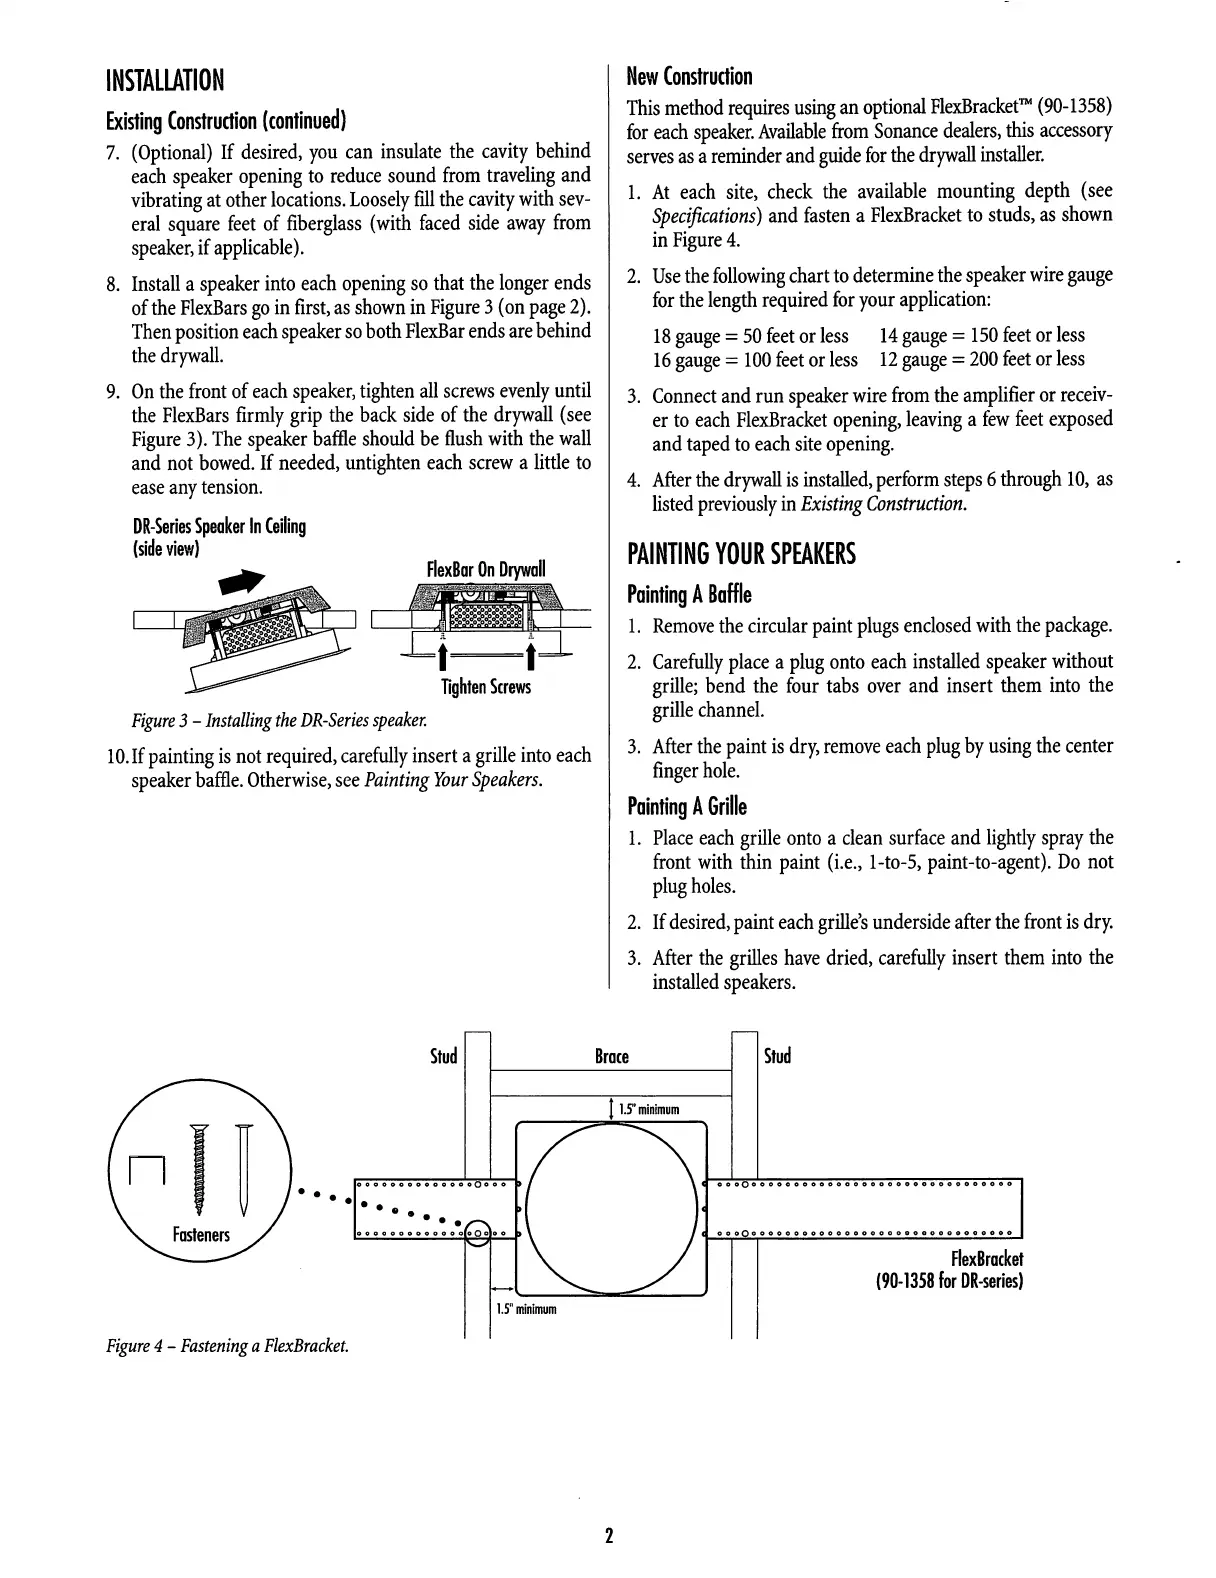
New Construction
This method requires using an optional FlexBracket™ (90-1358)
for each speaker. Available from Sonance dealers, this accessory
serves as areminder and guide for the drywall installer.
1. At each site, check the available mounting depth (see
Specifications) and fasten aFlexBracket to studs, as shown
in Figure 4.
2. Use the following chart to determine the speaker wire gauge
for the length required for your application:
18 gauge =50 feet or less 14 gauge =150 feet or less
16 gauge =100 feet or less 12 gauge =200 feet or less
3. Connect and run speaker wire from the amplifier or receiv¬
er to each FlexBracket opening, leaving afew feet exposed
and taped to each site opening.
4. After the drywall is installed, perform steps 6through 10, as
listed previously in Existing Construction.
INSTALLATION
Existing Construction (continued)
7. (Optional) If desired, you can insulate the cavity behind
each speaker opening to reduce sound from traveling and
vibrating at other locations. Loosely fill the cavity with sev¬
eral square feet of fiberglass (with faced side away from
speaker, if applicable).
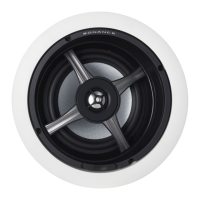
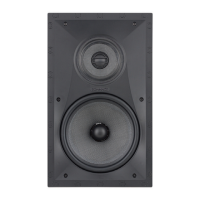
8. Install aspeaker into each opening so that the longer ends
of the FlexBars go in first, as shown in Figure 3(on page 2).
Then position each speaker so both FlexBar ends are behind
the drywall.
9. On the front of each speaker, tighten all screws evenly until
the FlexBars firmly grip the back side of the drywall (see
Figure 3). The speaker baffle should be flush with the wall
and not bowed. If needed, untighten each screw alittle to
ease any tension.
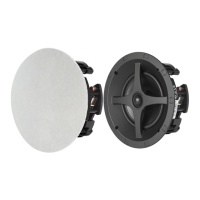
DR-$eries Speaker In Ceiling
PAINTING YOUR SPE AKERS
FlexBar On Drywall
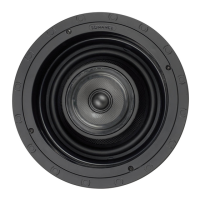
Painting ABaffle
1. Remove the circular paint plugs enclosed with the package.
2. Carefully place aplug onto each installed speaker without
grille; bend the four tabs over and insert them into the
grille channel.
3. After the paint is dry, remove each plug by using the center
finger hole.
Painting AGrille
1. Place each grille onto aclean surface and lightly spray the
front with thin paint (i.e., l-to-5, paint-to-agent). Do not
plug holes.
2. If desired, paint each grille’s underside after the front is dry.
3. After the grilles have dried, carefully insert them into the
installed speakers.
Tighten Screws
Figure 3-Installing the DR-Series speaker.
10. If painting is not required, carefully insert agrille into each
speaker baffle. Otherwise, see Painting Your Speakers.
Stud StudBrace
I1.5" minimum
●●.
Fasteners
FlexBracket
(90-1358 for DR-series)
i.5" minimum
Figure 4-Fastening aFlexBracket.
2