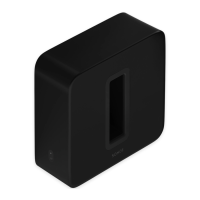
Attach feet (optional)
If you’re placing Sub horizontally on a floor, you can attach permanent felt feet (purchased
separately) to protect your floor. If you’re putting it on a rug or using it vertically, no need to
adhere the felt feet.
Note: The felt feet are not removable—a strong adhesive will keep them permanently
attached to Sub.
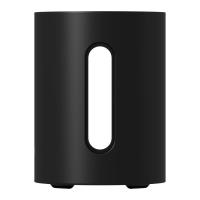
1. Lay Sub down so the Sonos logo is facing down. Make sure you adhere the felt feet to the
side that doesn’t have the Sonos logo.
2. Place the enclosed guide on one corner of the unit and fold the flaps over the edge.
3. Peel the backing off one of the feet.
4. Press the felt foot (sticky side down) onto the unit inside the circular portion of the guide.
5. Attach the other 3 felt feet the same way.
Product settings
To adjust Sub's settings, go to > System and select your Sub.