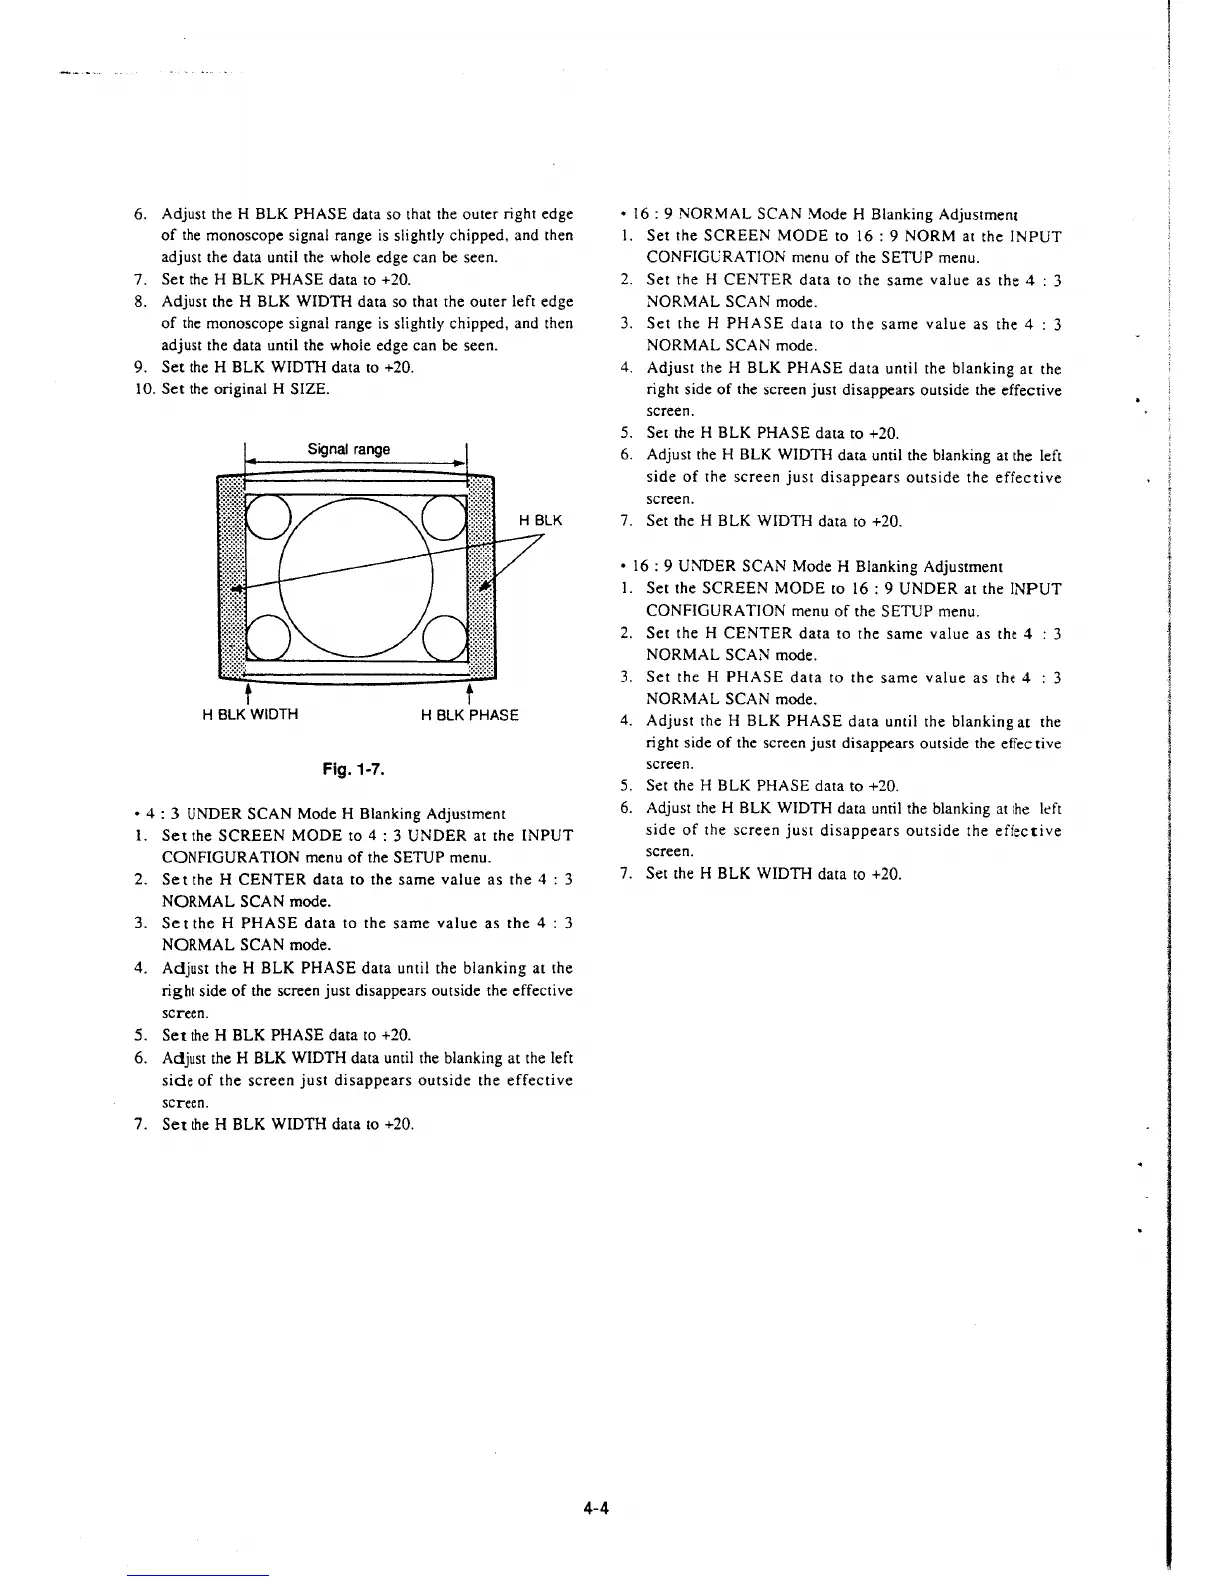
6. Adjust the H BLK PHASE data so that the outer right edge
of the monoscope signal range is slightly chipped, and then
adjust the data until the whole edge can be seen.
7. Set the H BLK PHASE data to +20.
8. Adjust the H BLK WIDTH data so that the outer left edge
of the monoscope signal range is slightly chipped, and then
adjust the data until the whole edge can be seen.
9. Set the H BLK WIDTH data to +20.
I 0. Set the original H SIZE.
Signal range
t t
H BLK WIDTH
H BLK PHASE
Fig. 1-7.
• 4 : 3 UNDER SCAN Mode H Blanking Adjustment
I. Set the SCREEN MODE to 4 : 3 UNDER at the INPUT
CONFIGURATION menu of the SETUP menu.
2.
Set the H CENTER data to the same value as the 4 : 3
NORMAL SCAN mode.
3. Set the H PHASE data to the same value as the 4 : 3
NORMAL SCAN mode.
4.
Adjust the H BLK PHASE data until the blanking at the
right side of the screen just disappears outside the effective
screen.
5. Set the H BLK PHASE data to +20.
6. Adjust the H BLK WIDTH data until the blanking at the left
side of the screen just disappears outside the effective
screen.
7. Set the H BLK WIDTH data to +20.
4-4
• 16: 9 NORMAL SCAN Mode H Blanking Adjustment
I. Set the SCREEN MODE to 16: 9 NORM at the lNPUT
CONFIGlJRATION menu of the SETUP menu.
2. Set the H CENTER data to the same value as the 4 : 3
NORMAL SCAN mode.
3. Set the H PHASE data to the same value as the 4 : 3
NORMAL SCAN mode.
4. Adjust the H BLK PHASE data until the blanking at the
right side of the screen just disappears outside the effective
screen.
5. Set the H BLK PHASE data to +20.
6. Adjust the H BLK WIDTH data until the blanking at the left
side of the screen just disappears outside the effective
screen.
7. Set the H BLK WIDTH data to +20.
• 16: 9 UNDER SCAN Mode H Blanking Adjustment
I. Set the SCREEN MODE to 16: 9 UNDER at the lNPUT
CONFIGURATION menu of the SETUP menu.
2. Set the H CENTER data to the same value as the 4 : 3
NORMAL SCAN mode.
3. Set the H PHASE data
to the same value as th( 4 : 3
NORMAL SCAN mode.
4. Adjust the H BLK PHASE data until the blanking at the
right side of the screen just disappears outside the effective
screen.
5. Set the H BLK PHASE data to +20.
6. Adjust the H BLK WIDTH data until the blanking at
the kft
side of the screen just disappears outside the efiective
screen.
7.
Set the H BLK WIDTH data to +20.
 Loading...


