4 Make sure the AM loop antenna is
connected firmly by pulling softly.
Insert the cord while
pushing down the
terminal clamp.
I
~1-:z:z;D
~
Only insert up
to here.
3 Connect the cords to the AM antenna
terminals.
The
cords (A and B) can be connected to either
terminal.
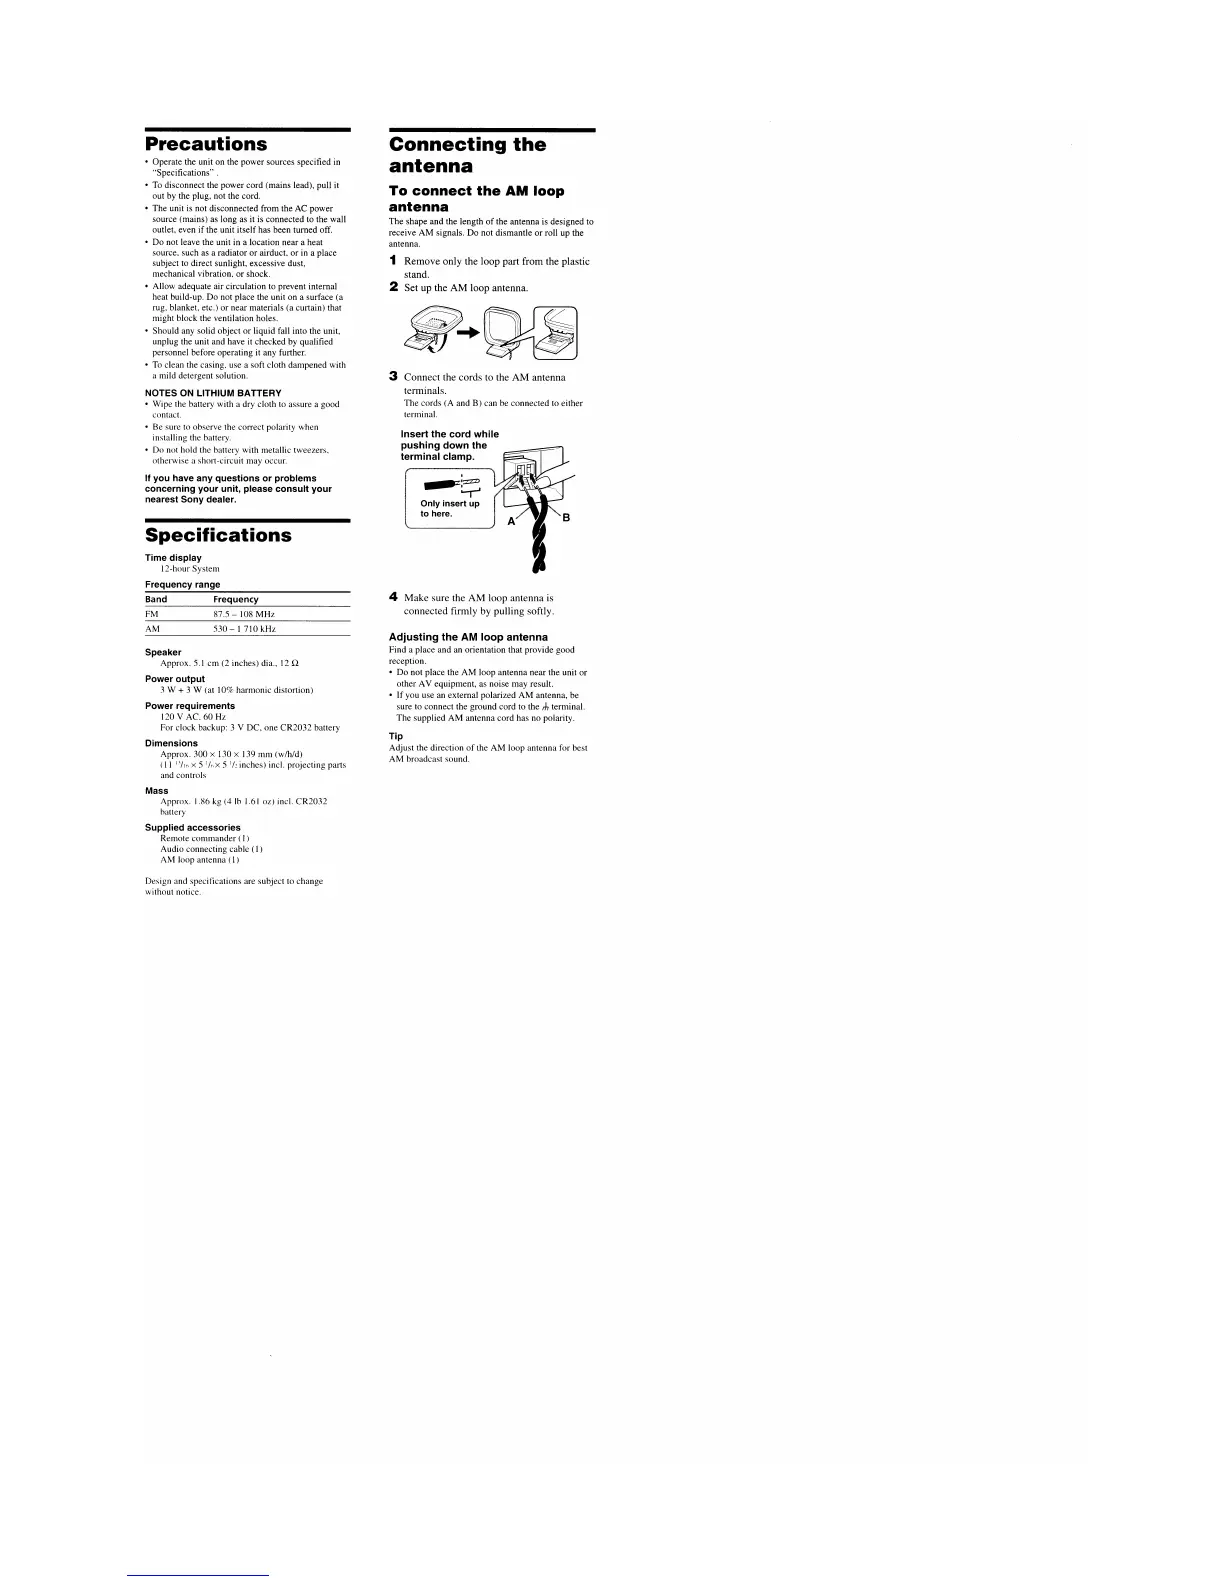
1 Remove only the loop part from the plastic
stand.
2 Set up the
AM
loop antenna.
Connecting
the
antenna
To
connect
the
AM
loop
antenna
The
shape and the length
of
the antenna is designed to
receive
AM
signals. Do not dismantle
or
roll up the
antenna.
Specifications
FM 87.5 - 108
MHz
NOTES ON LITHIUM BATTERY
• Wipe the battery with a dry cloth to assure a good
contact.
• Be sure to observe the correct polarity when
installing the battery.
• Do not hold the battery with metallic tweezers,
otherwise a short-circuit may occur.
If you have any questions or problems
concerning your unit, please consult your
nearest Sony dealer.
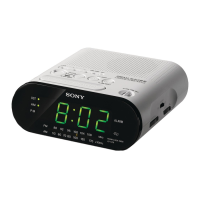
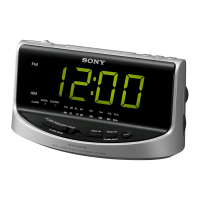
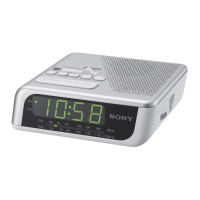
Time display
12-hour System
Frequency range
Band
Frequency
• Operate the unit on the power sources specified in
"Specifications" .
•
To
disconnect the power cord (mains lead), pull it
out by the plug, not the cord.
•
The
unit is not disconnected from the AC power
source (mains) as long as it is connected to the wall
outlet, even
if
the unit itself has been turned off.
• Do not leave the unit in a location near a heat
source, such as a radiator
or
airduct,
or
in a place
subject to direct sunlight, excessive dust,
mechanical vibration, or shock.
• Allow adequate air circulation to prevent internal
heat build-up. Do not place the unit on a surface (a
rug, blanket, etc.)
or
near materials (a curtain) that
might block the ventilation holes.
• Should any solid object
or
liquid fall into the unit,
unplug the unit and have it checked by qualified
personnel before operating it any further.
•
To
clean the casing, use a soft cloth dampened with
a mild detergent solution.
Precautions
AM 530 - 1 710 kHz
Speaker
Approx.
5.1
cm
(2 inches) dia., 12 Q
Power output
3 W + 3 W (at 10% harmonic distortion)
Power requirements
120 V AC, 60 Hz
For clock backup: 3 V DC, one CR2032 battery
Dimensions
Approx. 300 x 130 x 139
mm
(w/hld)
(11
I'/If> x 5
1/
6
X 5
Ih
inches) incl. projecting parts
and controls
Adjusting the AM loop antenna
Find a place and an orientation that provide good
reception.
• Do not place the
AM
loop antenna near the unit
or
other AV equipment, as noise may result.
•
If
you use an external polarized
AM
antenna, be
sure to connect the ground cord to the
rh
terminal.
The
supplied
AM
antenna cord has no polarity.
Tip
Adjust the direction
of
the
AM
loop antenna for best
AM
broadcast sound.
Mass
Approx. 1.86 kg
(4
Ib
1.61
oz) incl.
CR2032
battery
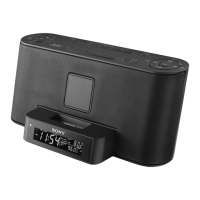
Supplied accessories
Remote commander (1)
Audio connecting cable
(1
)
AM loop antenna (1)
Design and specifications are subject to change
without notice.