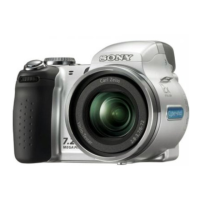
DSC-H2_L2
2-3 2-4
2-1. DISASSEMBLY
The following flow chart shows the disassembly procedure.
2. DISASSEMBLY
2. DISASSEMBLY
2. DISASSEMBLY
SW-
473
SY-150
SW-
473
SY-150
SY-150
66
1
Three screws (M1.7x4)
2
Three screws (M1.7x4)
3
Cabinet (rear) section
1
Two claws
2
Two tapping screws (M1.7x4)
3
LCD frame
2
3
1
5
3
4
2
3
6
8
7
2
1
qa
3
7
9
8
5
4
2
1
Claw
2
Claw
3
Remove the LCD unit in the
direction of the arrow.
4
Flexible board (from the LCD unit)
5
Flexible board (from the LCD unit)
6
Two tapping screws (M1.7x4)
7
SW-478 flexible board
8
SW-473 board
q;
1
1
Fuse replacement caution label
2
Flexible board (from the lens section)
3
Tape (CD) retainer
4
CD-621 flexible board
5
AF-105 flexible board
6
Flexible board (from the lens section)
7
Control switch block
8
Flexible flat cable (ST-003)
9
From the microphone
q;
Tapping screw (M1.7x4)
qa
Main section
6
1
Note:
Be very careful not to
damage the flexible board.
5
34
7
9
8
6
2
1
q;
B
(See page 2-5)
A
(See page 2-5)
HELP 01