EasyManua.ls Logo

Sony DSC-H7 User Manual

Sony DSC-H7
73 pages
To Next Page IconTo Next Page
Page #1 background imageLoading...
Page #1 background image
SERVICE MANUAL
LEVEL 2
Link
DISASSEMBLY
SERVICE NOTE
SPECIFICATIONS
SCHEMATIC DIAGRAMS
FRAME SCHEMATIC DIAGRAMS
BLOCK DIAGRAMS
REPAIR PARTS LIST
PRINTED WIRING BOARDS
Link
Revision History
Revision History
How to use
Acrobat Reader
How to use
Acrobat Reader
Sony EMCS Co.
DSC-H7/H9_L2
Internal memory
ON BOARD
Internal memory
ON BOARD
Ver 1.0 2007.04
DIGITAL STILL CAMERA
2007D0200-1
© 2007.4
Published by Kohda TEC
9-852-203-31
US Model
Canadian Model
AEP Model
UK Model
E Model
Australian Model
Hong Kong Model
Chinese Model
Korea Model
Argentine Model
Brazilian Model
Tourist Model
Japanese Model
The components identified by
mark 0 or dotted line with
mark 0 are critical for safety.
Replace only with part num-
ber specified.
Les composants identifiés par une
marque 0 sont critiques pour la
sécurité.
Ne les remplacer que par une pièce
portant le numéro spécifié.
Precaution on Replacing the SY-177 Board
DSC-H7/H9
Photo: DSC-H7 Black Model
Question and Answer IconNeed help?

Do you have a question about the Sony DSC-H7 and is the answer not in the manual?

Sony DSC-H7 Specifications

General IconGeneral
Sensor TypeSuper HAD CCD
Effective Pixels8.1 MP
Optical Zoom15x
Digital Zoom2x
LCD Screen Size2.5 inches
Image StabilizationOptical
Video Resolution640 x 480
Battery TypeNP-BG1
Sensor Size1/2.5 inches
Lens Focal Length31 - 465 mm (35mm equivalent)
Shutter Speed1/4 - 1/4000 sec
LCD Resolution115, 000 pixels
ISO Sensitivity100, 200, 400, 800, 1600, 3200
Maximum Aperturef/2.7-4.5
Storage MediaMemory Stick Duo/PRO Duo

Summary

SERVICE NOTE

PRECAUTION ON REPLACING THE SY-177 BOARD

Critical steps and data handling before board replacement.

SELF-DIAGNOSIS FUNCTION

Overview of the camera's self-diagnosis capabilities.

SELF-DIAGNOSIS CODE TABLE

Detailed table of self-diagnosis codes and their meanings.

PROCESS AFTER FIXING FLASH ERROR

Procedure to reset flash settings after error correction.

DATA MANAGEMENT IN INTERNAL MEMORY

Instructions for copying and erasing data from internal memory.

WRITING DATA TO INTERNAL MEMORY

Method for writing data to the camera's internal memory.

DISASSEMBLY

DISCHARGING THE CHARGING CAPACITOR (C205)

Safety procedure for discharging high-voltage capacitors before handling.

CABINET AND FLEXIBLE BOARD DISASSEMBLY

Step-by-step instructions for disassembling camera parts.

BLOCK DIAGRAMS

OVERALL BLOCK DIAGRAM (1/2)

System overview showing major component interconnections.

OVERALL BLOCK DIAGRAM (2/2)

System overview showing major component interconnections.

POWER BLOCK DIAGRAM (1/2)

Diagram illustrating the camera's power distribution system.

POWER BLOCK DIAGRAM (2/2)

Diagram illustrating the camera's power distribution system.

PRINTED WIRING BOARDS AND SCHEMATIC DIAGRAMS

FRAME SCHEMATIC DIAGRAM

Overall layout of the camera's interconnected boards.

SCHEMATIC DIAGRAMS

Detailed circuit diagrams for various camera boards.

PRINTED WIRING BOARDS

Layout diagrams showing component placement on circuit boards.

REPAIR PARTS LIST

EXPLODED VIEWS OF CAMERA SECTIONS

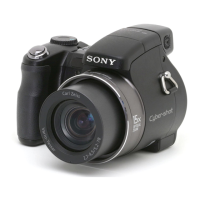
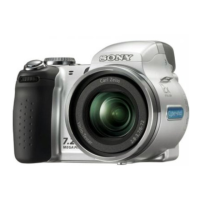
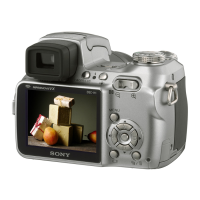
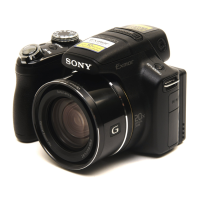
Visual breakdown of camera components for parts identification.

ELECTRICAL PARTS LIST

List of electronic components with part numbers and specifications.

CHECKING SUPPLIED ACCESSORIES

List of items supplied with the camera as accessories.

REVISION HISTORY

OFFICIAL RELEASE

Record of the initial release version and date.

Related product manuals